|
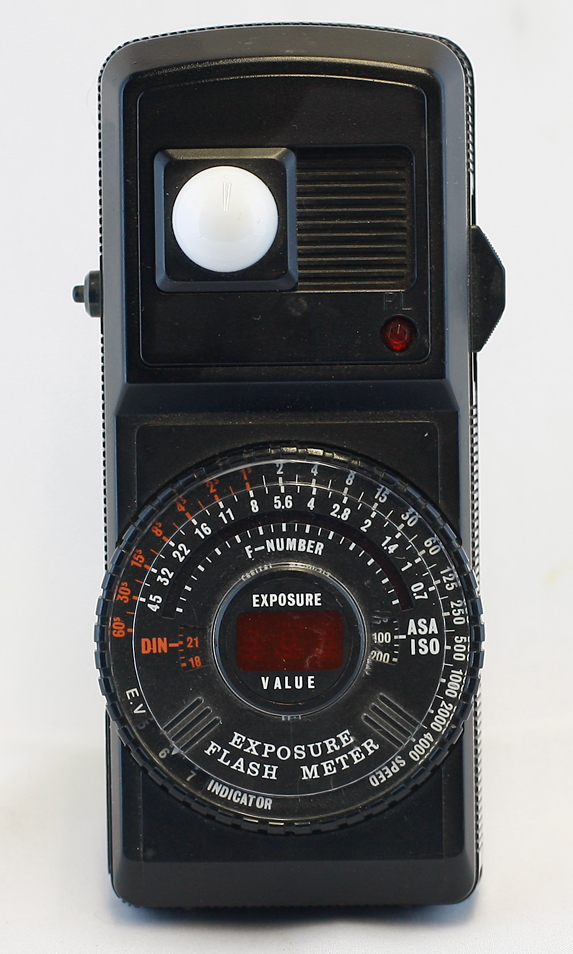
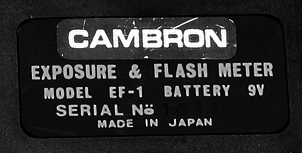
  Maker: Capital (also Cambron, Spiratone, Tundra) Model: EF-1 (also Expotrol Meter F/A, Digit-All) Circa: 1985 Price (new): $115 (Spiratone) Battery: 9V Measure type: Ambient and Flash (both 3D incident and reflected) 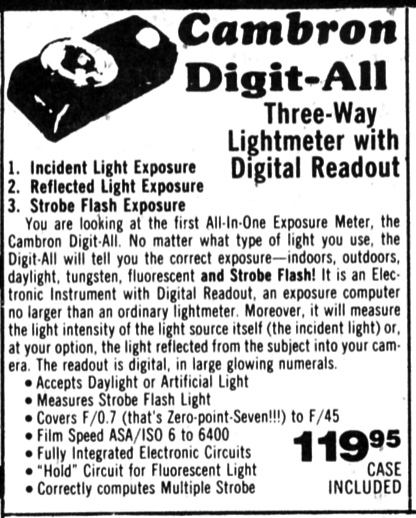 |
|
Cambron was the house brand for Cambridge Camera Exchange, a retailer based in New York. They used to run several pages of advertisements in the back of Popular and Modern Photography magazines—an ocean of tiny print. Their prices weren't the best but they made up for it in diversity: if you wanted an idea of what something went for, chances are you could find it listed in the Cambridge ad.
That's also the case here; the meter arrived at the house as a Cambron and I couldn't find anything on it. Once I pealed the label back to see what was under it, I was able to it in Ed van der Aa's collection. It also appears to be badged as the Tundra EF-1 (though I haven't actually seen one), and as the Spiratone Expotrol F/A . Here's an old article from the New York Times that mentions this meter (among others): How Accessory Meters Shed Light on the Subject HOW TO USE IT I don't have the instructions for it, but there's not much to it. Powering Up 1. On the right hand side there's a big slide switch with three positions: EXP, OFF, and FLS. Put the switch in the OFF (middle) position. 2. Load a fresh 9-volt battery into the chamber. There's a slide-cover on the bottom left side, just below the synch cord socket. Inside the chamber there's a label that tells you how the polarity goes. 3. Slide the switch to the EXP (down) position. The red PL should light up on (upper front panel, far right side). The three-digit LED readout in the center of the calculator dial (it says Exposure Value above and below it) should light up and give you a reading in EV numbers. If the meter doesn't light up at all, try a new 9V battery. If it still doesn't work, turn the battery to reverse the polarity. If it still doesn't work, then your meter is dead. Assuming it works— Metering in Continuous Light (aka Ambient) Mode 1. If you want to use the meter as a reflected light meter, slide the white hemisphere dome to the right so that the photocell is exposed. If you want to use the meter as an incident light meter (usually preferable), slide the dome to the far left so that it covers the cell. If you are using it as a reflected light meter, keep the meter at the camera position and aim the photocell at the subject. If you are using it as an incident meter, put the meter next to your subject and aim the dome directly back at the camera lens. 2. Set the Film Speed on the calculator dial. The film speed is shown in two windows at the 3 o'clock (ASA/ISO) and 9 o'clock (DIN) positions. The easiest way to set the speed is to put your fingertip on one of the raised ridges that are just left and right of where it says "Exposure Flash Meter" on the bottom of the dial. Pushing those ridges will turn the numbers displayed in the film speed window. If you don't know where to start, use ASA 100. 3. Slide the switch down to the EXP position. The pilot lamp (PL) on the upper front should light, and you should see the three-digit LED readout in the center of the calculator dial. 4. That EV number is the light level that the meter is reading. It is continuous and changes in real-time. Read the number. 5. At the bottom of the calculator dial (6 o'clock position) you should see a window that says EV INDICATOR, a downward pointing pointer, and numbers inside the window. Using your fingertips, rotate the outer ring of the dial until the pointer points to the number you read in the center dial. The LED reads out in 10ths of an EV, so use your best judgement on where to set the pointer. For instance, if the LED says 8.6, set the pointer mid-way between 8 and 9, and then turn it a little bit closer to the 9. 6. Read the shutter speed/aperture combinations at the top of the calculator dial. Metering in Flash Mode 1. Repeat steps 1 and 2 from above (ambient mode). 2. Slide the switch up to the FLS position. The pilot lamp (PL) on the upper front should light. There will not be a readout in the center of the dial. 3. Trigger your flash. 4. Look at your calculator dial. On the upper half, just below the ƒ/ numbers, there's a black arc; an LED will be lit next to one of the ƒ/ numbers. This is the ƒ/stop to use at your camera's normal sync speed. 5. This LED light will stay lit until you clear it by pressing the small button on the upper left side. 6. If you do not clear the LED, the meter will measure the cumulative effect of multiple flashes. You can, for instance, see how many flashes it takes to make the meter get a particular ƒ/stop. 7. The meter originally came with a 20 foot sync cord, which I do not have. You can make or probably buy) a sync cord to replace it. Make sure that one end is compatible with your flash unit, and that the other uses a standard PC sync plug. The long sync cord is used so that you can pop the flash(es) from your position while holding the meter. I assume this is done by plugging in the cord, getting the flash and meter ready, and then pressing the little button on the side to make it trigger the flash. If this is the case, I don't know how this works with the cumulative memory. I don't have a cord so I can't test it; you'll have to try that yourself. Be sure to turn off your meter when you're done; LEDs will kill the battery fairly quickly. |
|

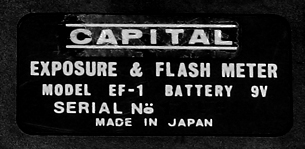
 This is a Capital EF-1 flash meter. Capital was a relatively common Japanese maker of meters—I only have a couple but there a number of different meters over a wide range of years that carry the Capital badge.
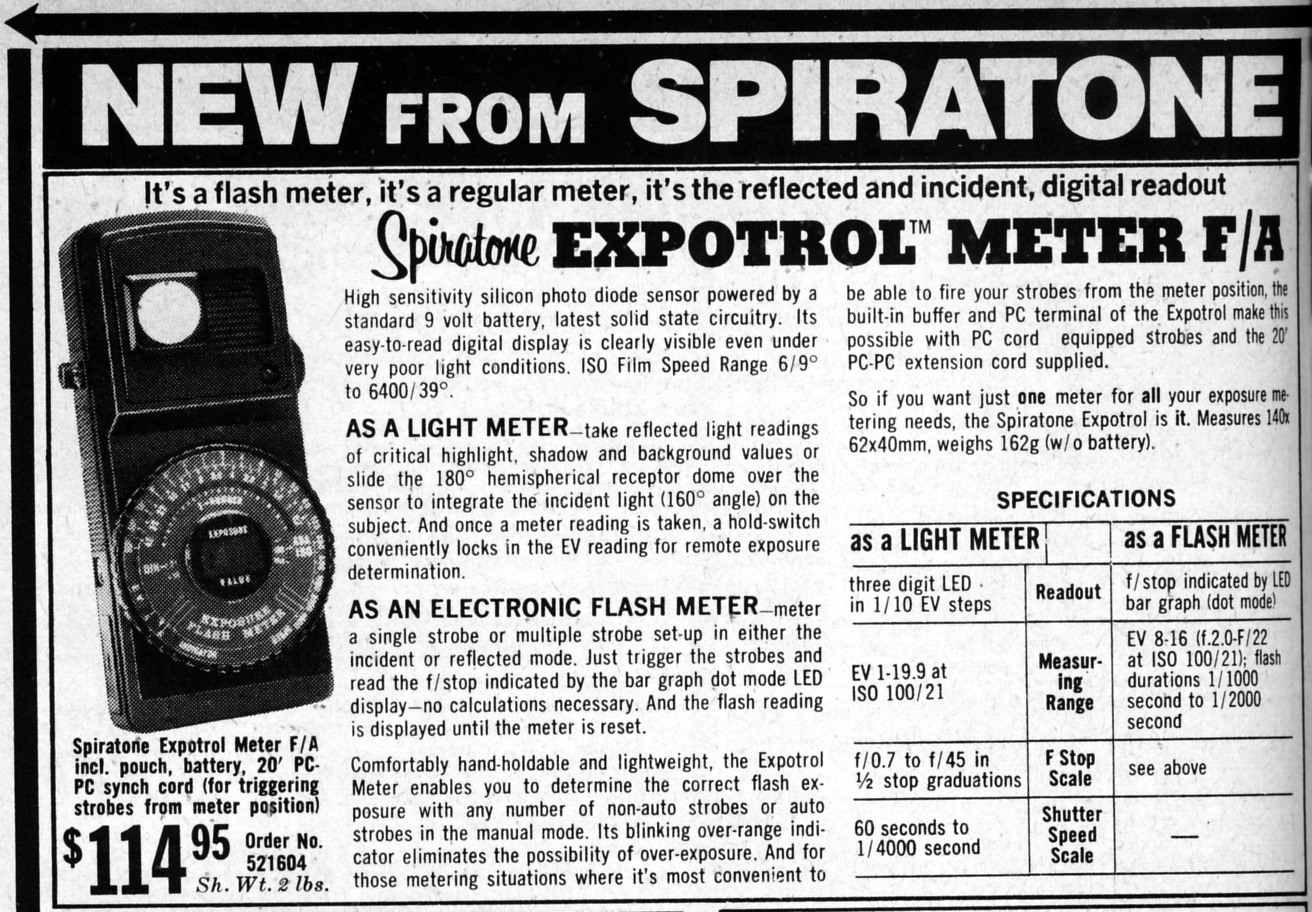
©opyright by James Ollinger. All Rights Reserved.
Company names and models are registered trademarks of their respective owners
and are not affiliated with this website in any way.