
 Another radio I can't identify. The back-story is that a coworker asked The Old Man to do the electrical work and he would restore the cabinet; eventually the Old Man got the cabinet too, and it all sat on a high shelf in the garage gathering an inch of dust.
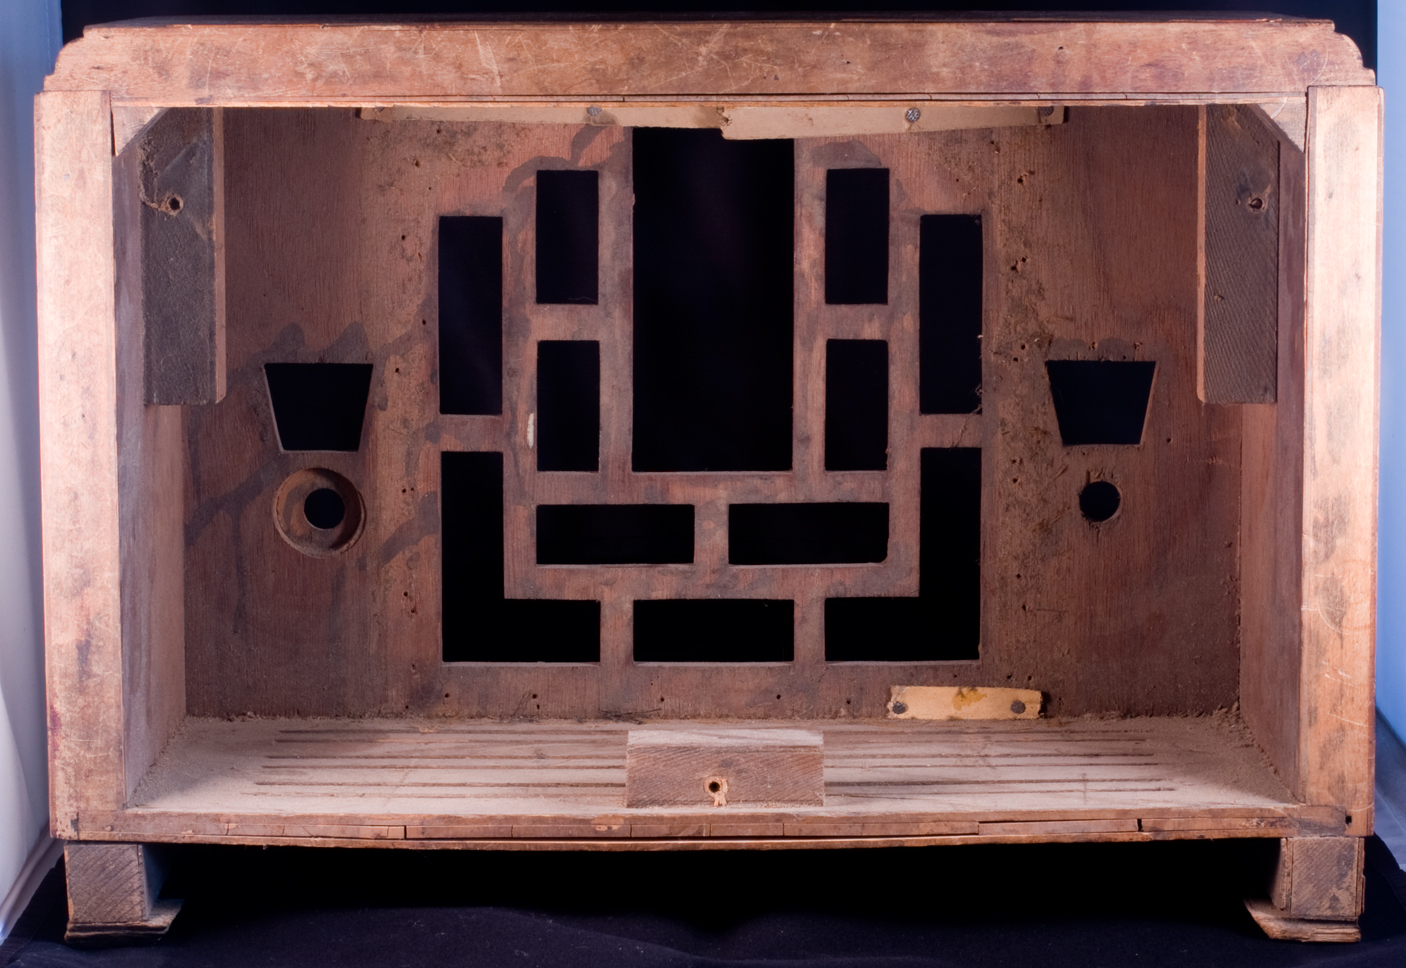
I was fretting over doing some cabinet repair on my Stromberg-Carlson, and I have very little woodworking experience or skill, so I was given this cabinet to work on, figuring I couldn't make it any worse than it already was. The last cabinet I really did anything with was the Hoffman: that was a mild success at best, and it only required refinishing. Almost everything else I want to work on needs veneer work.
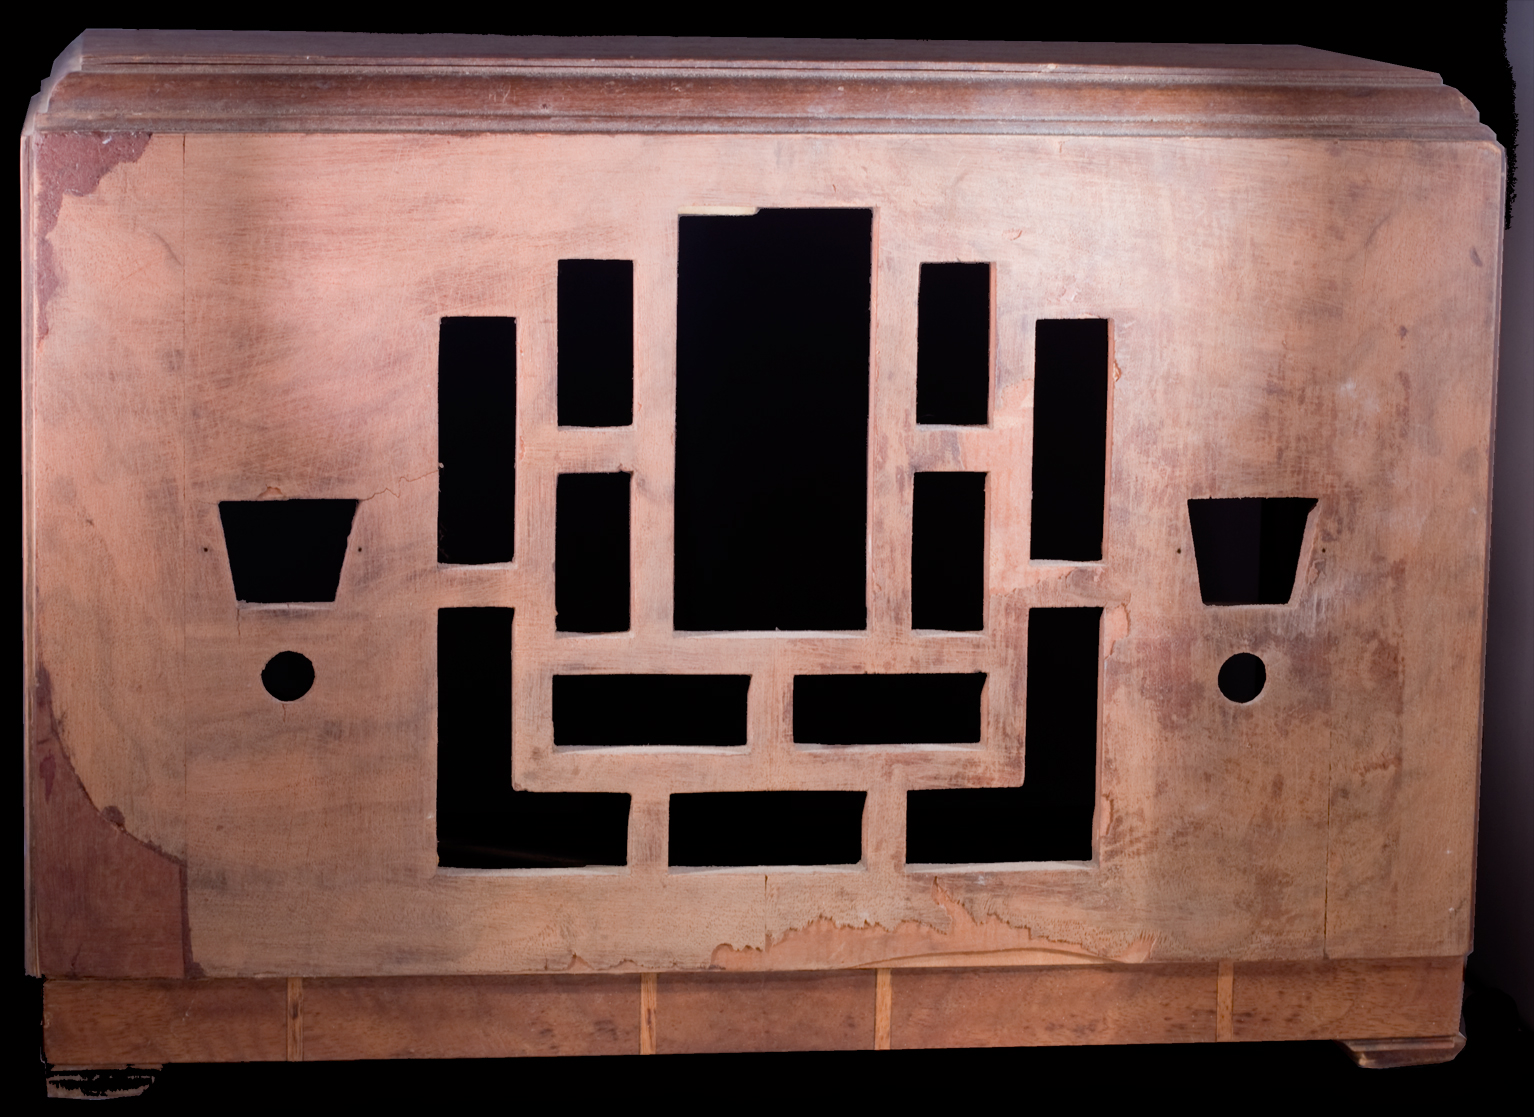
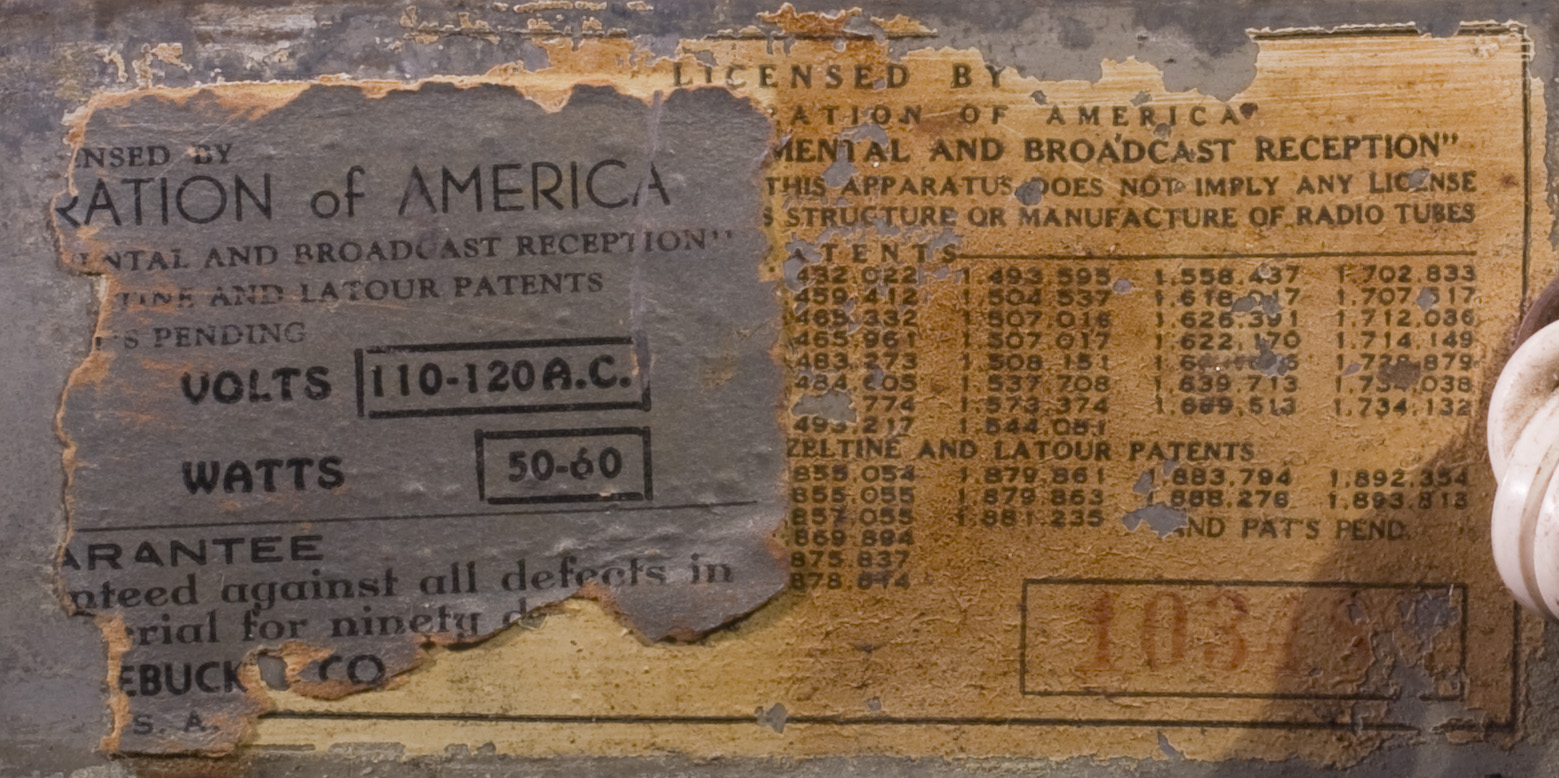
So what is this thing? It's a Silvertone, but I don't have the model number yet. I'm hoping to figure that out when my copy of The Complete Price Guide to Antique Radios: The Sears Silvertone Catalogs 1930-1942 by Mark Stein arrives.
Photos below. As (nearly) always, you an click on any photo to get a larger version.
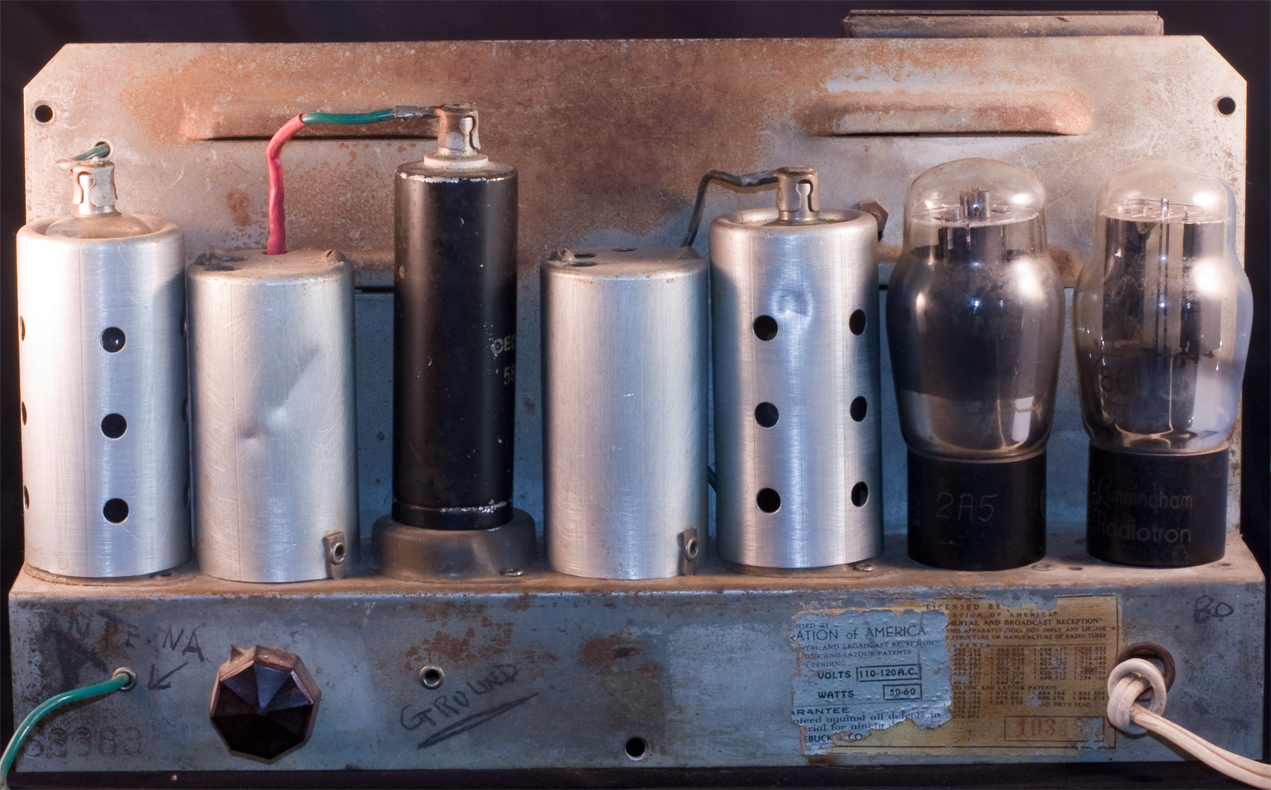

There are two dials: the one on the left is the volume control, and mine is blank; the one on the right is the frequency/wavelength, and that one's intact. Unfortunately, the marker didn't bother to stick their name on the dial.
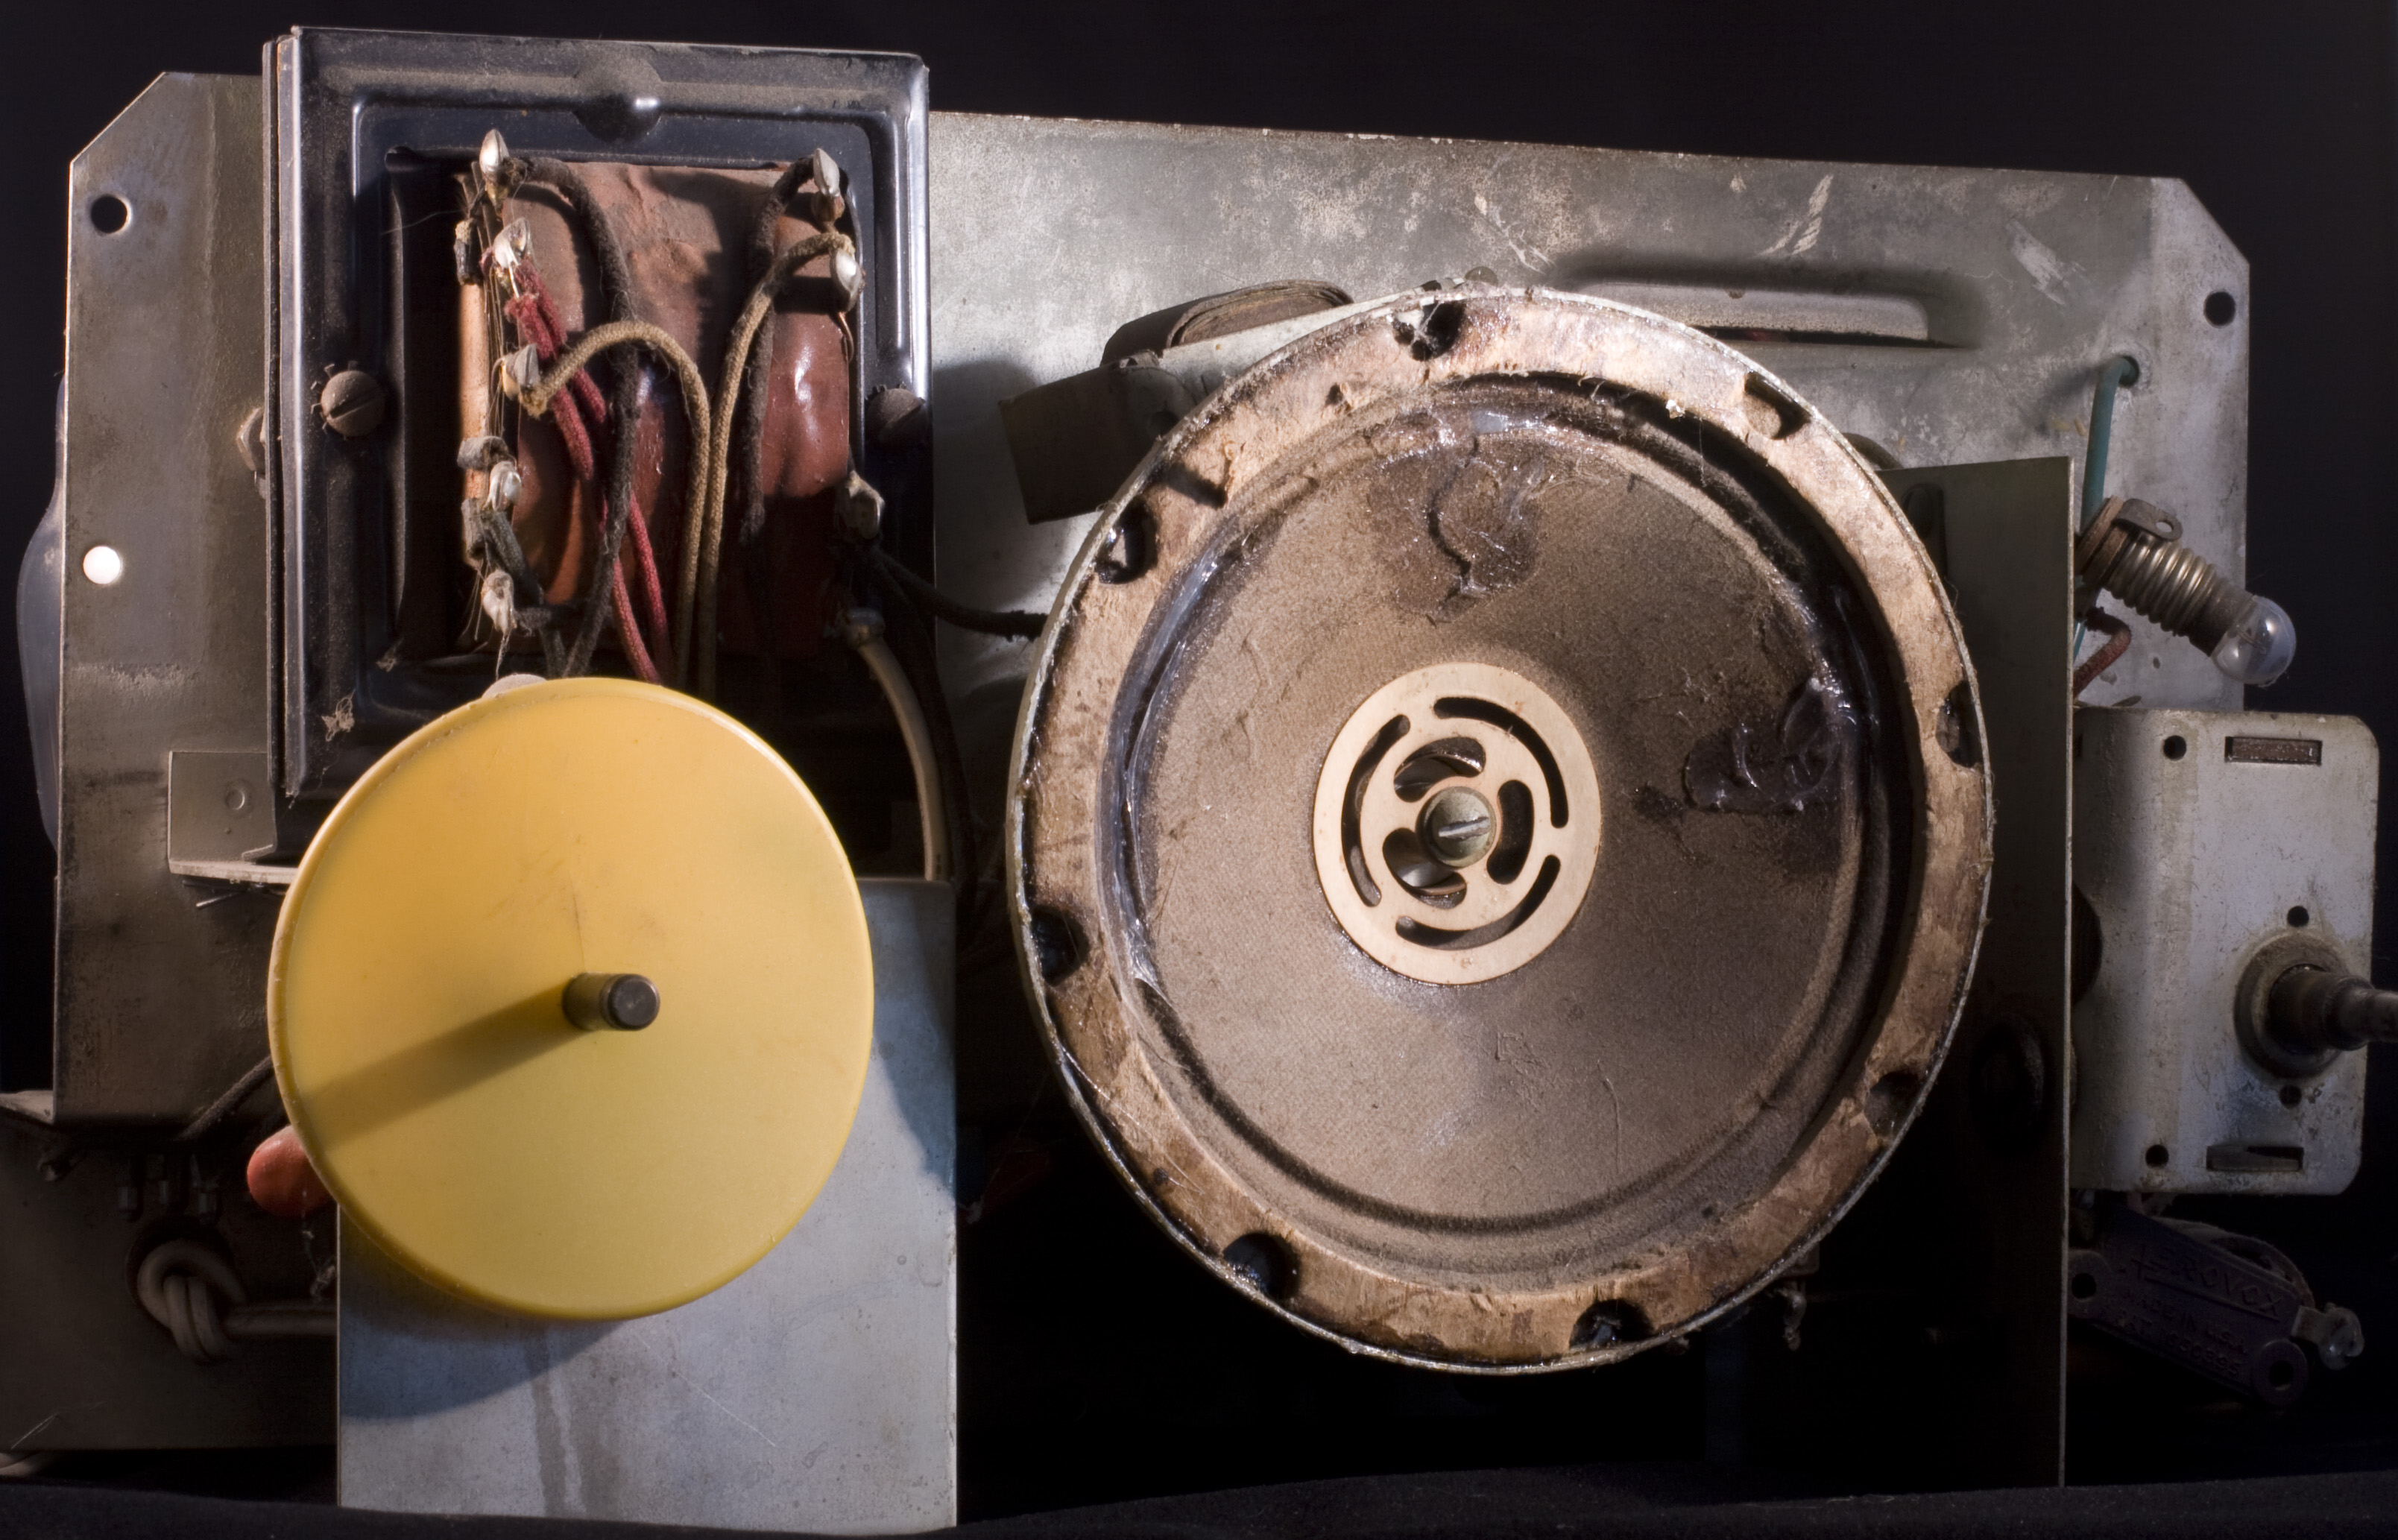
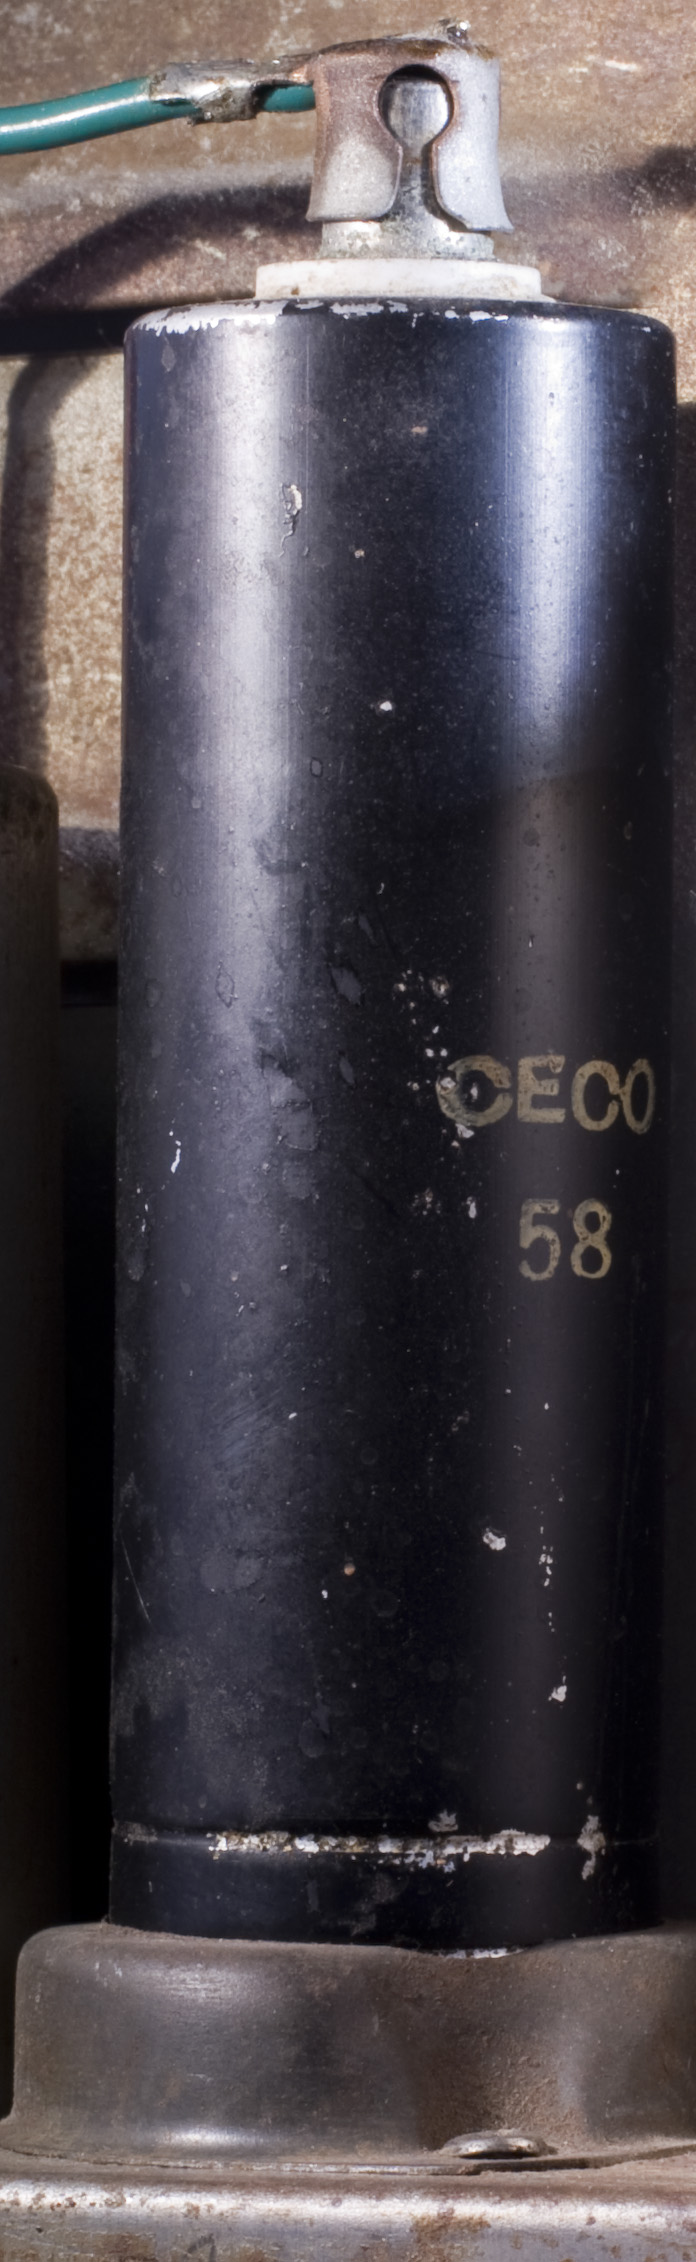
Another interesting thing about this radio is the 58 tube, which here is a CeCo metal tube. According to a thread on the Antique Radio forum, Ceco was an early manufacturer who made metal tubes. If this tube is original to the chassis, then this dates to 1935 at the earliest.
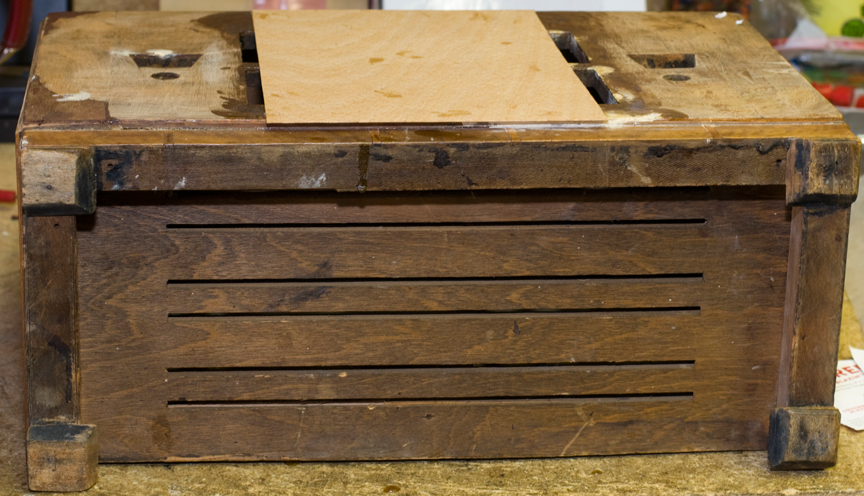
Veneering the Cabinet
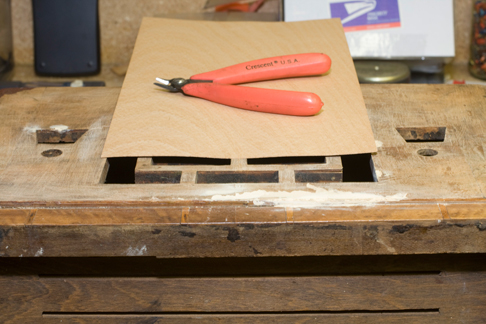
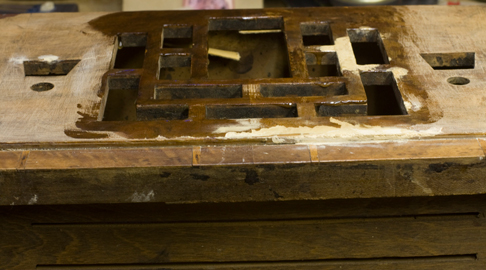
has not gone well. This is the first veneering job I've done on anything and it looks it. I started by filling in the low spots and missing bits on the front panel and sanding. Then, looking at the three photos below, on the left is where I took a veneer panel and show how it barely covers the speaker cut-outs. Initially I figured that might be a good thing until I realized that if I cut it so that it doesn't quite cover, that would minimize the exposed joins where the two side veneer pieces meet. So I sliced off about a 1/4-inch in each side. I also cut the length down so that it only slightly overlapped the edges on the "top" and "bottom" of the cabinet face.
I applied hyde glue to the face (center photo) and then placed the panel on it. I ran the veneer hammer over it a few times but that didn't seem to do anything, so I put a sheet of wax paper over it just in case, then set a fairly heavy old VOM on top of it to press it down. The VOM is in a wood cabinet that was nicely proportioned to sit on the cabinet without too much overhang on sides, and was heavy enough to press the veneer without worrying that I might break the cabinet itself.
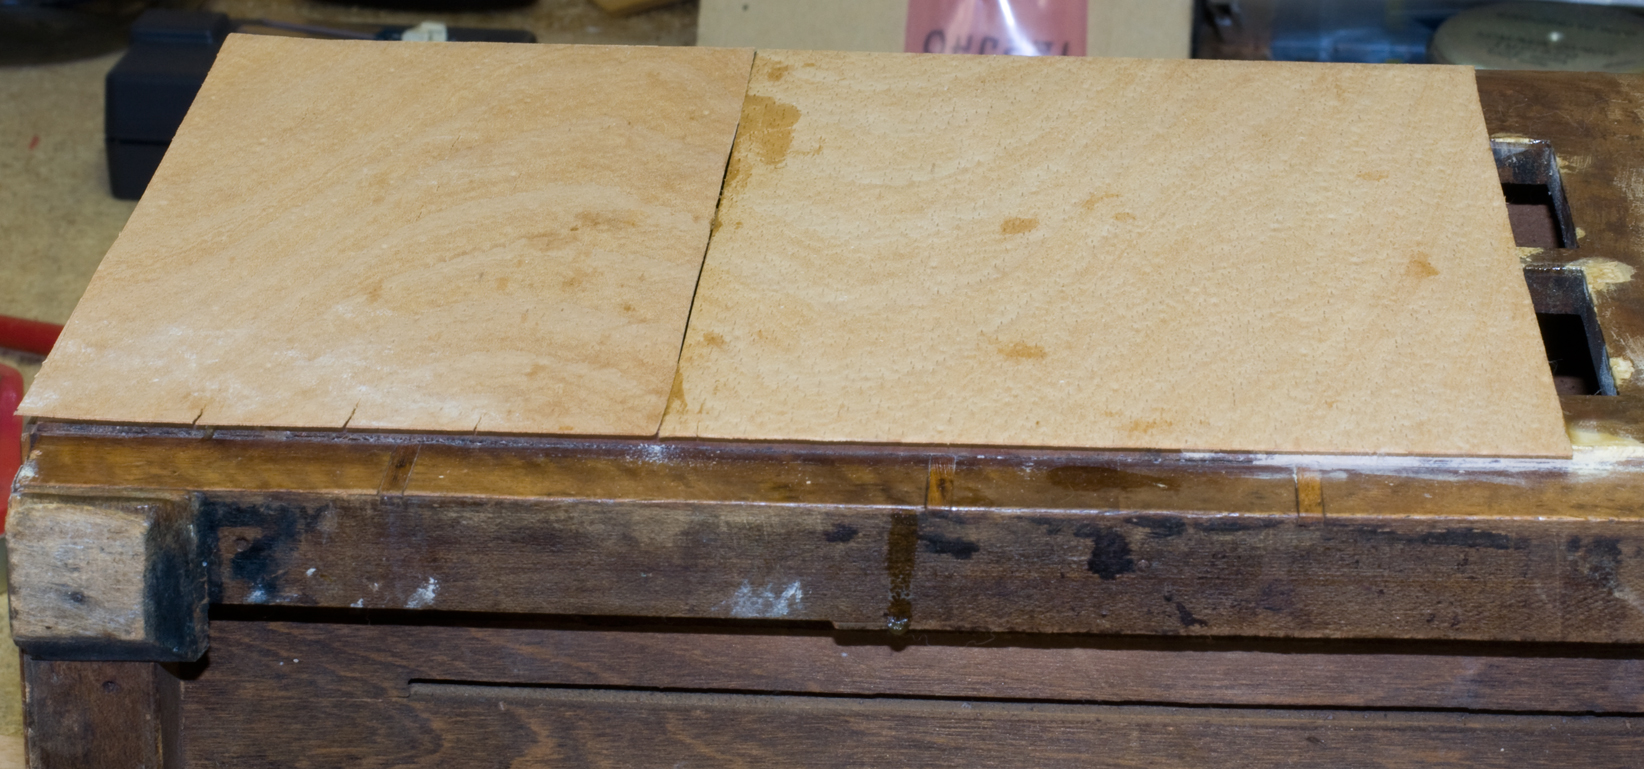 A few days I looked at this thing and the center panel was wrinkled—kind of like when paper gets wet it never dries out flat and clean. I let it sit a few days while I thought about it, figuring it'd either have to take it off again or maybe I could sand the high spots off and it would be nice and smooth and flat. In theory that should work, but theory and reality are two different things.
Today I looked at, as I set it up for this photograph, and noticed that the wrinkles had disappeared and it looks pretty good. Procrastination pays off again.
Unfortunately the join looks like hell and there are cracks in the bottom; I don't think sanding and putty will do the trick. I may try it anyway, but right now I'm thinking I'd be better off taking them both off, sanding the surface again, and then buying a single sheet of veneer that's large enough to cover on its own. It's going to sit for awhile while I ponder that, and give the elves a chance to fix it while I wait.
Current status: on the shelf; needs veneer/cabinet restoration.