
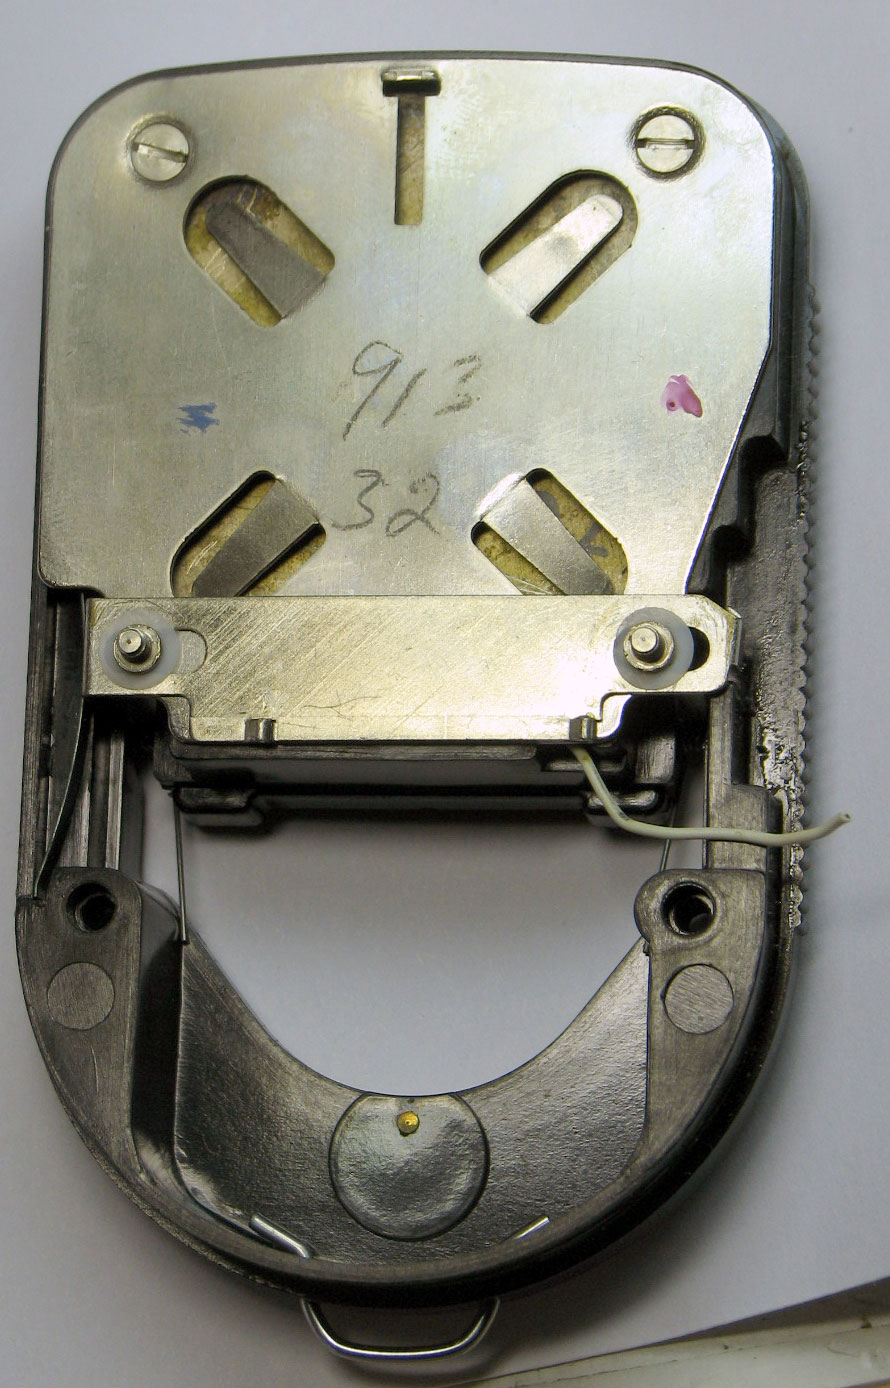
Meter RemovedSo now we have to look at the photo cell itself. The electrical wire here was snipped so we could remove the meter assembly. First, unscrew the two bolt posts (3 o'clock and 9 o'clock on the photo) and set aside, along with the washers. There's a slide plate here that's used to lift the pointer-lock bar. There's a long spring on the side that pushes it toward the right. Lift off the slide bar and pull the spring. Side aside. |
Click on image to see a larger version |
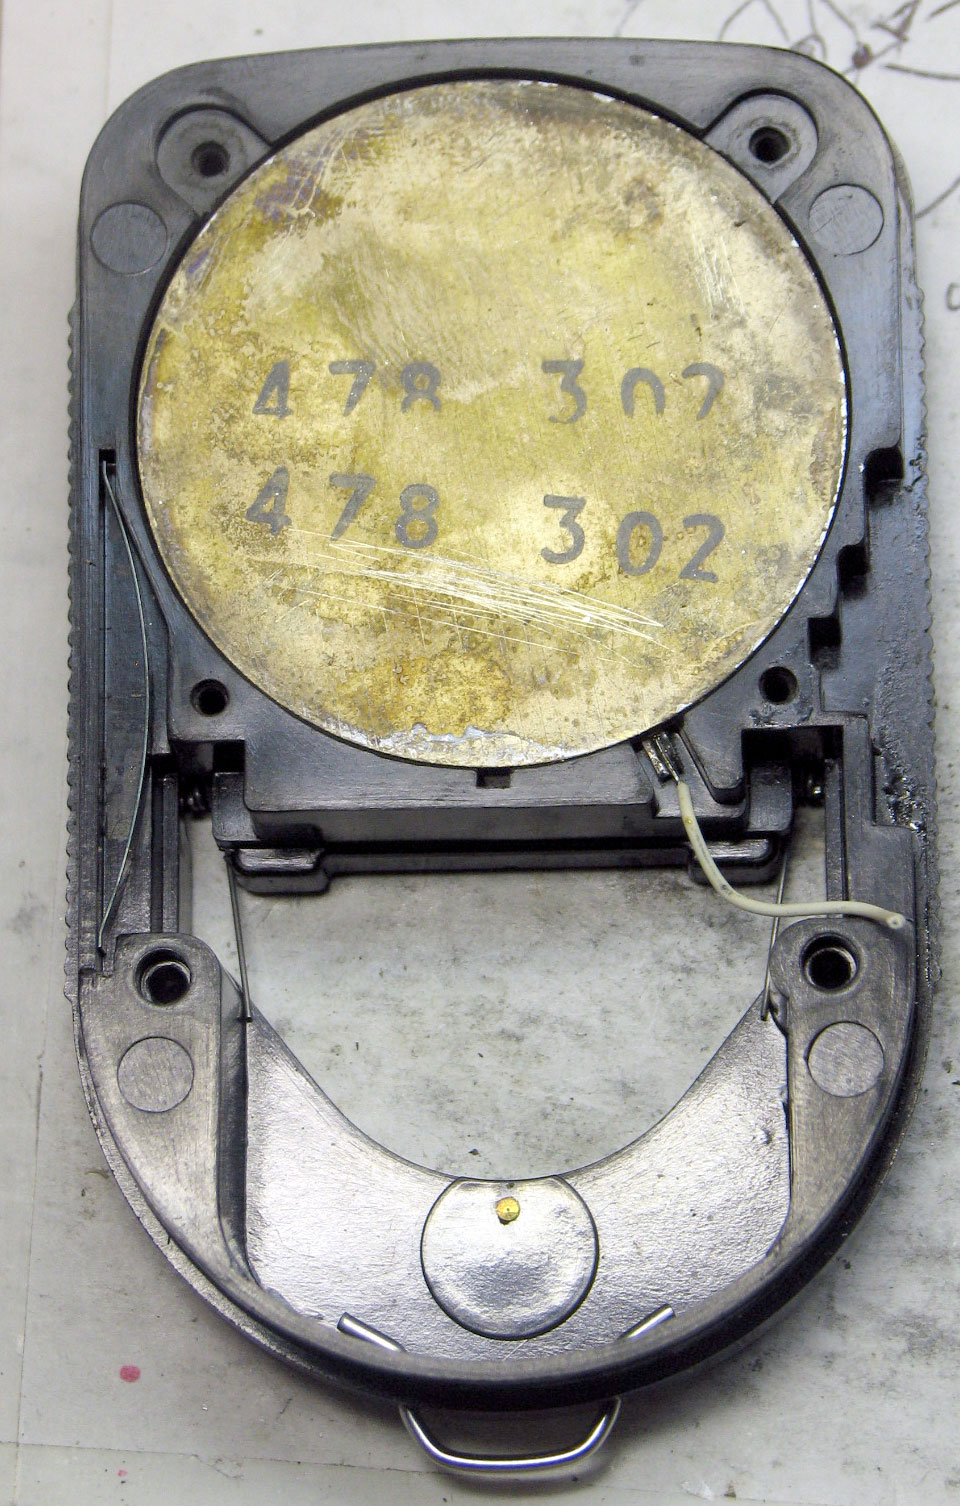
The back of the PhotocellThat big plate with the numbers stamped on it is the selenium cell. This is the back side (the iron plate side, the + side electrically). It lifts out easily. |
Click on image to see a larger version |
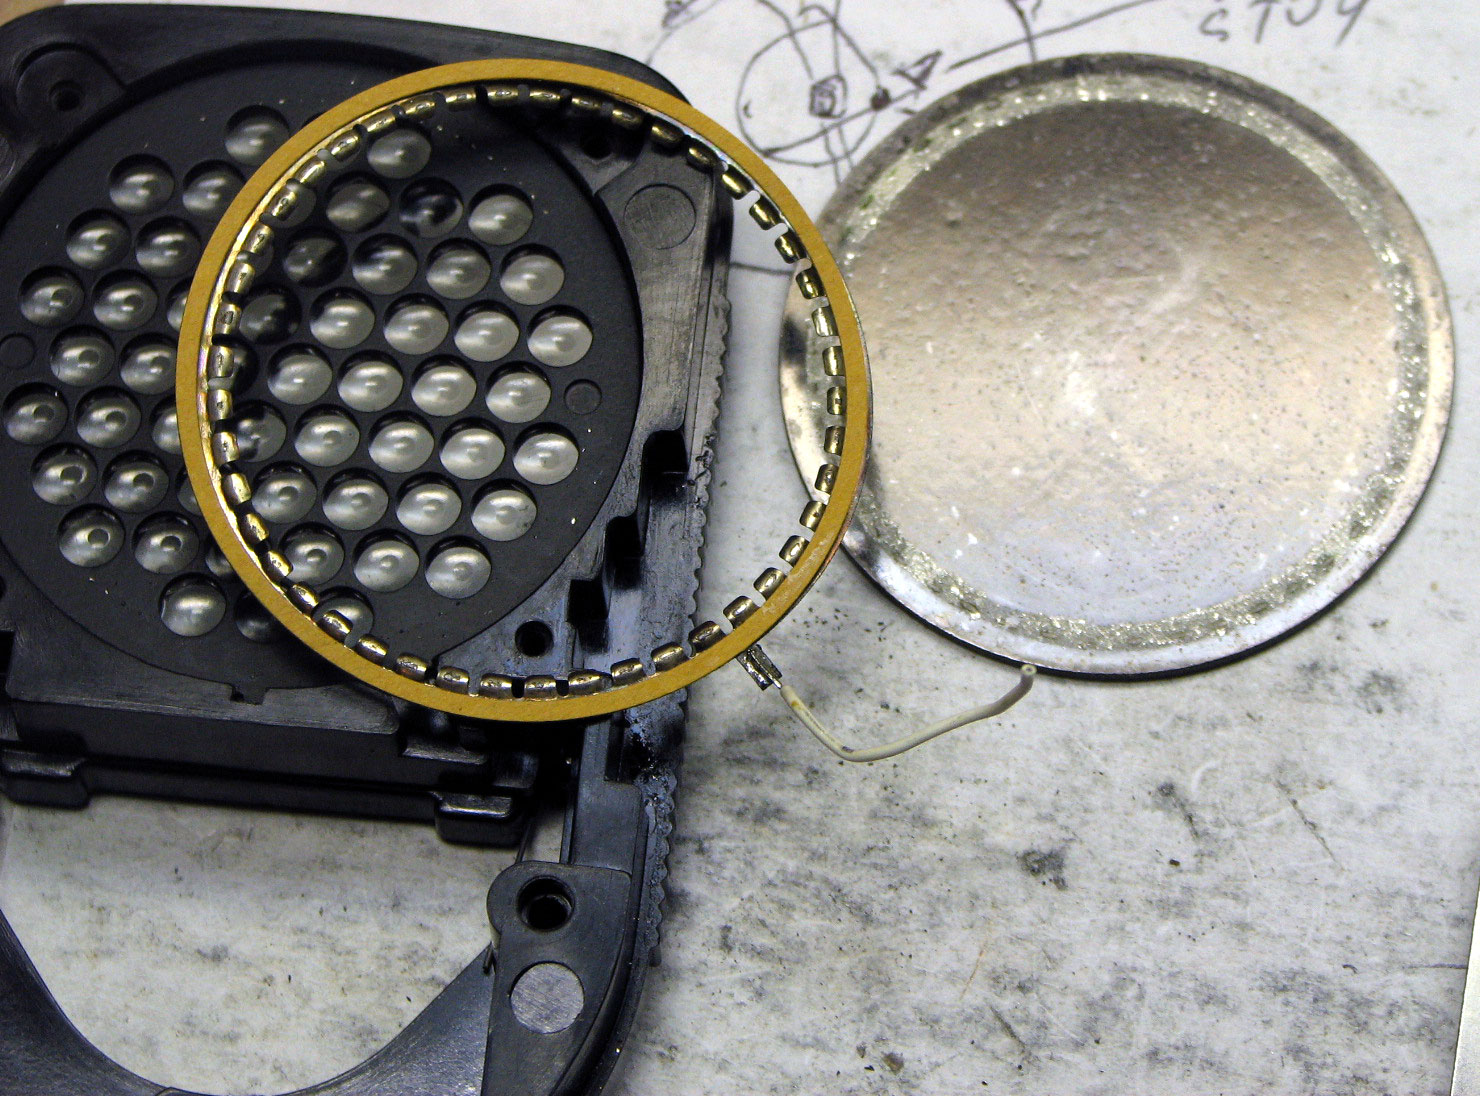
The Photocell ExposedThis is it! The bottom of the unit. This is what we came for. The plate on the right is the front of the photocell. It's plated with Selenium, which is nasty stuff, so try not to touch it any more than you have to, and wash up aftward. The color in the photo here is bad; in reality it's dark gray. There's a metal ring and a thin, flexible washer too. The flexible washer is tan-colored and sitting on top of our pick-up ring. The pick-up has a lot of little fingers that press against the selenium disc when they're in contact. Note that this is where the wire is connected. For convenience, we put the cell together (ring, washer and plate) in the housing and aimed it at a bright light. We got a tiny amount of current but not enough to run the meter. (Selenium cells don't produce much current, but this was too small even for by selenium cell standards). The cell's spent. The fix would be to get another Master IV with a broken meter and harvest the (hopefully) good cell out of it. That's it. We reassembled the meter (easier said than done), which was pretty much the reverse of how it all came apart. |
|
| Previous | Main |