
Head Gasket Replacement: Phase 2: Prep, Cleaning, Damage Repair, and the New Gasket
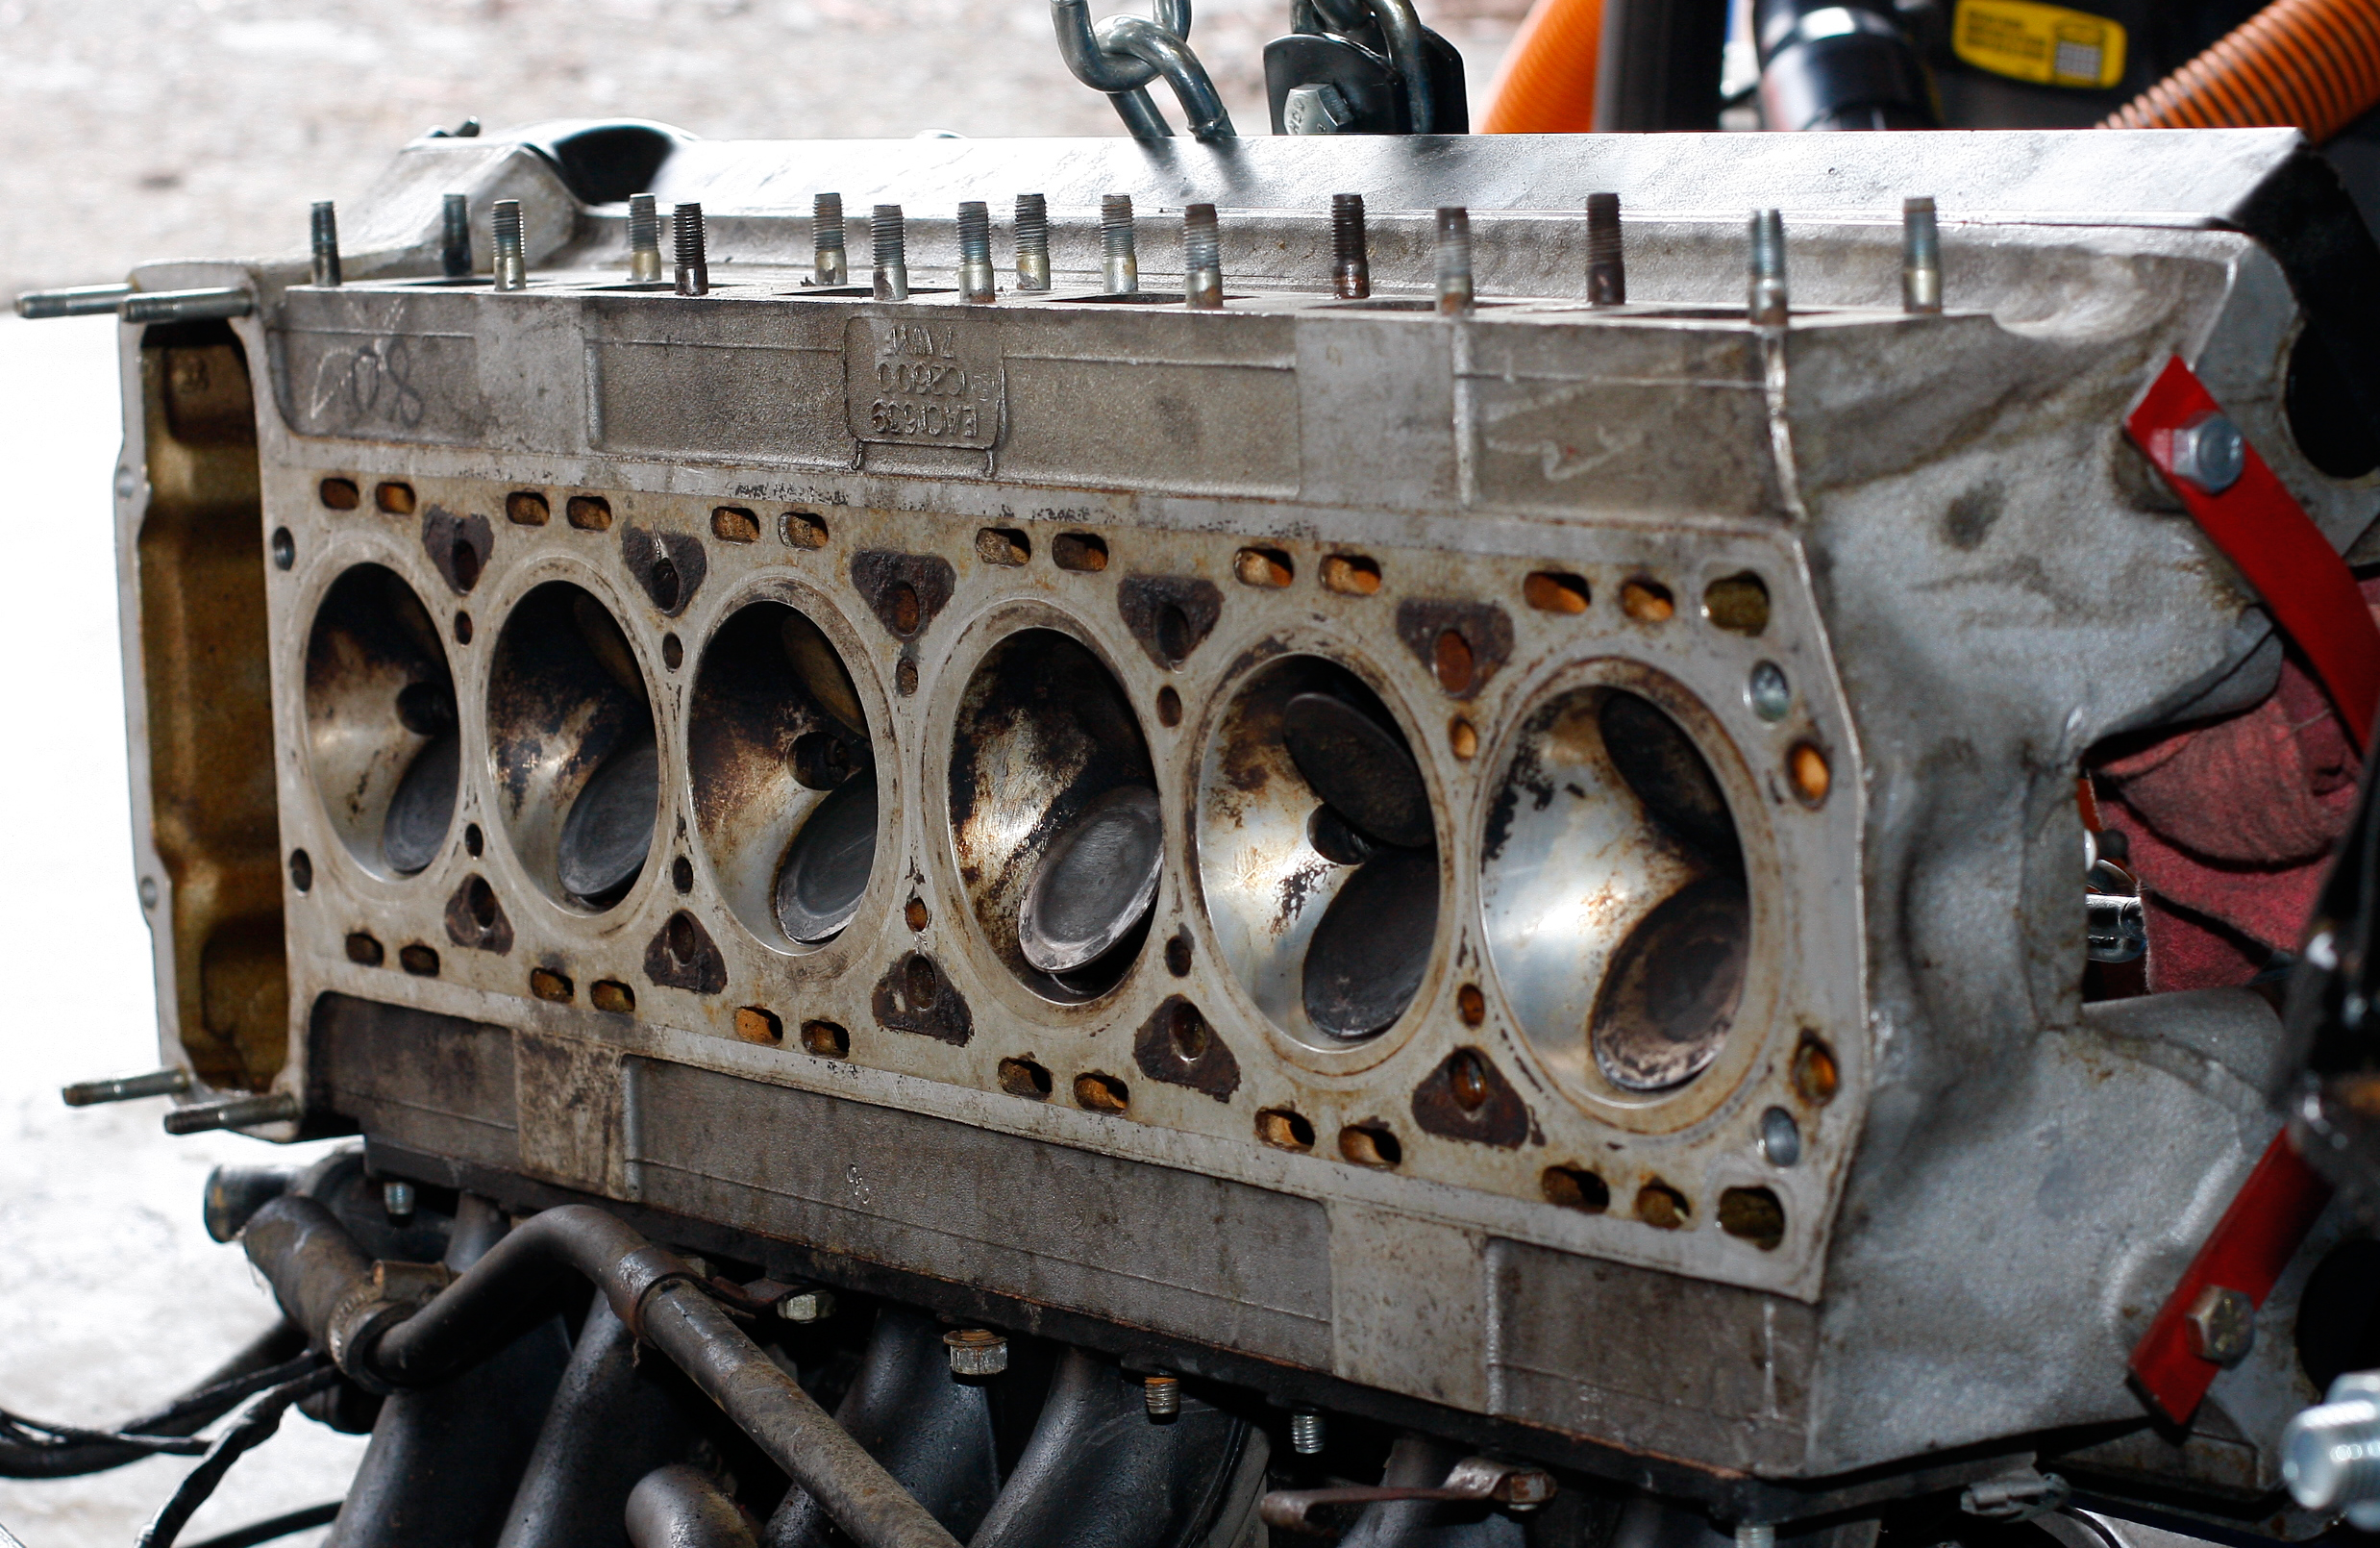
I'm going to spare everyone all the stuff that turned out to be unnecessary. The summary is this: I had a bitch of a time separating the intake manifold from the head, but managed to do it by using a couple of short 2x4s and a bottle jack to push them apart. That after having to cut off a couple of nuts that were siezed and rounded-over. I took the head to the local independent Jag shop to look at, and they determined that the head was warped well out of tolerance. Since it was going to cost an exhorbitant amount to even attempt to fix it, I decided to use the head off of spare, junk yard engine that I had instead. The junk yard engine was supposedly low mileage and looks it, so that's going in.
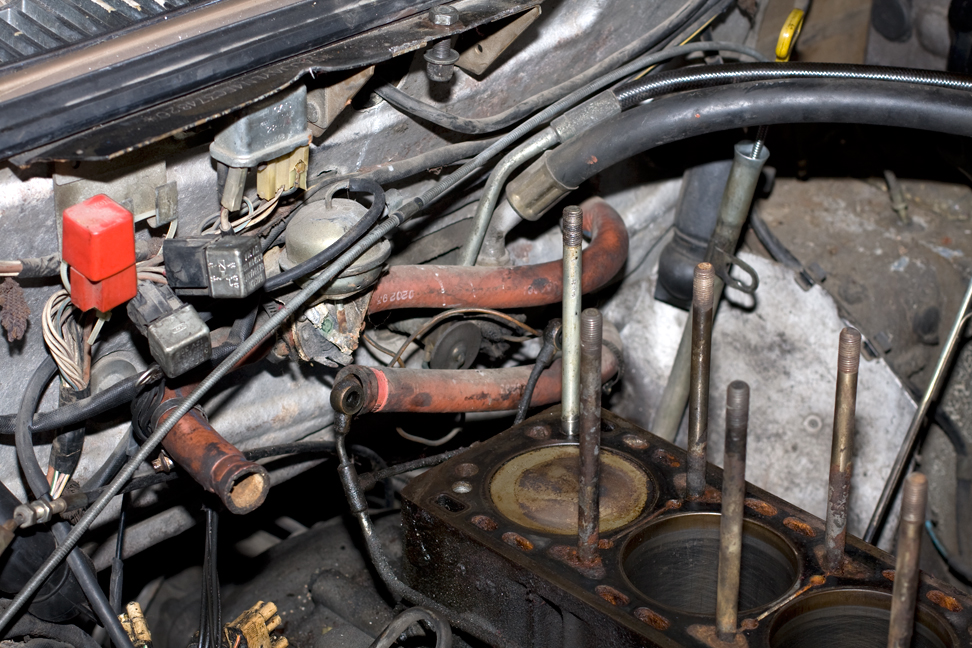
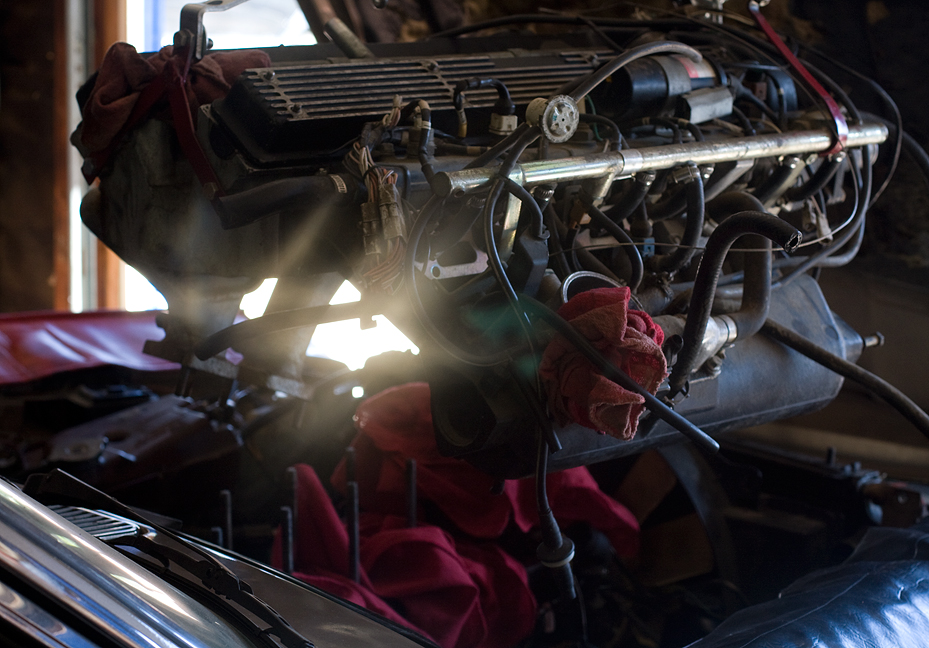
I'm going to replace those three red heater hoses while they're easy to get at. If I don't, one of them will break and it'll be ten times harder to get to them.
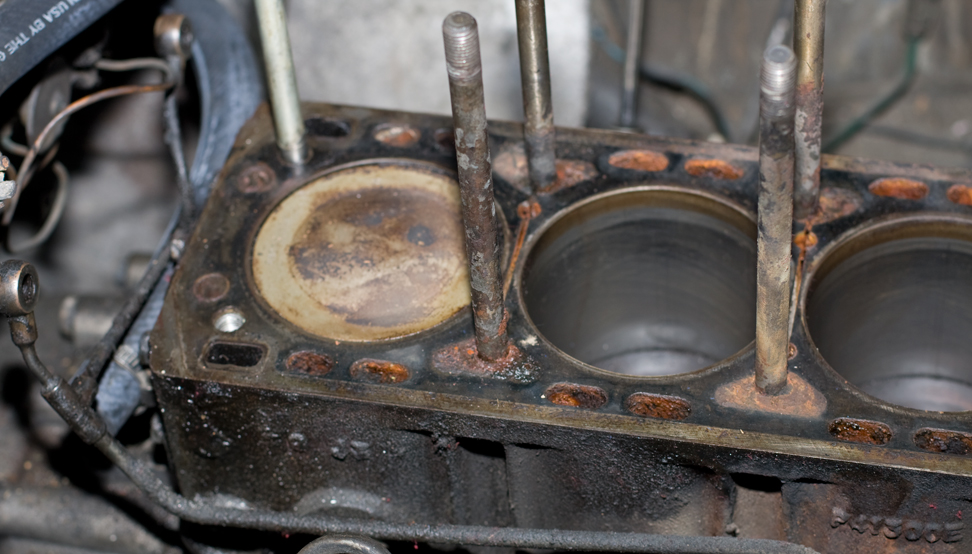
Two things here. One is that I'm missing a stud (you can see the hole bottom left). That stud had hung up when we were removing the head and got bent, so I pulled it. It'll be replaced before the head goes back.
The other is that the studs that remain, especially the one lower-center, a thick with deposits. I'm going to try to clean that as much as I can.
This is after I went over it with about a quart of carb cleaner an a plastic brush. The carbon buildup in the chambers and on the valve faces is heavy. I was able to scrub some of it off but not as much as I'd like. There were also black rings around each of the cylinders--you can still see where it was (and some still remains) that I'd cleaned off.

Exhaust gaskets are on
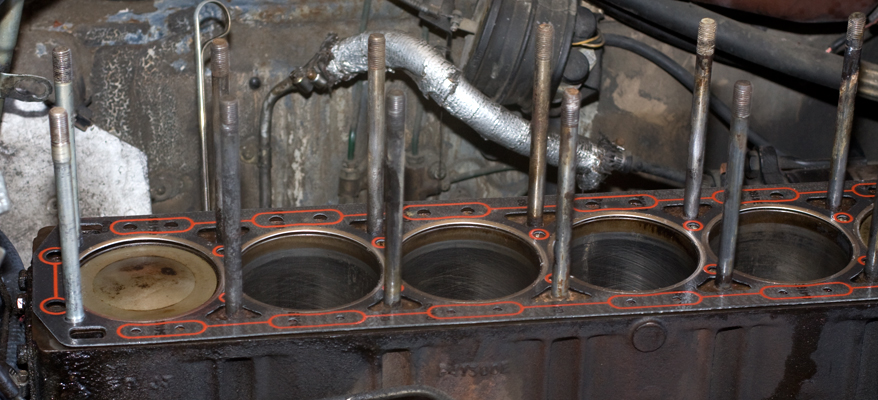

Head gasket is on
Engine suspended and ready to go back on (once I take out all the rags that are covering the block).