
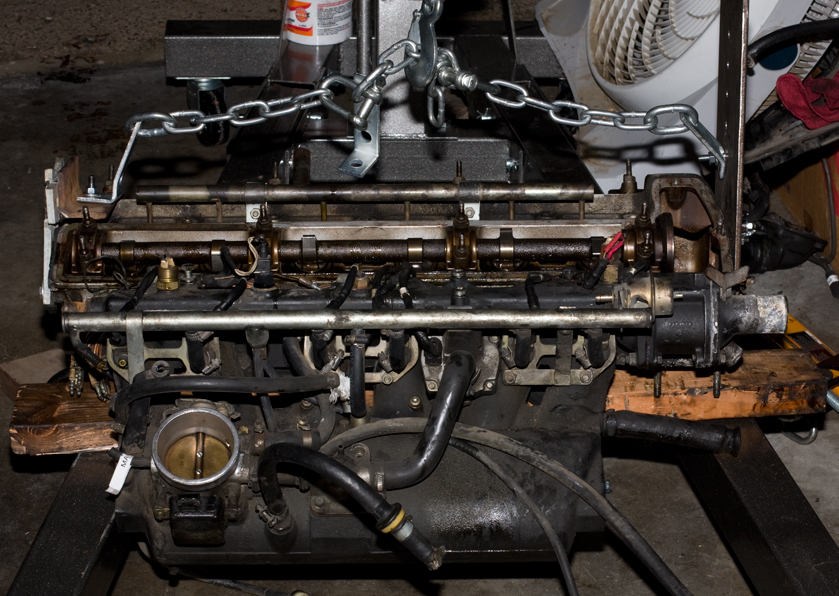
Ready to Lift
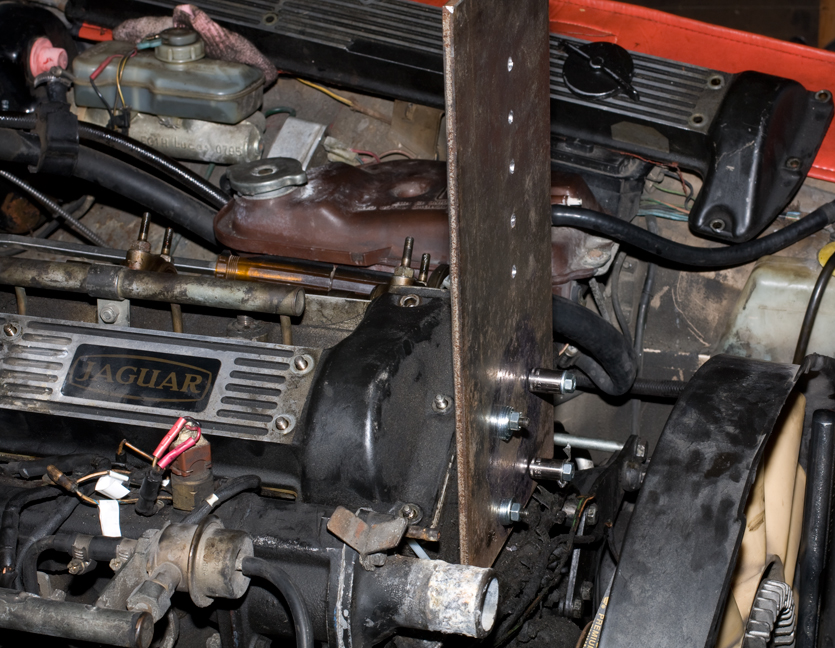
So here's why the breather was taken off. This big plate has holes drilled to fit the breather. There's a set of holes drilled vertically toward the top. I'm going to take the chains on the engine hoist's load balancer and bolt one chain to this plate. The other end will go to another plate that bolts in the rear of the engine.
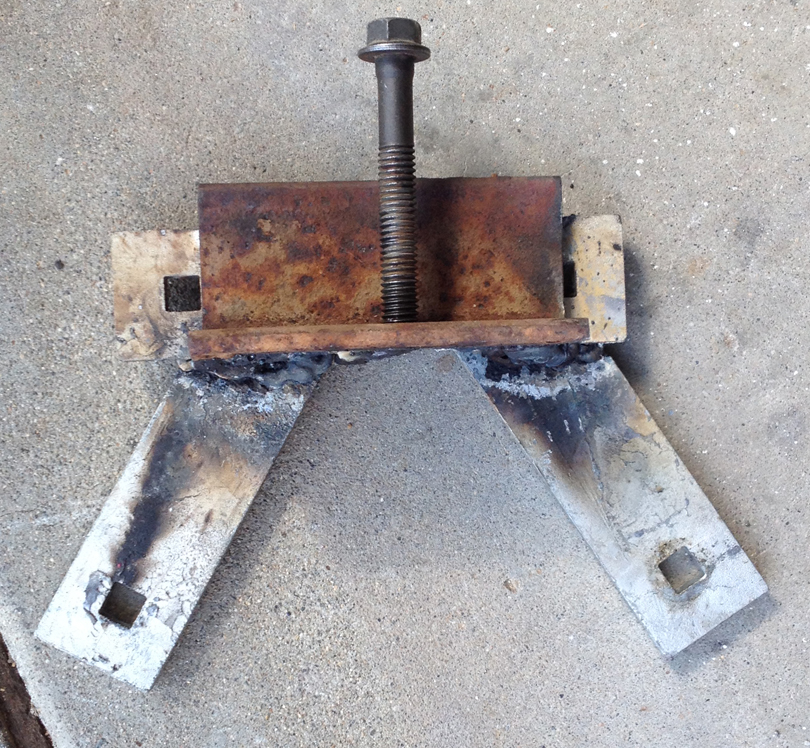
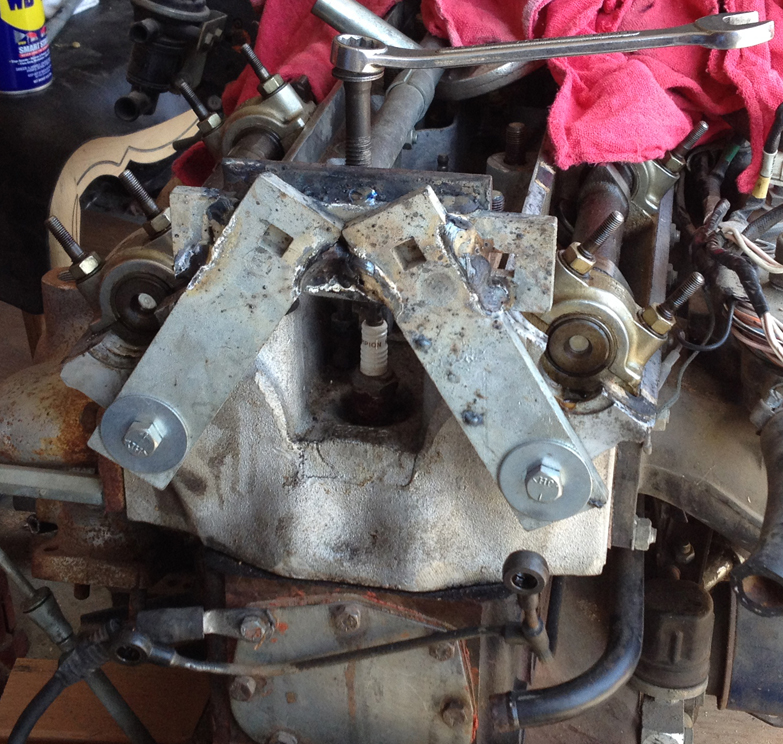
This is the rear pulling tool. It's three bars welded together for the frame, and a piece of ange iron in front. The bolt goes into a tapped hole.
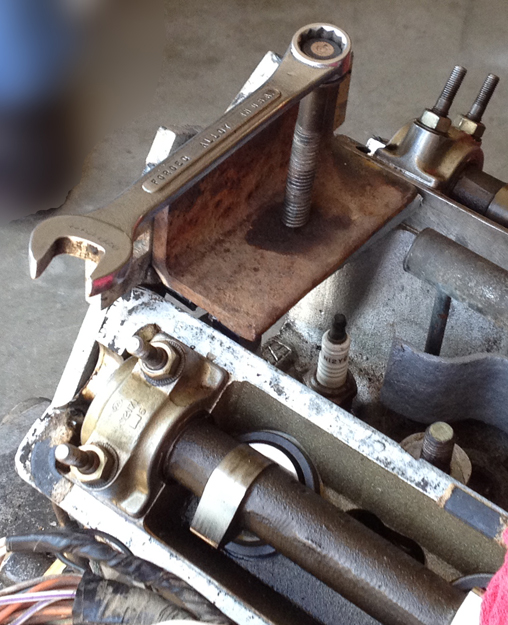
Here's the firewall end of the engine. There are two tapped holes directly under the camwells--the oilers screw into those holes. With the oilers removed, the lifting tool is going to bolt into them instead.
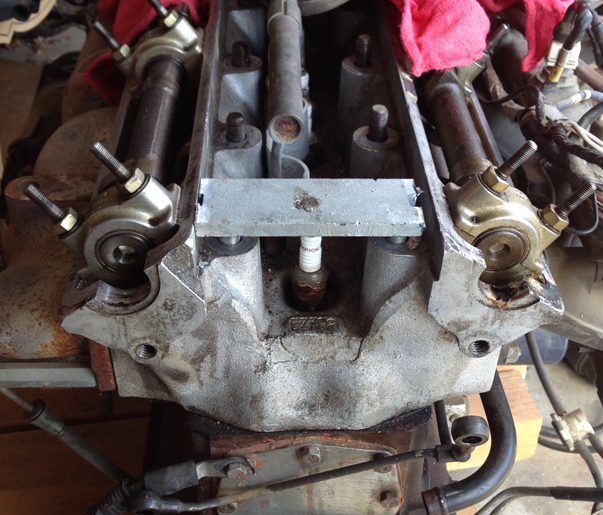
Another plate acts as a push bar. It sits across the two studs. The puller is mounted to the head but pushes down on the studs, so that pulls the head away from the block.
The puller is mounted and ready to go.
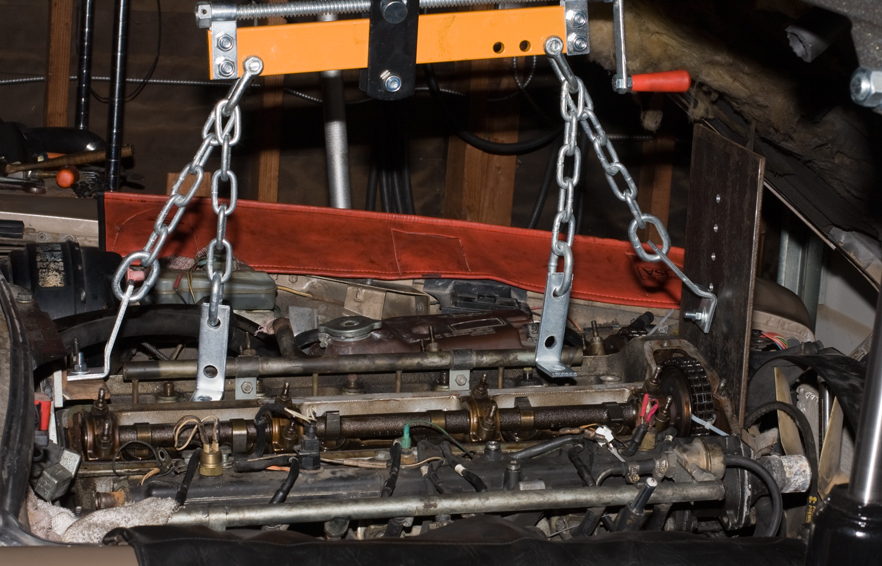
The engine hoist is chained to the two pulling tools. (The two chains that are hanging straight down are just dangling.)
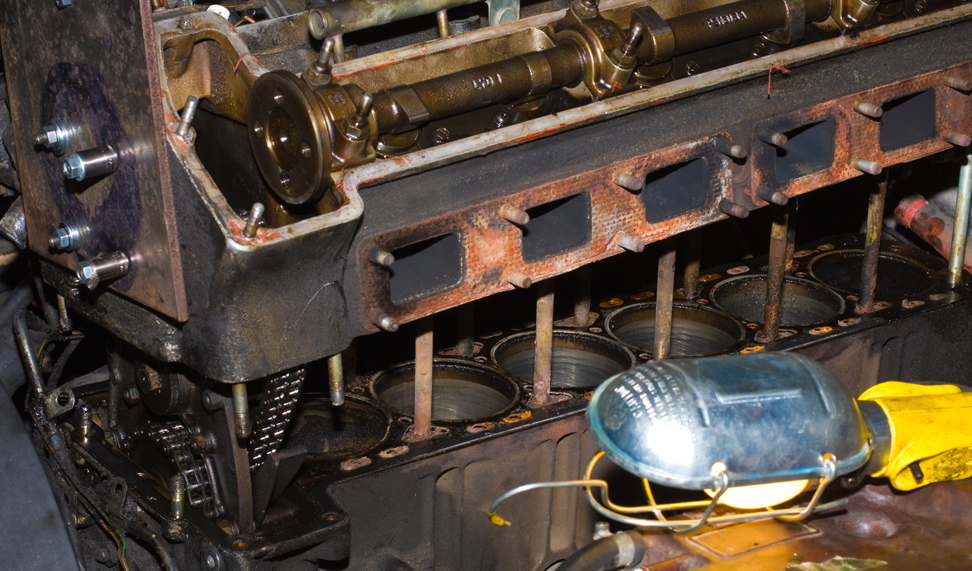 The head is separated! It's a mix of using the rear pulling tool, jockeying around with the engine hoist and load leveller, and a lot of pounding on the block (but not the mating surface) with anything we could find.
The head removed and now sitting on a 2x4 on the floor.
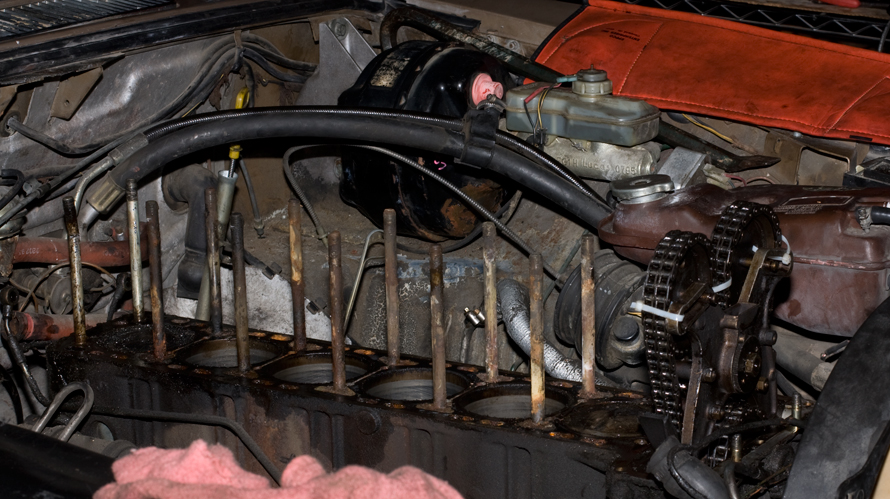
The block with the head removed.