
 Note: Sadly this radio is no longer in my collection; I have left it here for archival purposes.
This is an RCA Model 128 radio, which dates from around 1934/1935. Right now it's rough, but it's potentially the best looking radio I own. A lot of people would short-list this and its brother, the 224, among the most beautiful radios ever made.
I've seen some discussion on whether this is really a tombstone style or a cathedral; you could make a good case for both. The shape is very much like an actual tombstone (a grave marker); but the round dial and the art deco speaker grille make it resemble a cathedral (an elaborate church).
Tube Compliment
6A7 - Converter
6B7 - 2nd Detector
6D6 (two) - RF and IF amplifiers
41 - Audio out
80 - Rectum-fryer
Dial lamps: tbd
There's also a console version (same chassis), the Model 224 "Globe Trotter", which has a 10-inch speaker. At this time RCA, General Electric and RCA were still heavily integrated, so there's a GE version, Model M-61, and Westinghouse's WR-46. I assume the chassis is the same but the cabinets are different.
It's a 3-bander, called "All-Wave" at the time, so coverage was from 540 kHz up to 18 MHz, continuously (i.e. no breaks in coverage). All-wave is faddish, and the pre-World War II era was one of the times it was popular, when people were tuning in to the BBC or foreign-language broadcasts to hear what was going on back home.
Power consumption is 85 Watts, so figure about 750 mA as a normal draw (that's important if work on these things. A higher draw indicates a short circuit and a burned-up radio.)
There are two major sources for service docs. RCA has it in their Service Notes, 1934 edition, in detail (see Resources below), and a shorter version in their Service Data book. It appears in both Volumes 5 and 6 of Rider's Perpetual Troubleshooter's guide, saying that the 1934 and 1935 production runs are different enough to warrant publishing seperate wiring diagrams. So far I haven't look at it closely enough to figure out what the difference is, or which run my radio is; nor do I know how they differ from the RCA Service Notes/Data literature.
The Radio Itself
The cabinet is rough but intact. It's mostly complete. Out of five matching knobs, I've got two and a non-matching third. One's missing entirely. The fifth one was a rotating on-off switch. Someone removed it and replaced it with a banana-style toggle, which is a) wrong, b) very wrong, and c) ugly. It would be at home on a boat anchor, which this certainly is not.
It's missing three of the original knobs. I'll have to get those from Renovated Radios. Knobs are one of the bains of my radio-repair existance. Fortunately the cabinet is in pretty good shape. Even the grille cloth isn't too bad.
I plugged it in and warmed it up with the variac. It works—the audio works at least, as I got hum, and a little noise as I scratched at the antenna terminals. Next step will be to pull the knobs, pull the chassis and go over it. Not sure when I'll do it, as there are a lot of other radios waiting for the same thing. Hopefully sooner than later.
Things to Buy or Obtain
- Knobs
- a bracket for the front-panel switch
- a two-position rotary switch (on/off)
- 6A7 and 41 tubes (maybe)
Chassis and Electrical
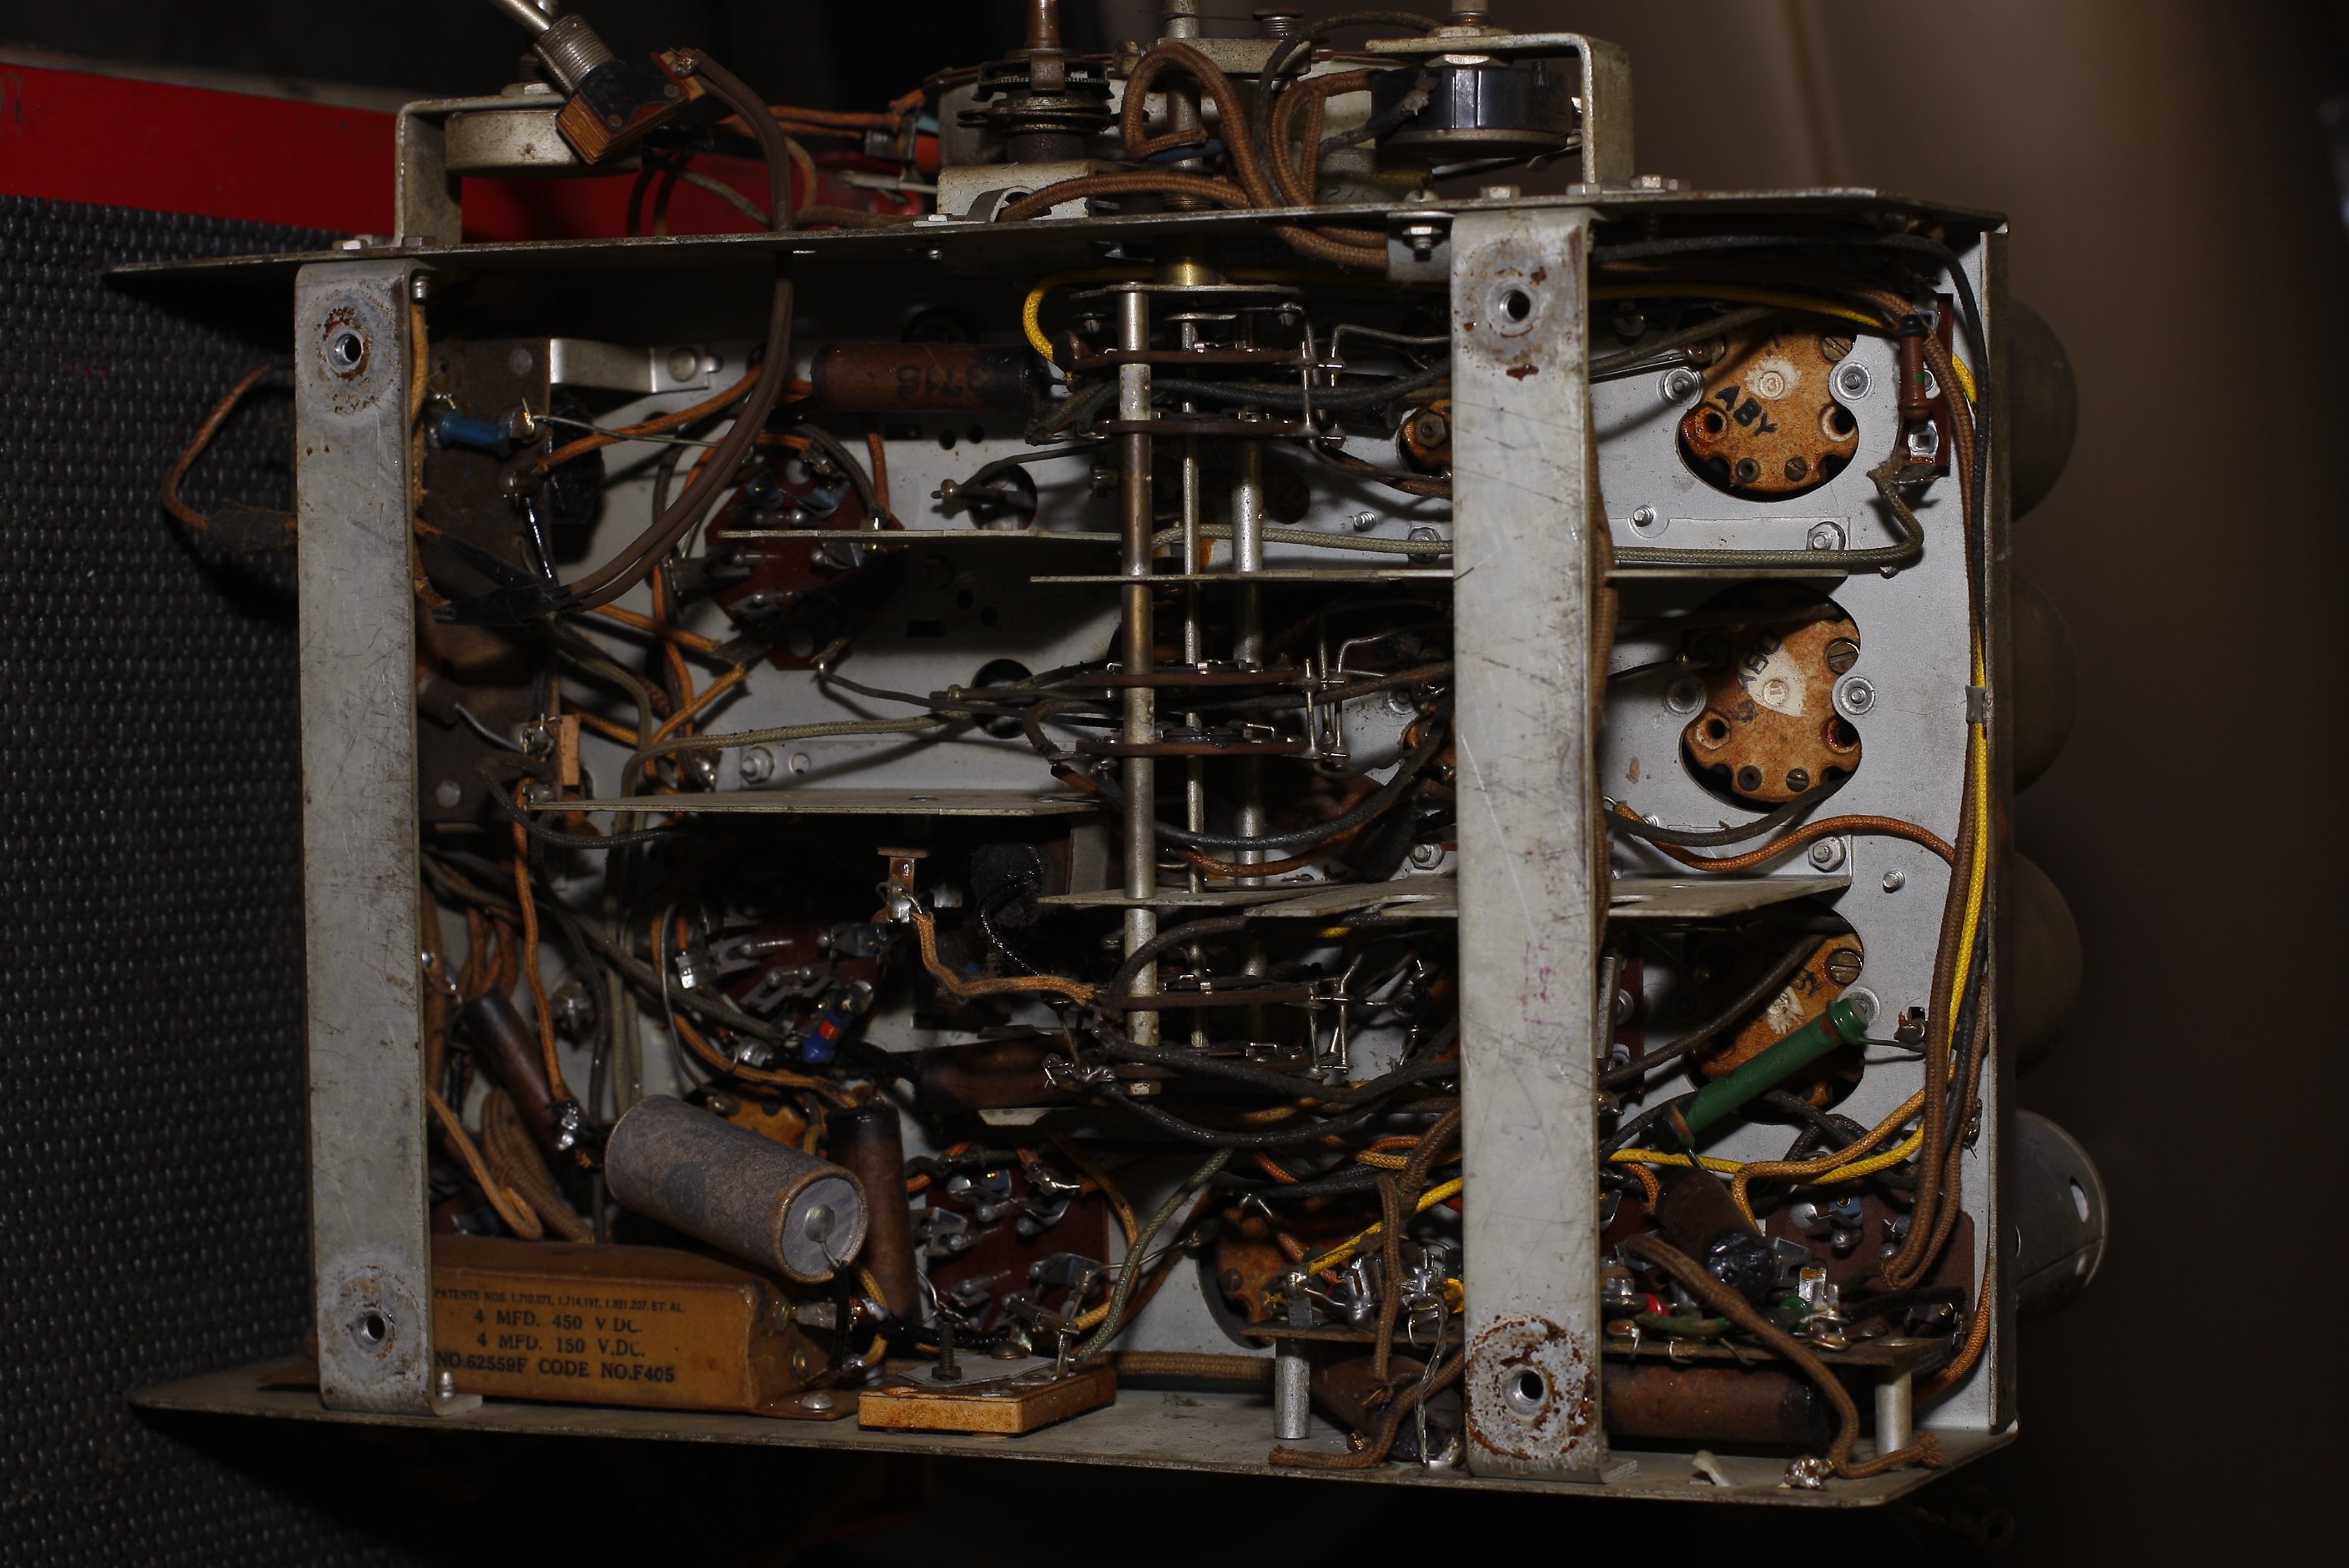
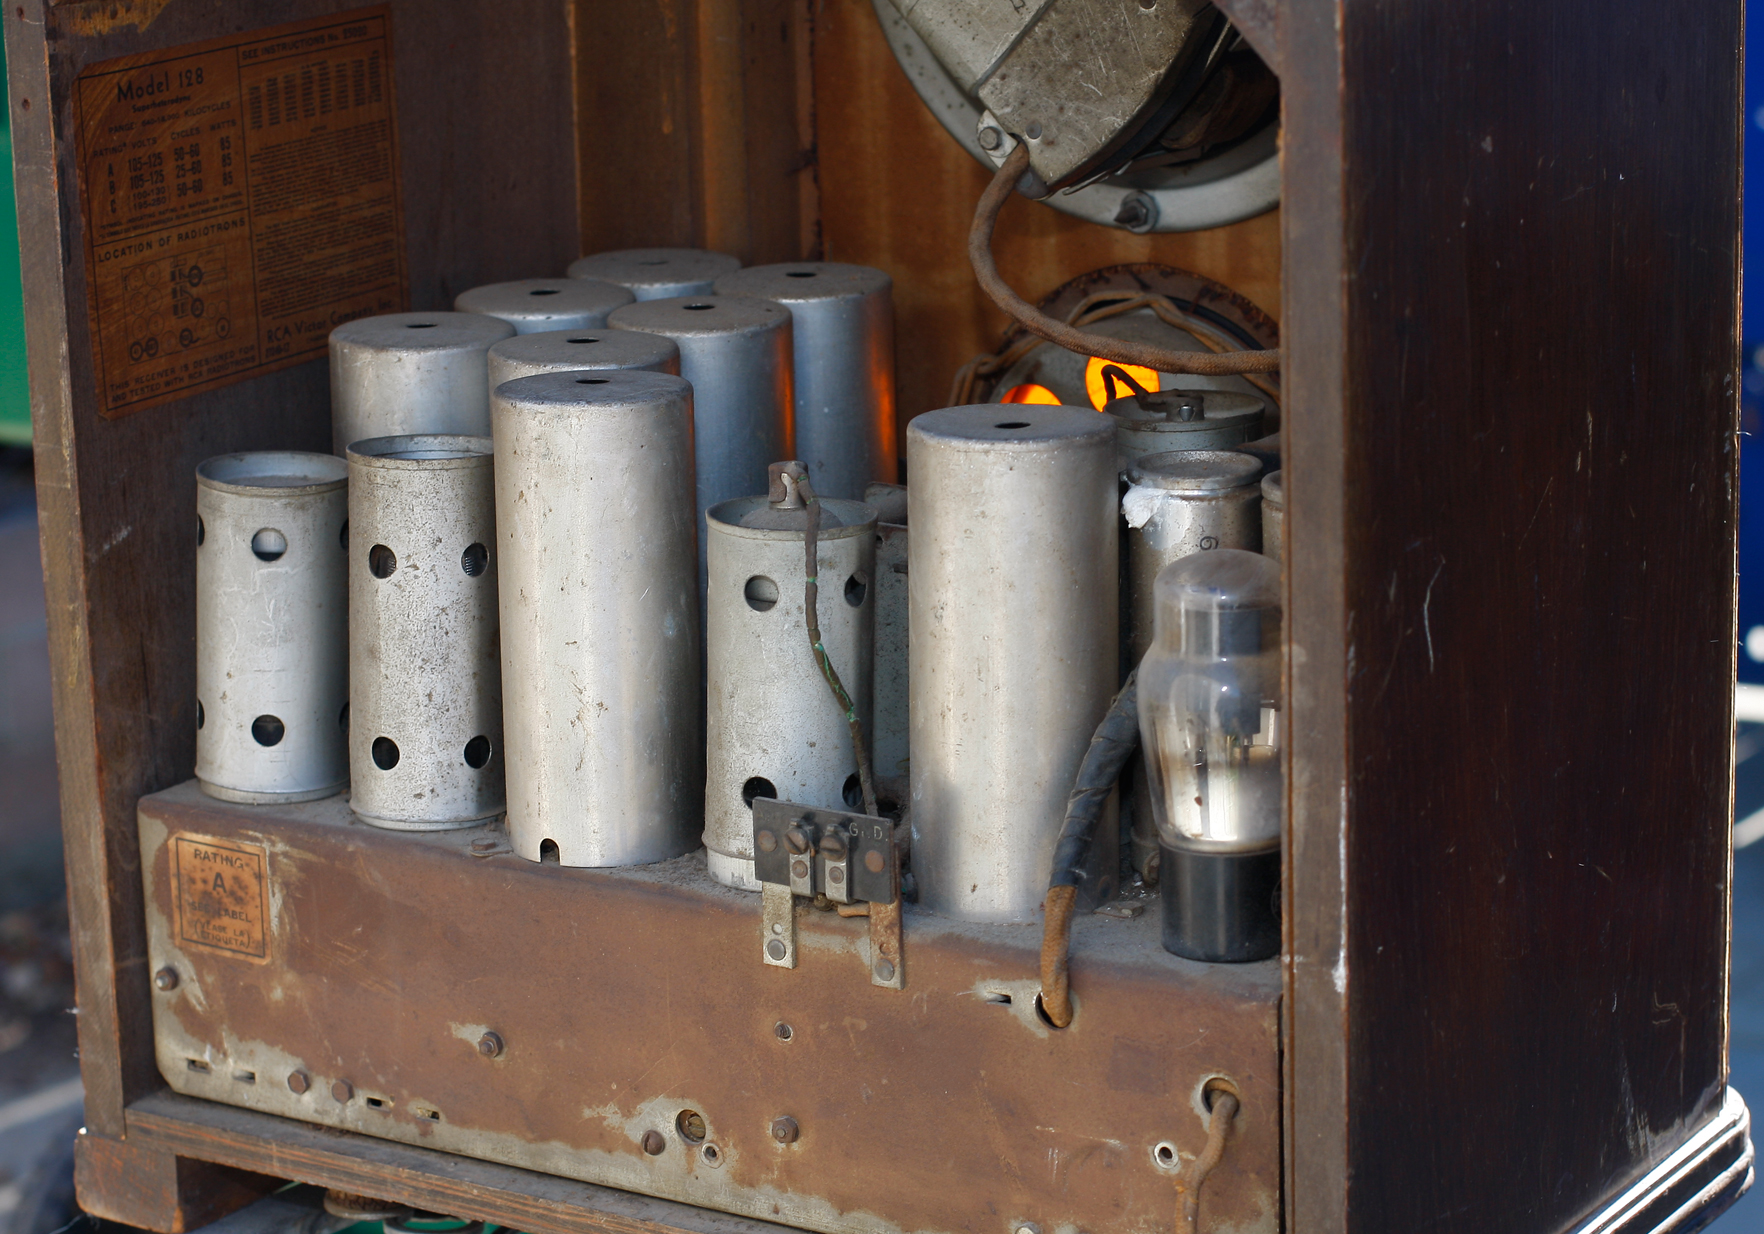
I pulled the chassis and blew an inch of dust off of it. Photos are (mostly) before started taking off the top level of grime and rust with Gojo hand-cleaner (the creamy type) and naval jelly. My purpose isn't to make it look like it just came out of the factory—just to make it a bit more presentable.
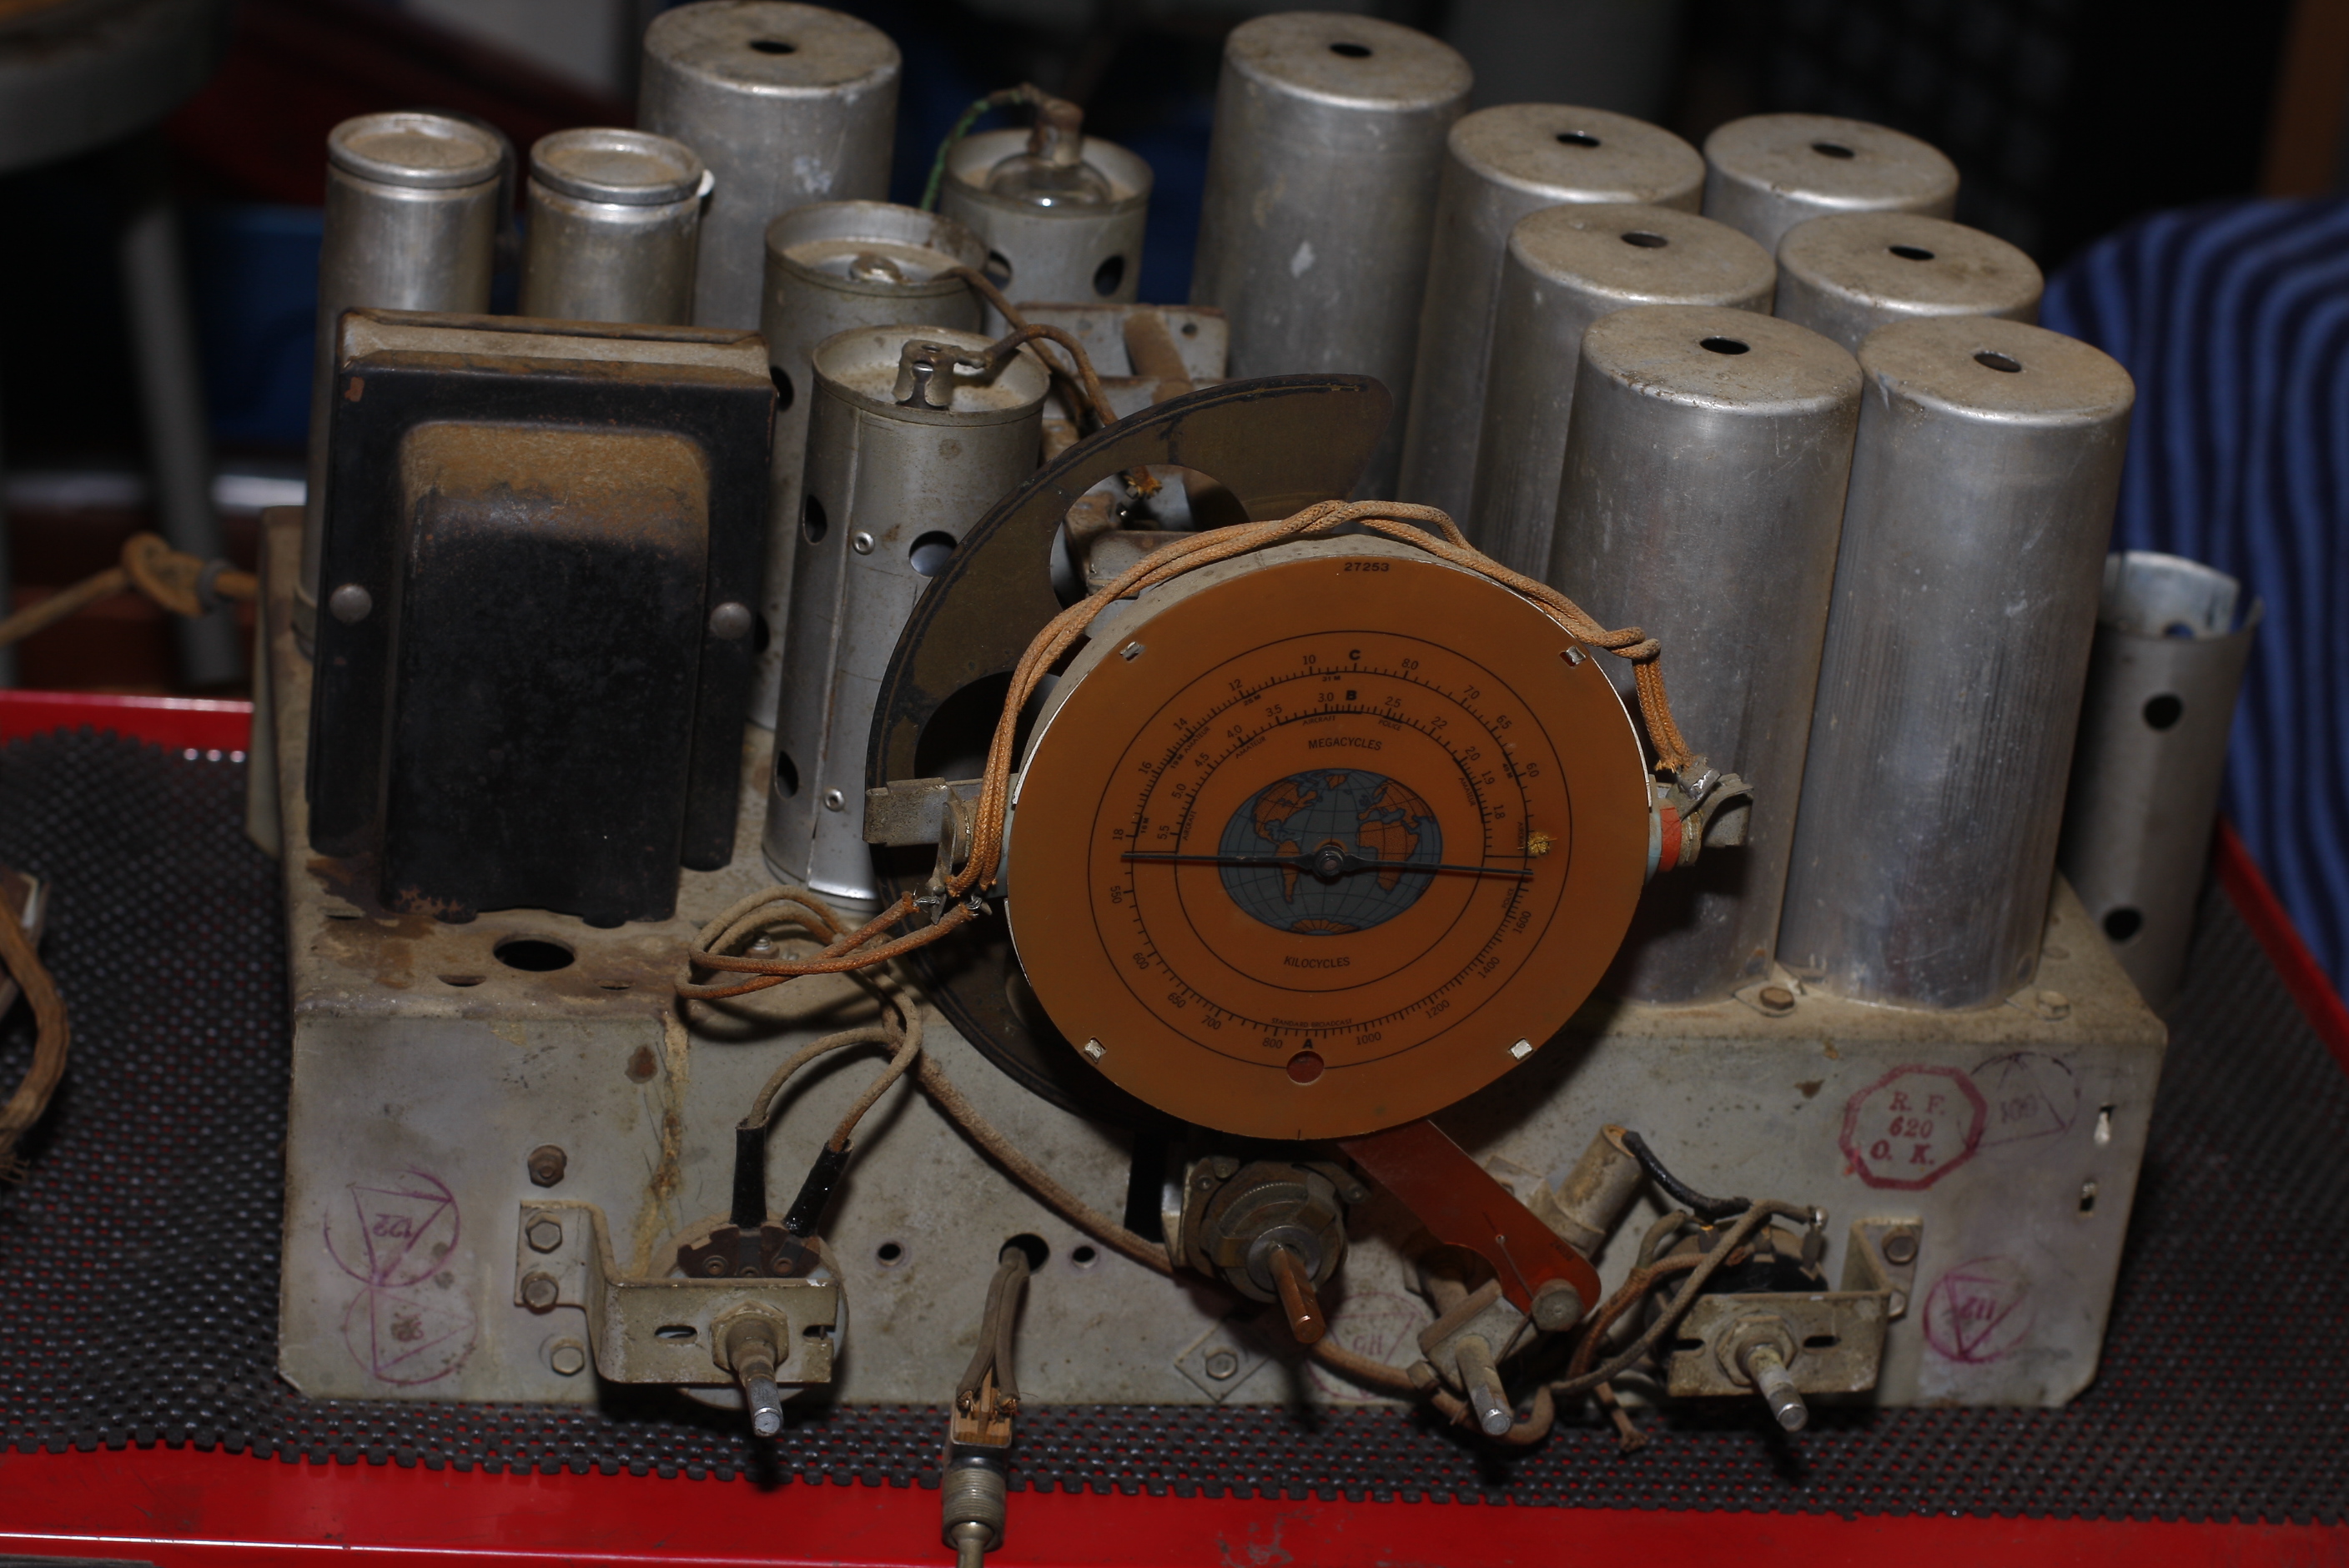
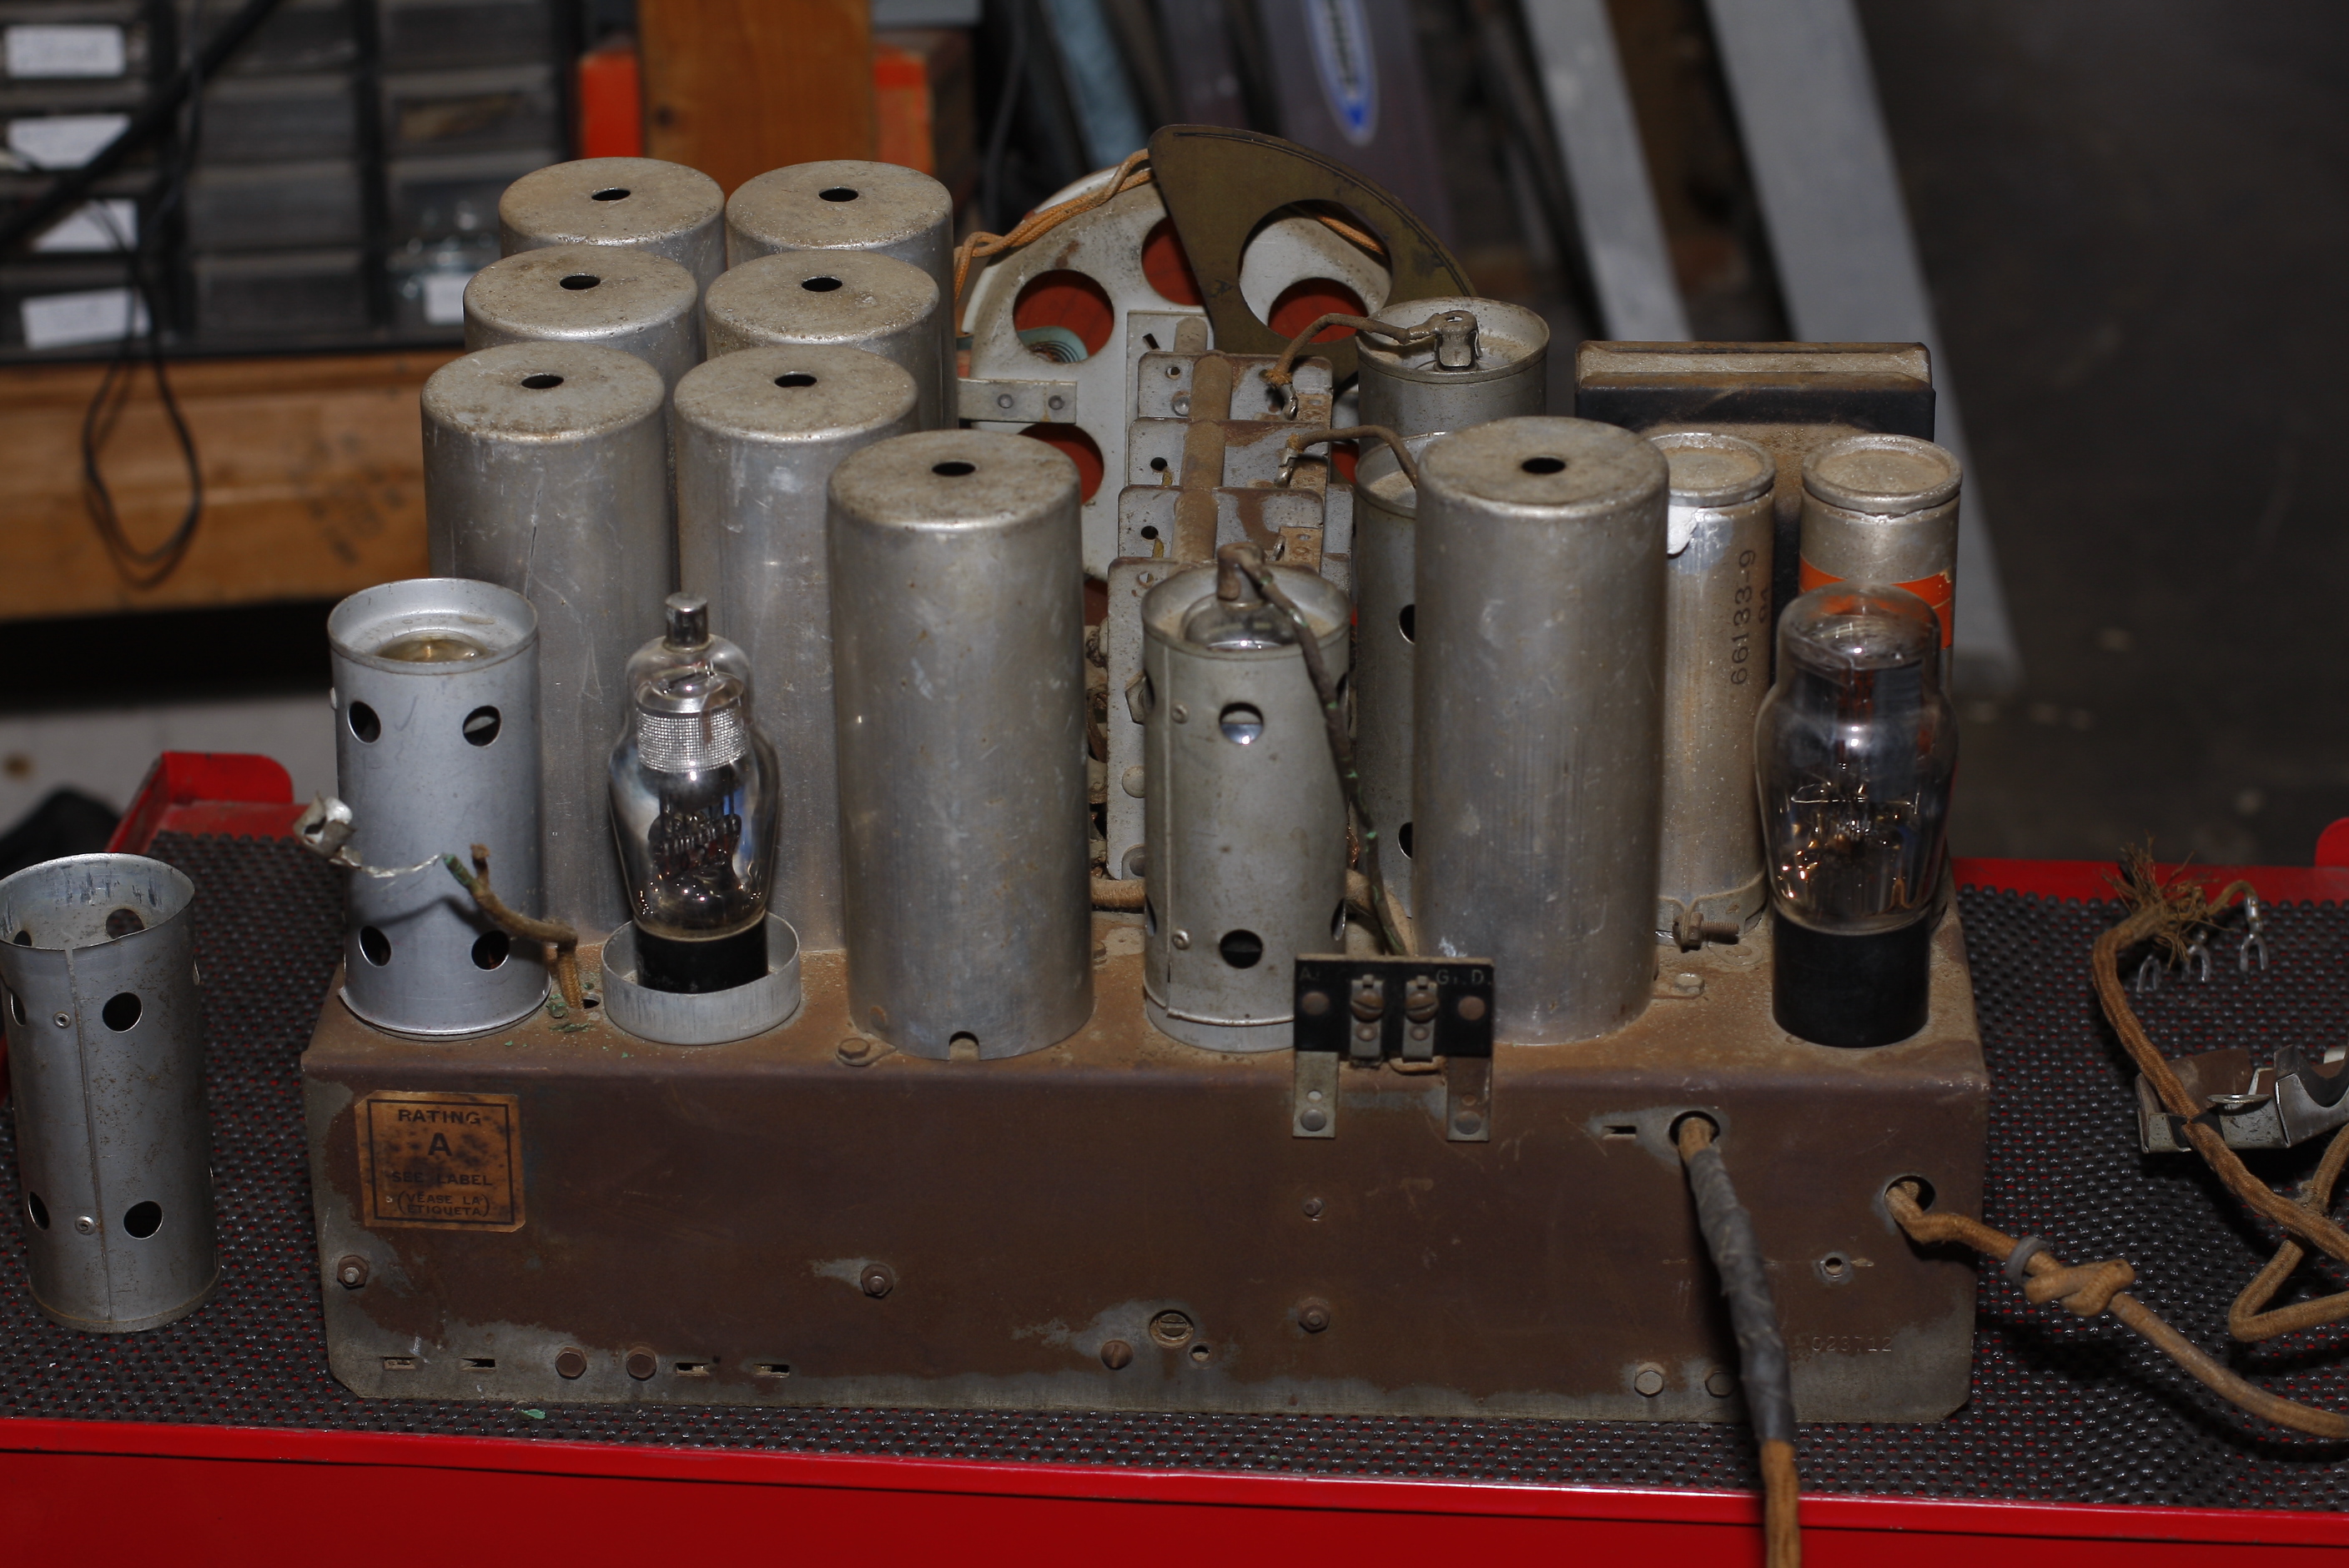
Tube checking was interesting because they're so old. I could check all of them except the 41 power-output tube on the Hickok, because the 41 wasn't on the roll-chart (I probably could have figured it out, but I ended up checking it with my Sylvania). The Hickok tells me the 6A7 is weak, but the Sylvania says it's okay, but the Sylvie says the 41 is weak. So who knows. Of course I have neither of them in stock, and I don't believe I have another radio that uses them. Vacuumtubes.net wants $15 each. I may replace them later, but for now I'm going to go with them.
That's all I've done so far. To signal trace it, I'll have to either pull the speaker from the cabinet or run wires out to it to hook it back up (the power supply uses the speaker field, so I can't just hook up to any speaker I have laying around).
I also dabbed some clock oil into the tuner condenser. It feels like it turns a little easier, but that may just be wishful thinking.
Cabinet Refinish
As always, click on an image to see a larger version.
I figured this was as good a project cabinet as I was going to find to try refinishing. It's complete; it doesn't need pieces or veneer. The idea is to try and refinish it using the steps in Recreating a 1930s Lacquer Finish.
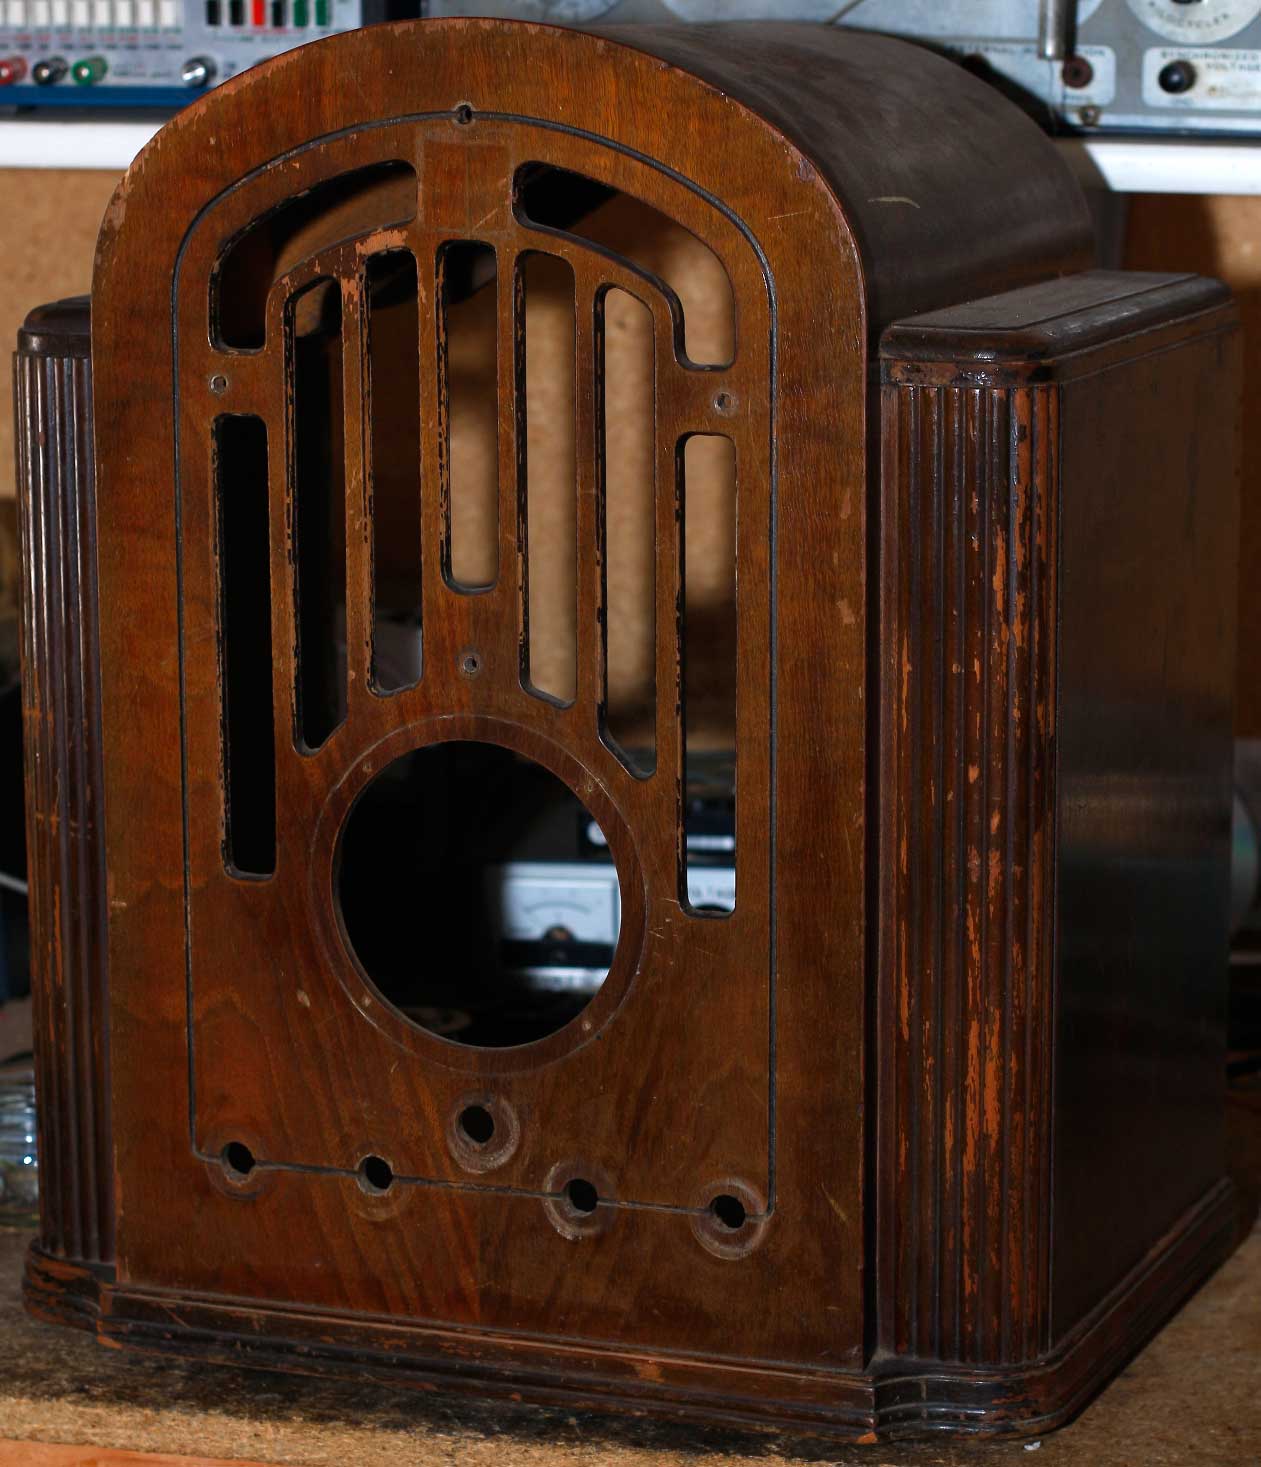
First step was to remove the chassis (already done). Next was to remove the escutcheon and dial glass. That came out with four small screws.
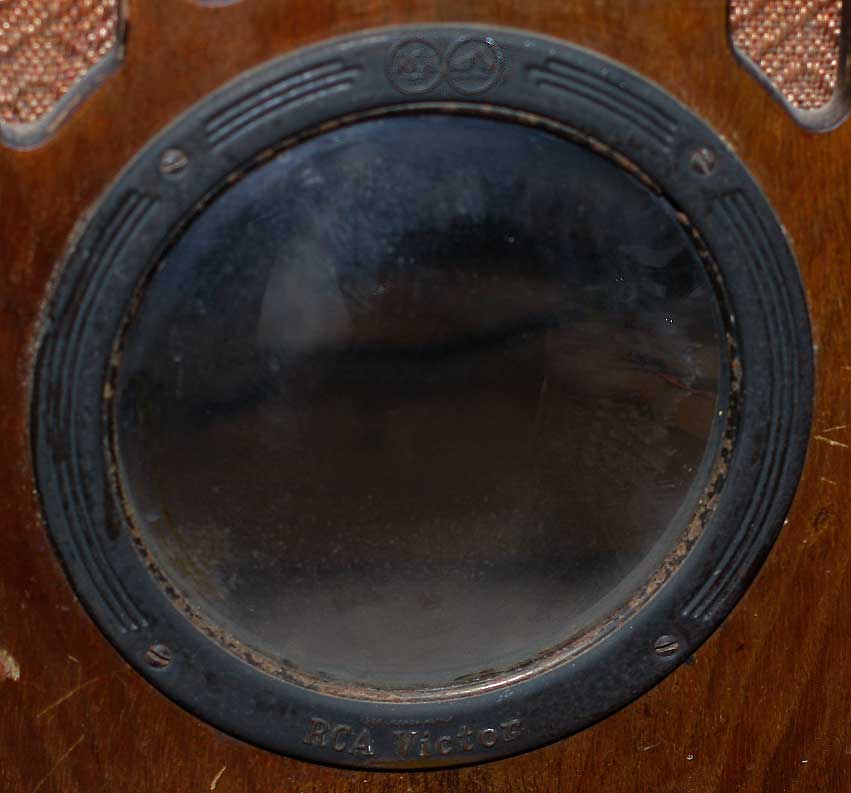
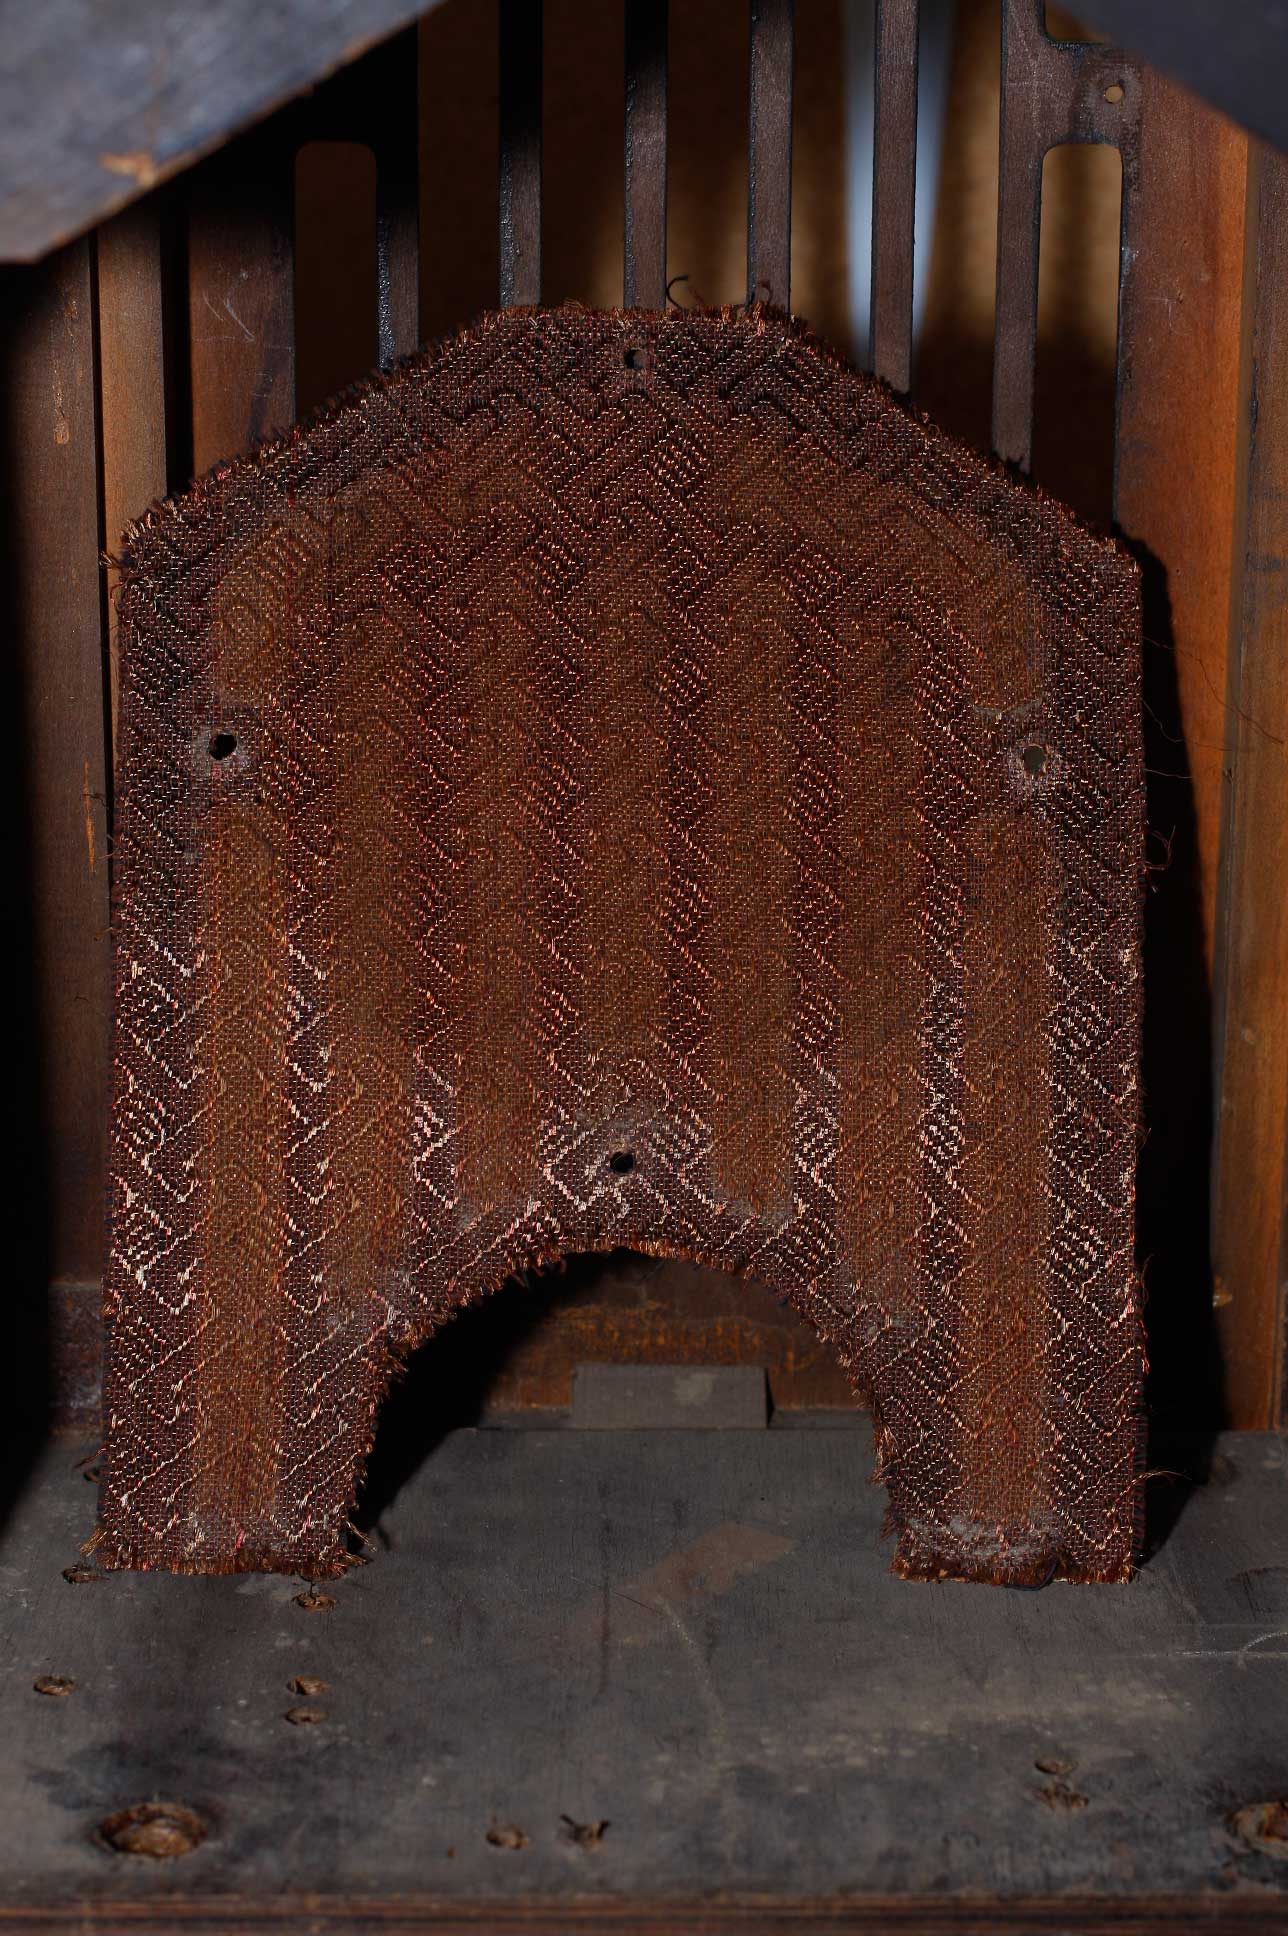
Next was to remove the speaker grill cloth, because it looks decent and it would get ruined, if not by the paint remover, certainly by the new lacquer. The cloth is attached to a cardboard backer which was stapled into the inside-front of the cabinet, so that came out fairly easily.
The cloth is in pretty good shape but dirty. I'm not sure if I can clean it or if I should just leave it alone. If it were torn, I'd buy something to replace it. But I hate to replace original stuff if it's not messed up.
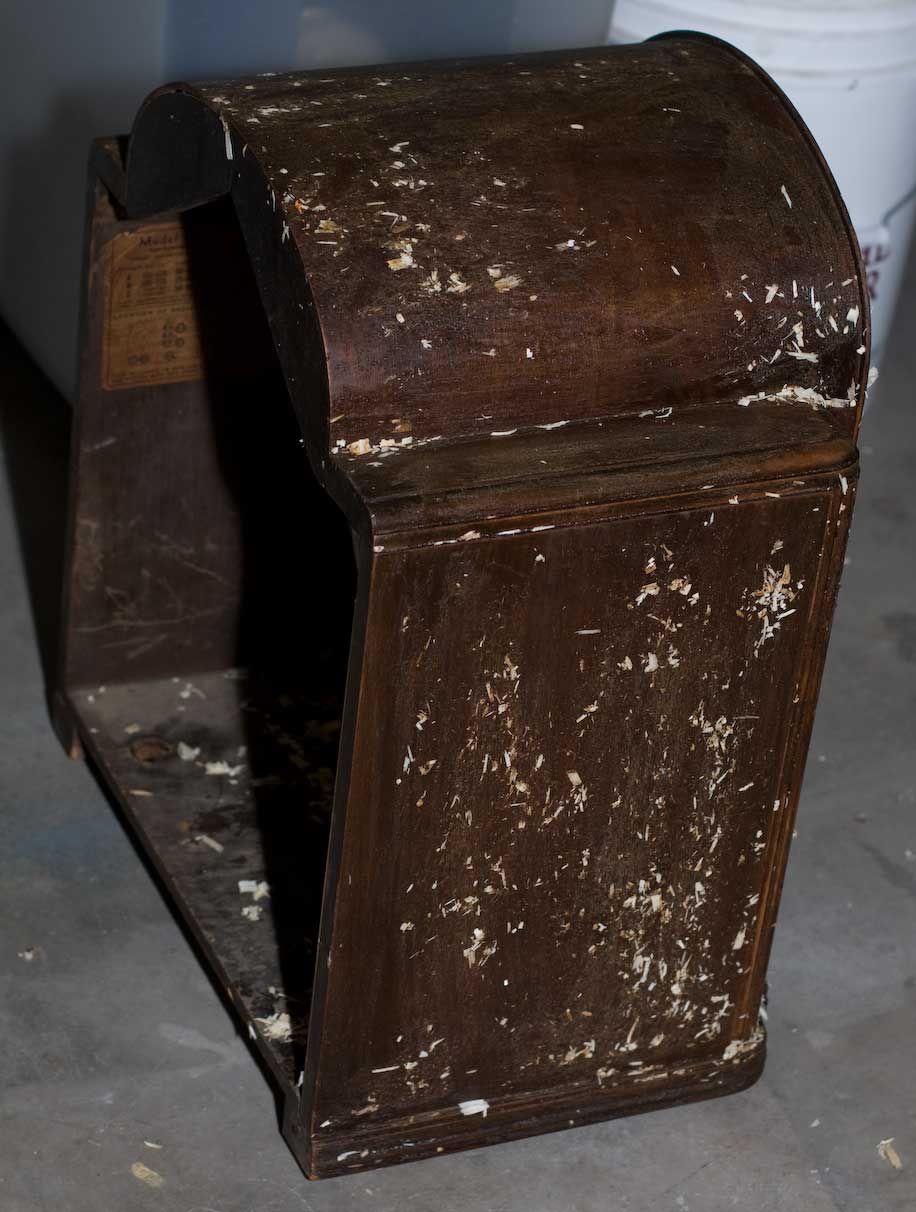
 Now the cabinet is empty and ready for the first part: stripping. Per the instructions in the article, I painted on the stripper and used wood shavings (hamster bedding) for clean up.
Stripping
I have no idea what I'm doing.
I spread paint remover on it, gave it some time to percolate, and then tried to blot it up and remove it with wood shavings. The problem is the paint remover just turns the lacquer into a sticky, gooey mess, and the result is that my cabinet looks like it's been tarred-and-feathered.
It may not have helped that I picked a hot day, figuring the heat would work in the remover's favor, but it may have been too hot and worked too fast. Or maybe it didn't matter at all. I don't know.
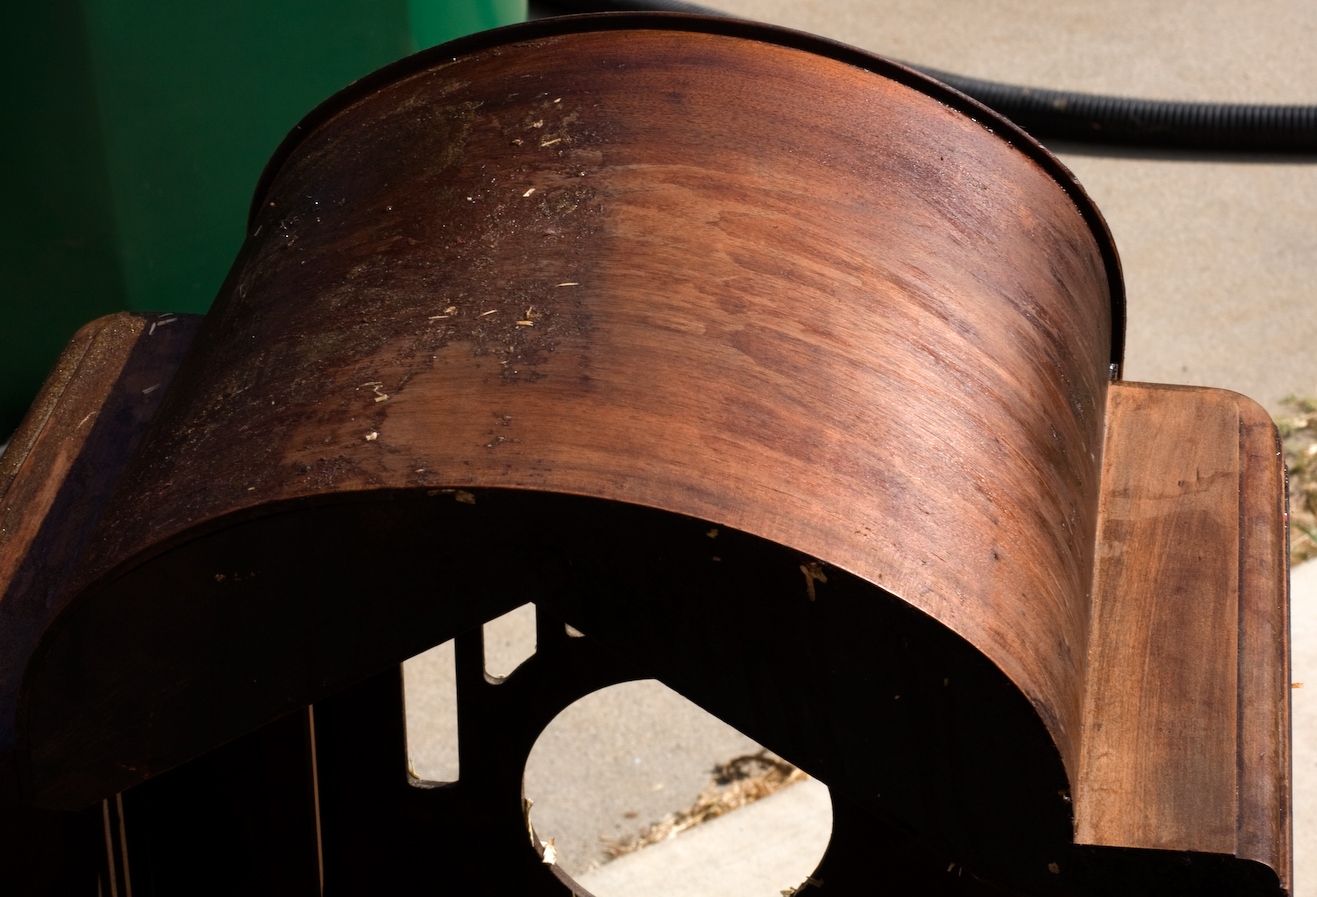
 Next I took out the bottle of lacquer thinner, the 0000 steel-wool, a bunch of rags and a plastic-tipped paint remover brush (looks like a big toothbrush), and began trying to remove the residual lacquer and the stuck shavings. It worked fairly well. I have two pictures that show where I worked on the top: the right side was where I went over it with thinner, the 4-0 steel wool, rags and brush; the left side is largely untouched.
 I went through a lot of thinner, and decided I'd take my time and just do it in sections, so it's slow going but promising. One good thing is that while the veneer looks blah normally, when it's got the thinner on it and "wet," it's beautiful. So hopefully when I get the old lacquer off and the new lacquer on, the grain and color will come out and it'll look good.
Later: I see where the wheels fell off now. I should have watched this Youtube video first.
Current status: no longer in my collection.
Resources
Rider's Perpetual Troubleshooter Volume 5 (1934 production run), Volume 6 (1935 production run), and Volume 10 (connecting a Victrola 100 to it)
RCA Service Data 1932-1938 pp. 497-503
RCA Service Notes 1934 pp. 173-184; 1935 pp. 153-162
Of course there's a YouTube video demonstrating it
TubeRadioLand has a nice page on it
A restoration from Antique Radio Classified
Another restoration, this from the Lawnmower Racing Forum (I'm not kidding)
Old Radio Zone says this was in Greg Brady's attic bedroom in later episodes of The Brady Bunch. I'll take their word for it; my Brandy Bunch days ended when I left grammar school.
.jpg)