Baseline
Mr. Walsh was kind enough to document the disassembly of his meter and emailed me the info and photos. The problem with mine was that the needle would move but only on the right half of the dial. It would not return to "zero". It would stop distinctly and abruptly in the same spot, indicating to me that it was a mechanical problem. I'd bought this on e-bay for only $1.49 + $4.90 shipping, including the nice leather case, so I decided to go for it. (I'd bought the meter because I'd picked up a Bell and Howell 8mm Two Twenty camera that was originally designed for ASA 10 and 40 film, and I plan on using ASA 100 film in it so the "sundial" on the front won't correspond anymore.) |
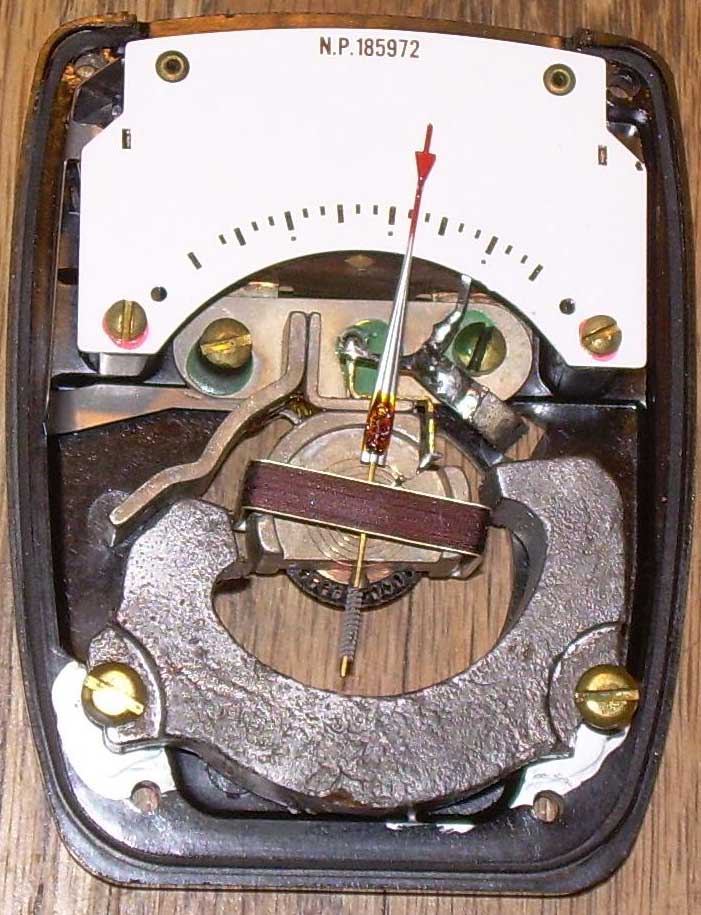
Front Case (inside view)
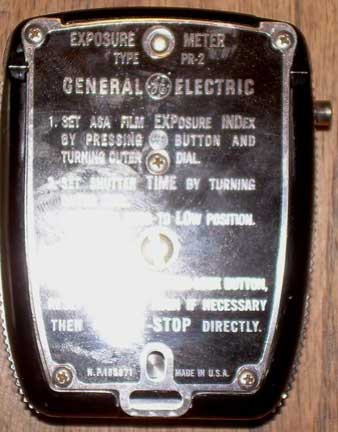
After taking off the 5 small screws on the back, the metal instruction plate
could be removed, and the two halves of the case separated after disengaging
the rod between the shutter and front dial. Nothing sprung out but the side button There is a bar connecting the dial to the shutter. I used a wood toothpick to open the shutter window and then easily unhooked the bar. |
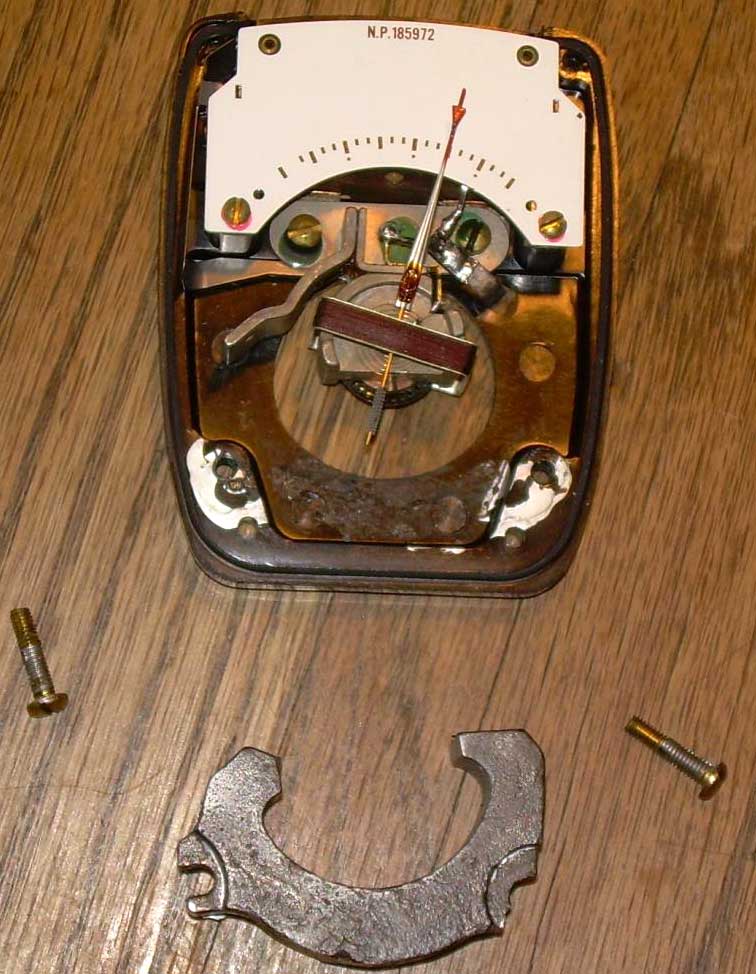
Meter Movement and Magnet Detail
The problem turned out to be small iron filings on the large magnet were keeping the needle from swinging back home. I cleaned most out with a wood toothpick but there were some I could not reach. I debated removing the two screws holding the magnet in place because I feared I might not be able to get it back in the precise position; but after taking pictures and noting the spacing (centering) of the magnet relative to the needle mechanism, I went ahead and removed it and cleaned all the filings off. 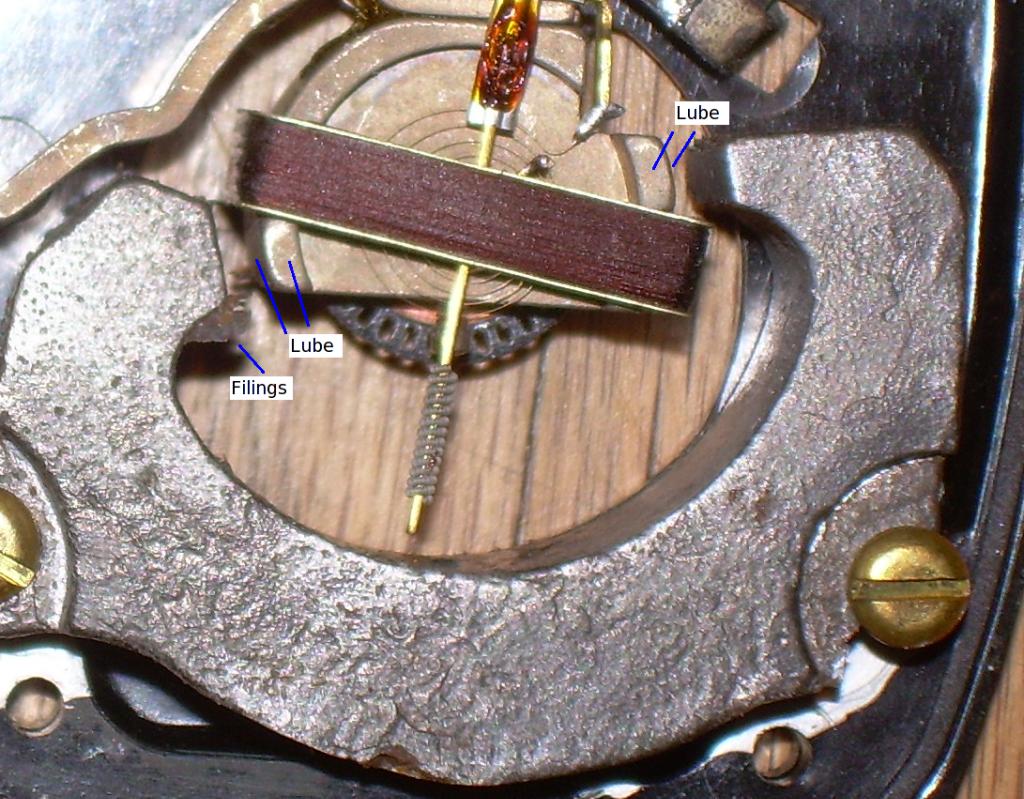
|
Movement with Magnet Removed
I got the magnet back in place and the needle moved further to the left I also put The needle now moves smoothly throughout the entire range, when swinging the |
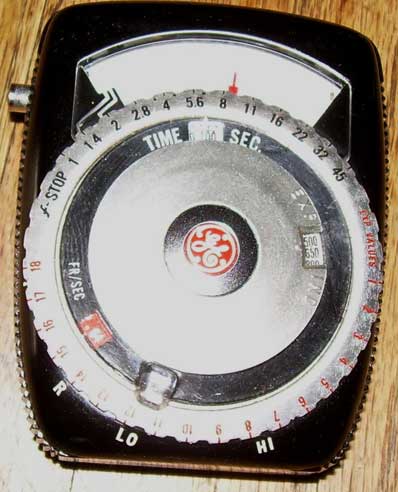
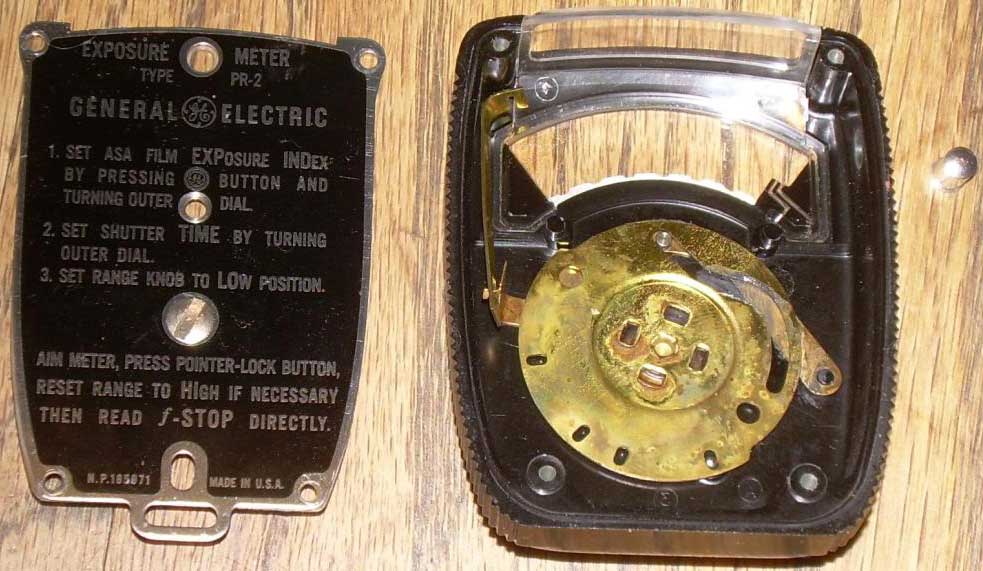
 Our patient is a General Electric PR-2 "Guardian," a fairly common model.
It was a quality meter at the time; it had a pointer lock, an exposure calculator lock, and it accepted a clip-on booster meter (not shown here) for low light. It was also relatively small and easy to hold, but it could be a chore to use. For more info on the meter itself, see my
Our patient is a General Electric PR-2 "Guardian," a fairly common model.
It was a quality meter at the time; it had a pointer lock, an exposure calculator lock, and it accepted a clip-on booster meter (not shown here) for low light. It was also relatively small and easy to hold, but it could be a chore to use. For more info on the meter itself, see my