
I thought I wrote all this up a couple years ago when it happened, but it appears not. This is being written from memory about four years after the fact, so it's going to be sketchier than usual.
Long, painful background story short: I had to replace the head on my car. This is an ordeal on XK engines. I bought a junkyard engine with a better head, and swapped it out because the original head was warped. When I finally got everything torqued down, bolted on, rewired and ready to go, the car started but ran on only three cylinders. Spark was good across the board. I replaced and cleaned the fuel injectors, which left only one cylinder not firing. #5 failed a compression test.
Head Off Again
Here's the head off. I should have done a better job of cleaning but I was intent on other things. Cylinder #5 is in the center (below). 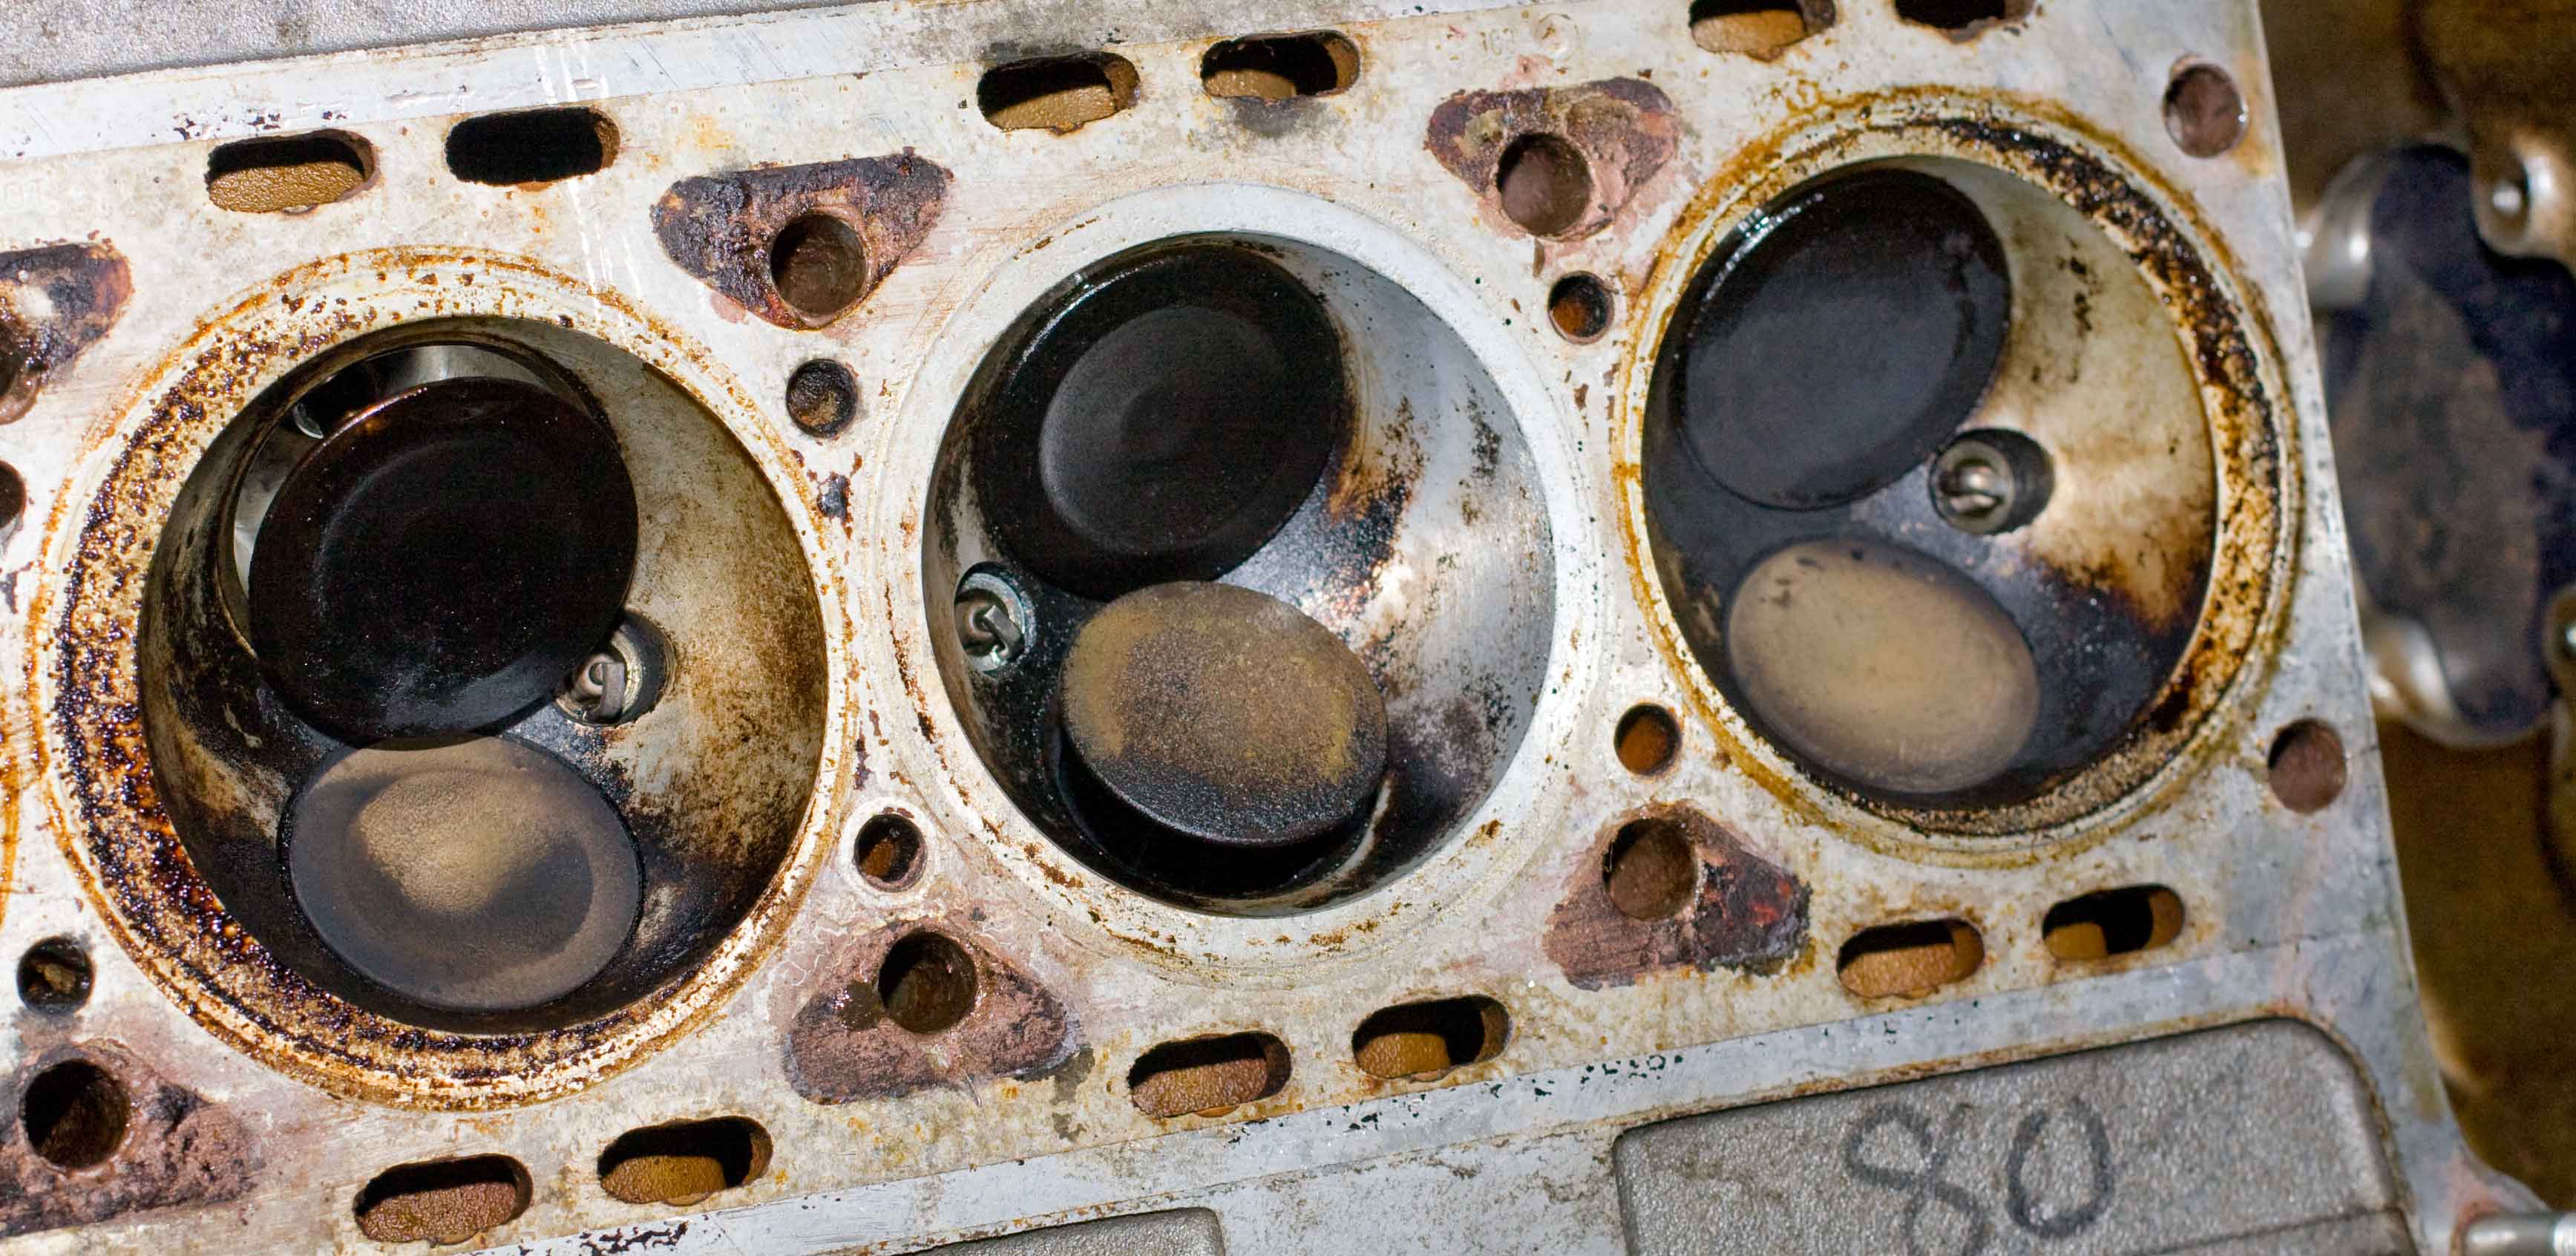
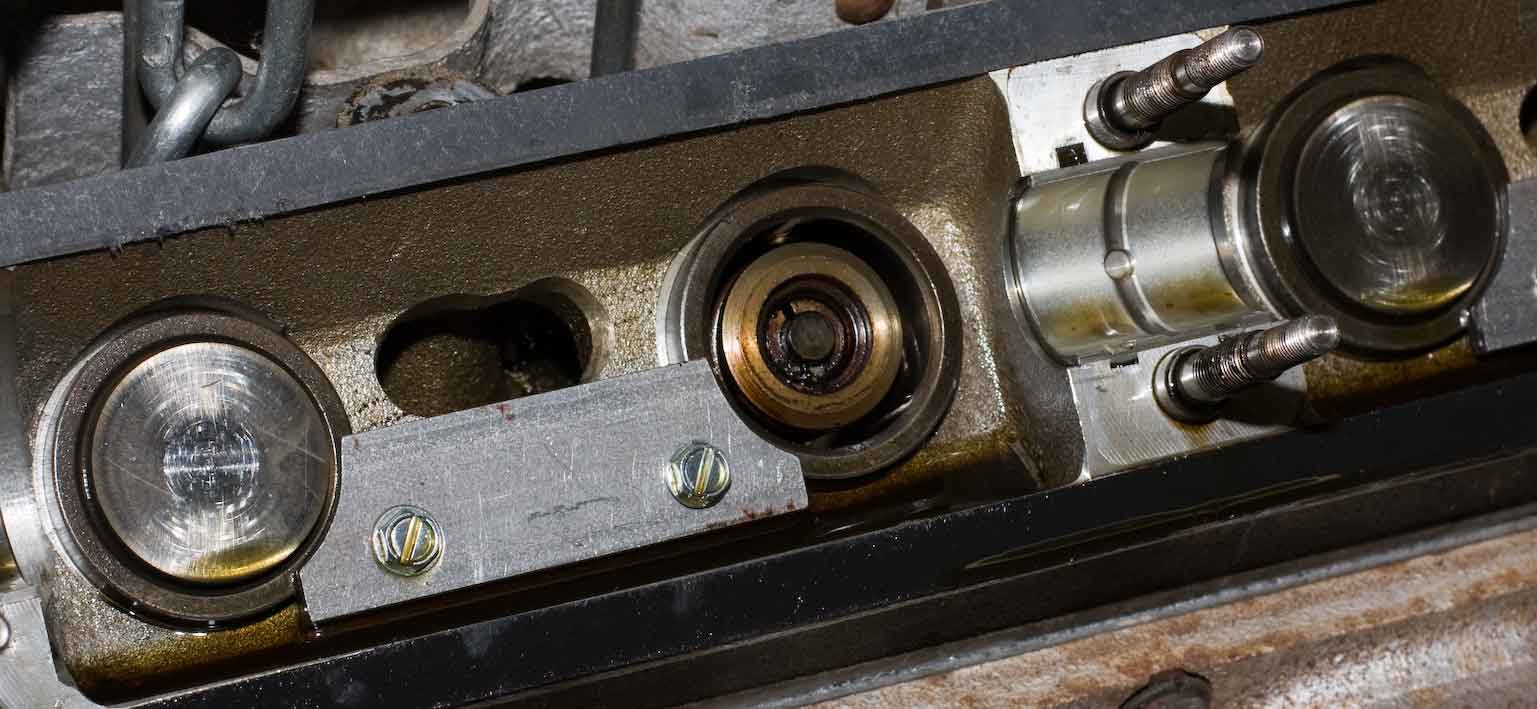
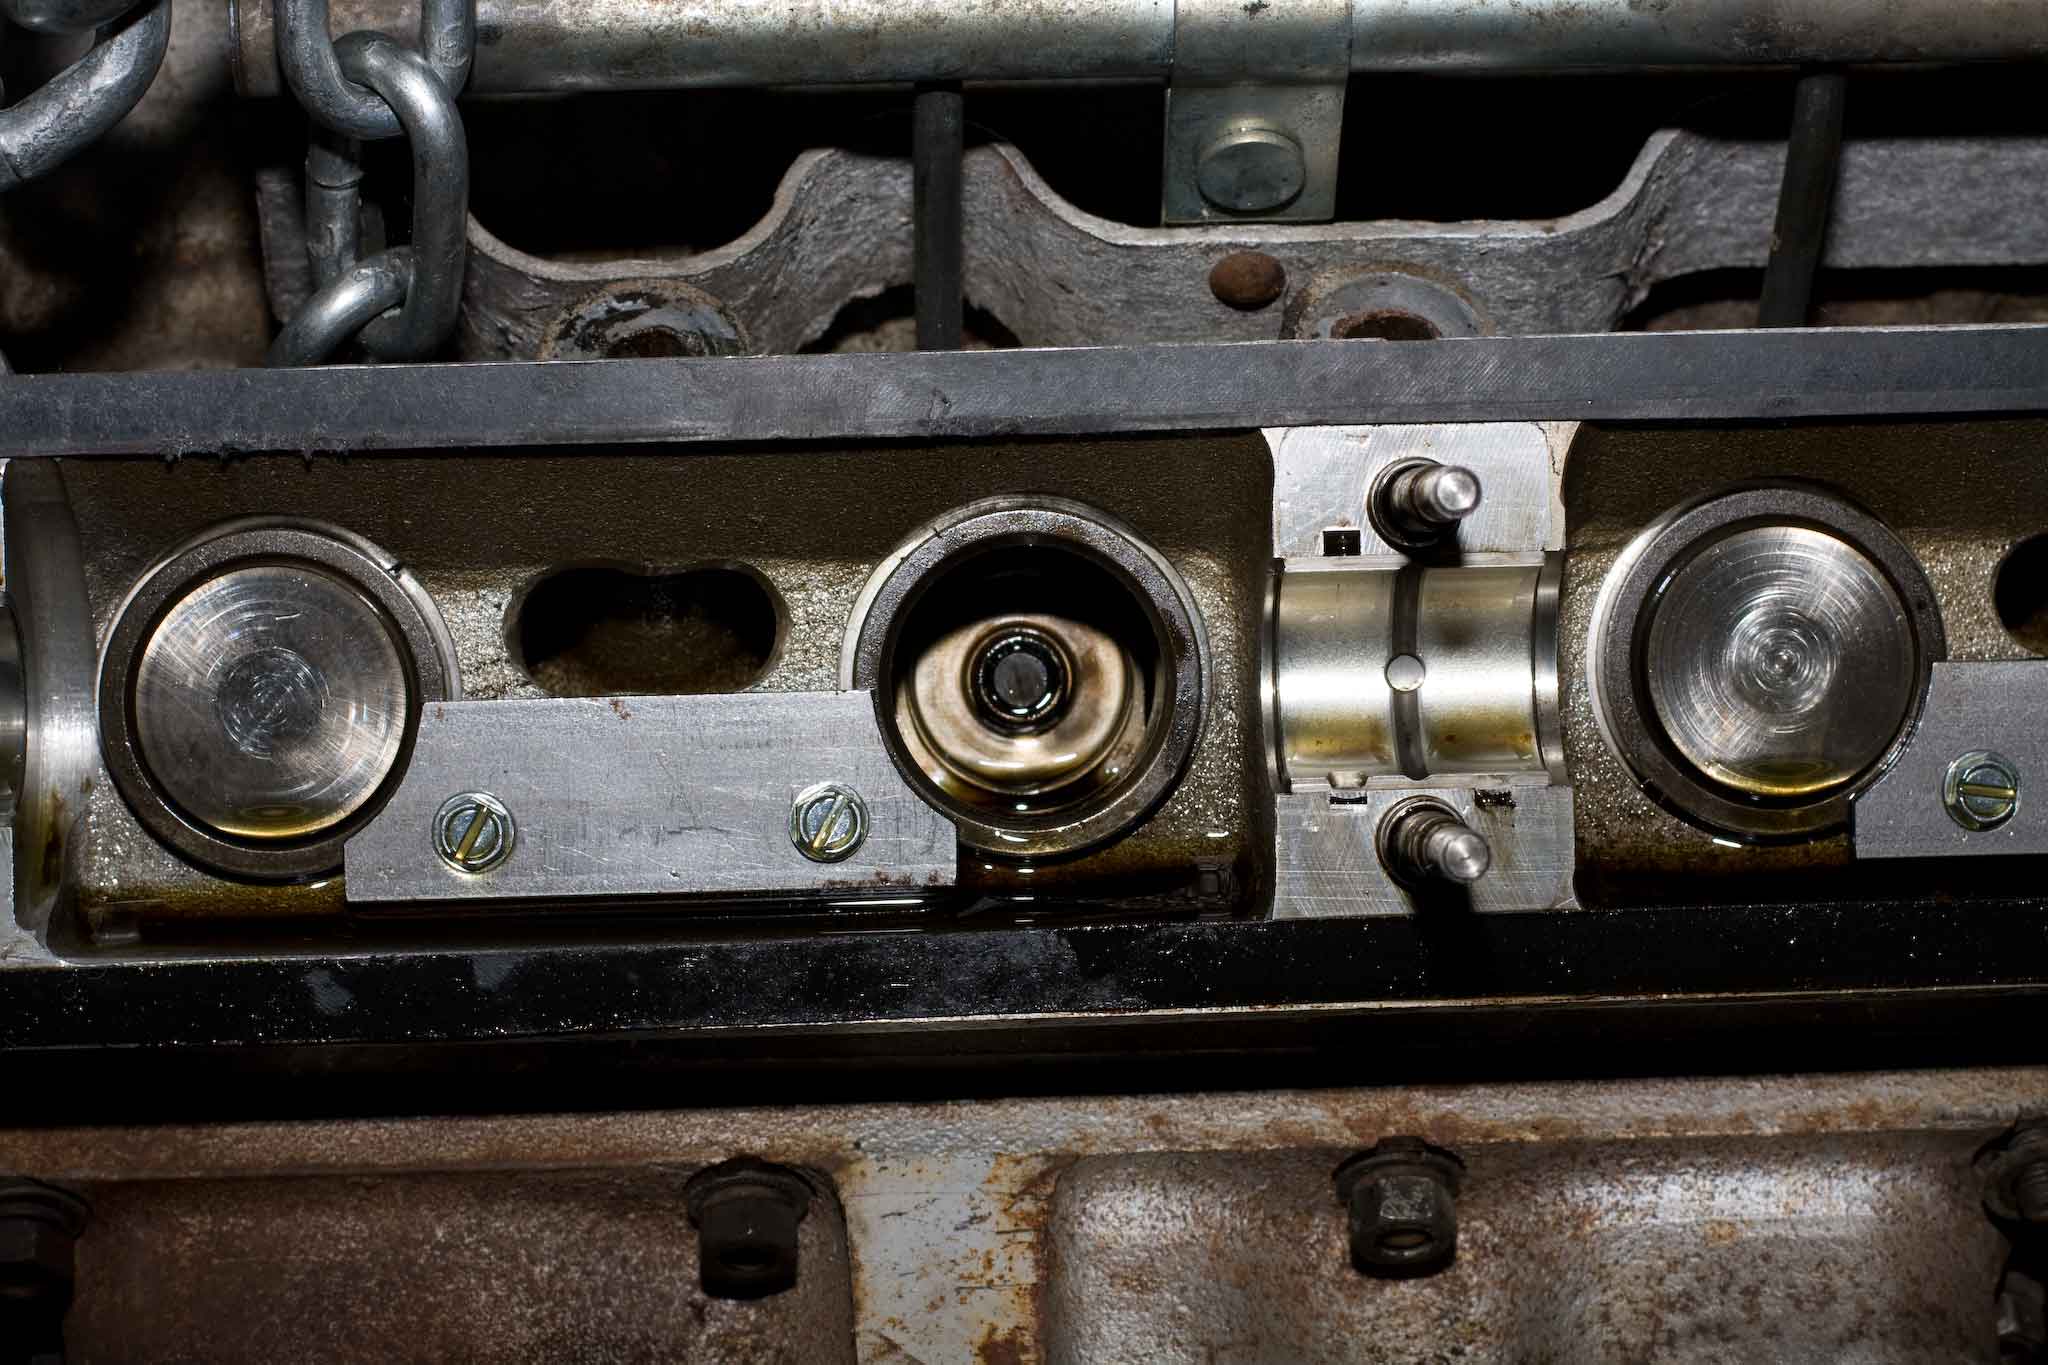
I had to remove the valves. First the tappets (cam followers) come out. You can see I've got the stake-down kit installed (below).
Now for the hard part: removing the springs. This was the second most difficult part of the job, beaten only by putting the damn things back in again. To do this, you need to be able to compress the springs so you can lift two half-moon keepers out, then easy tension on the springs so you can lift them out. The springs are very strong and store a lot of energy.
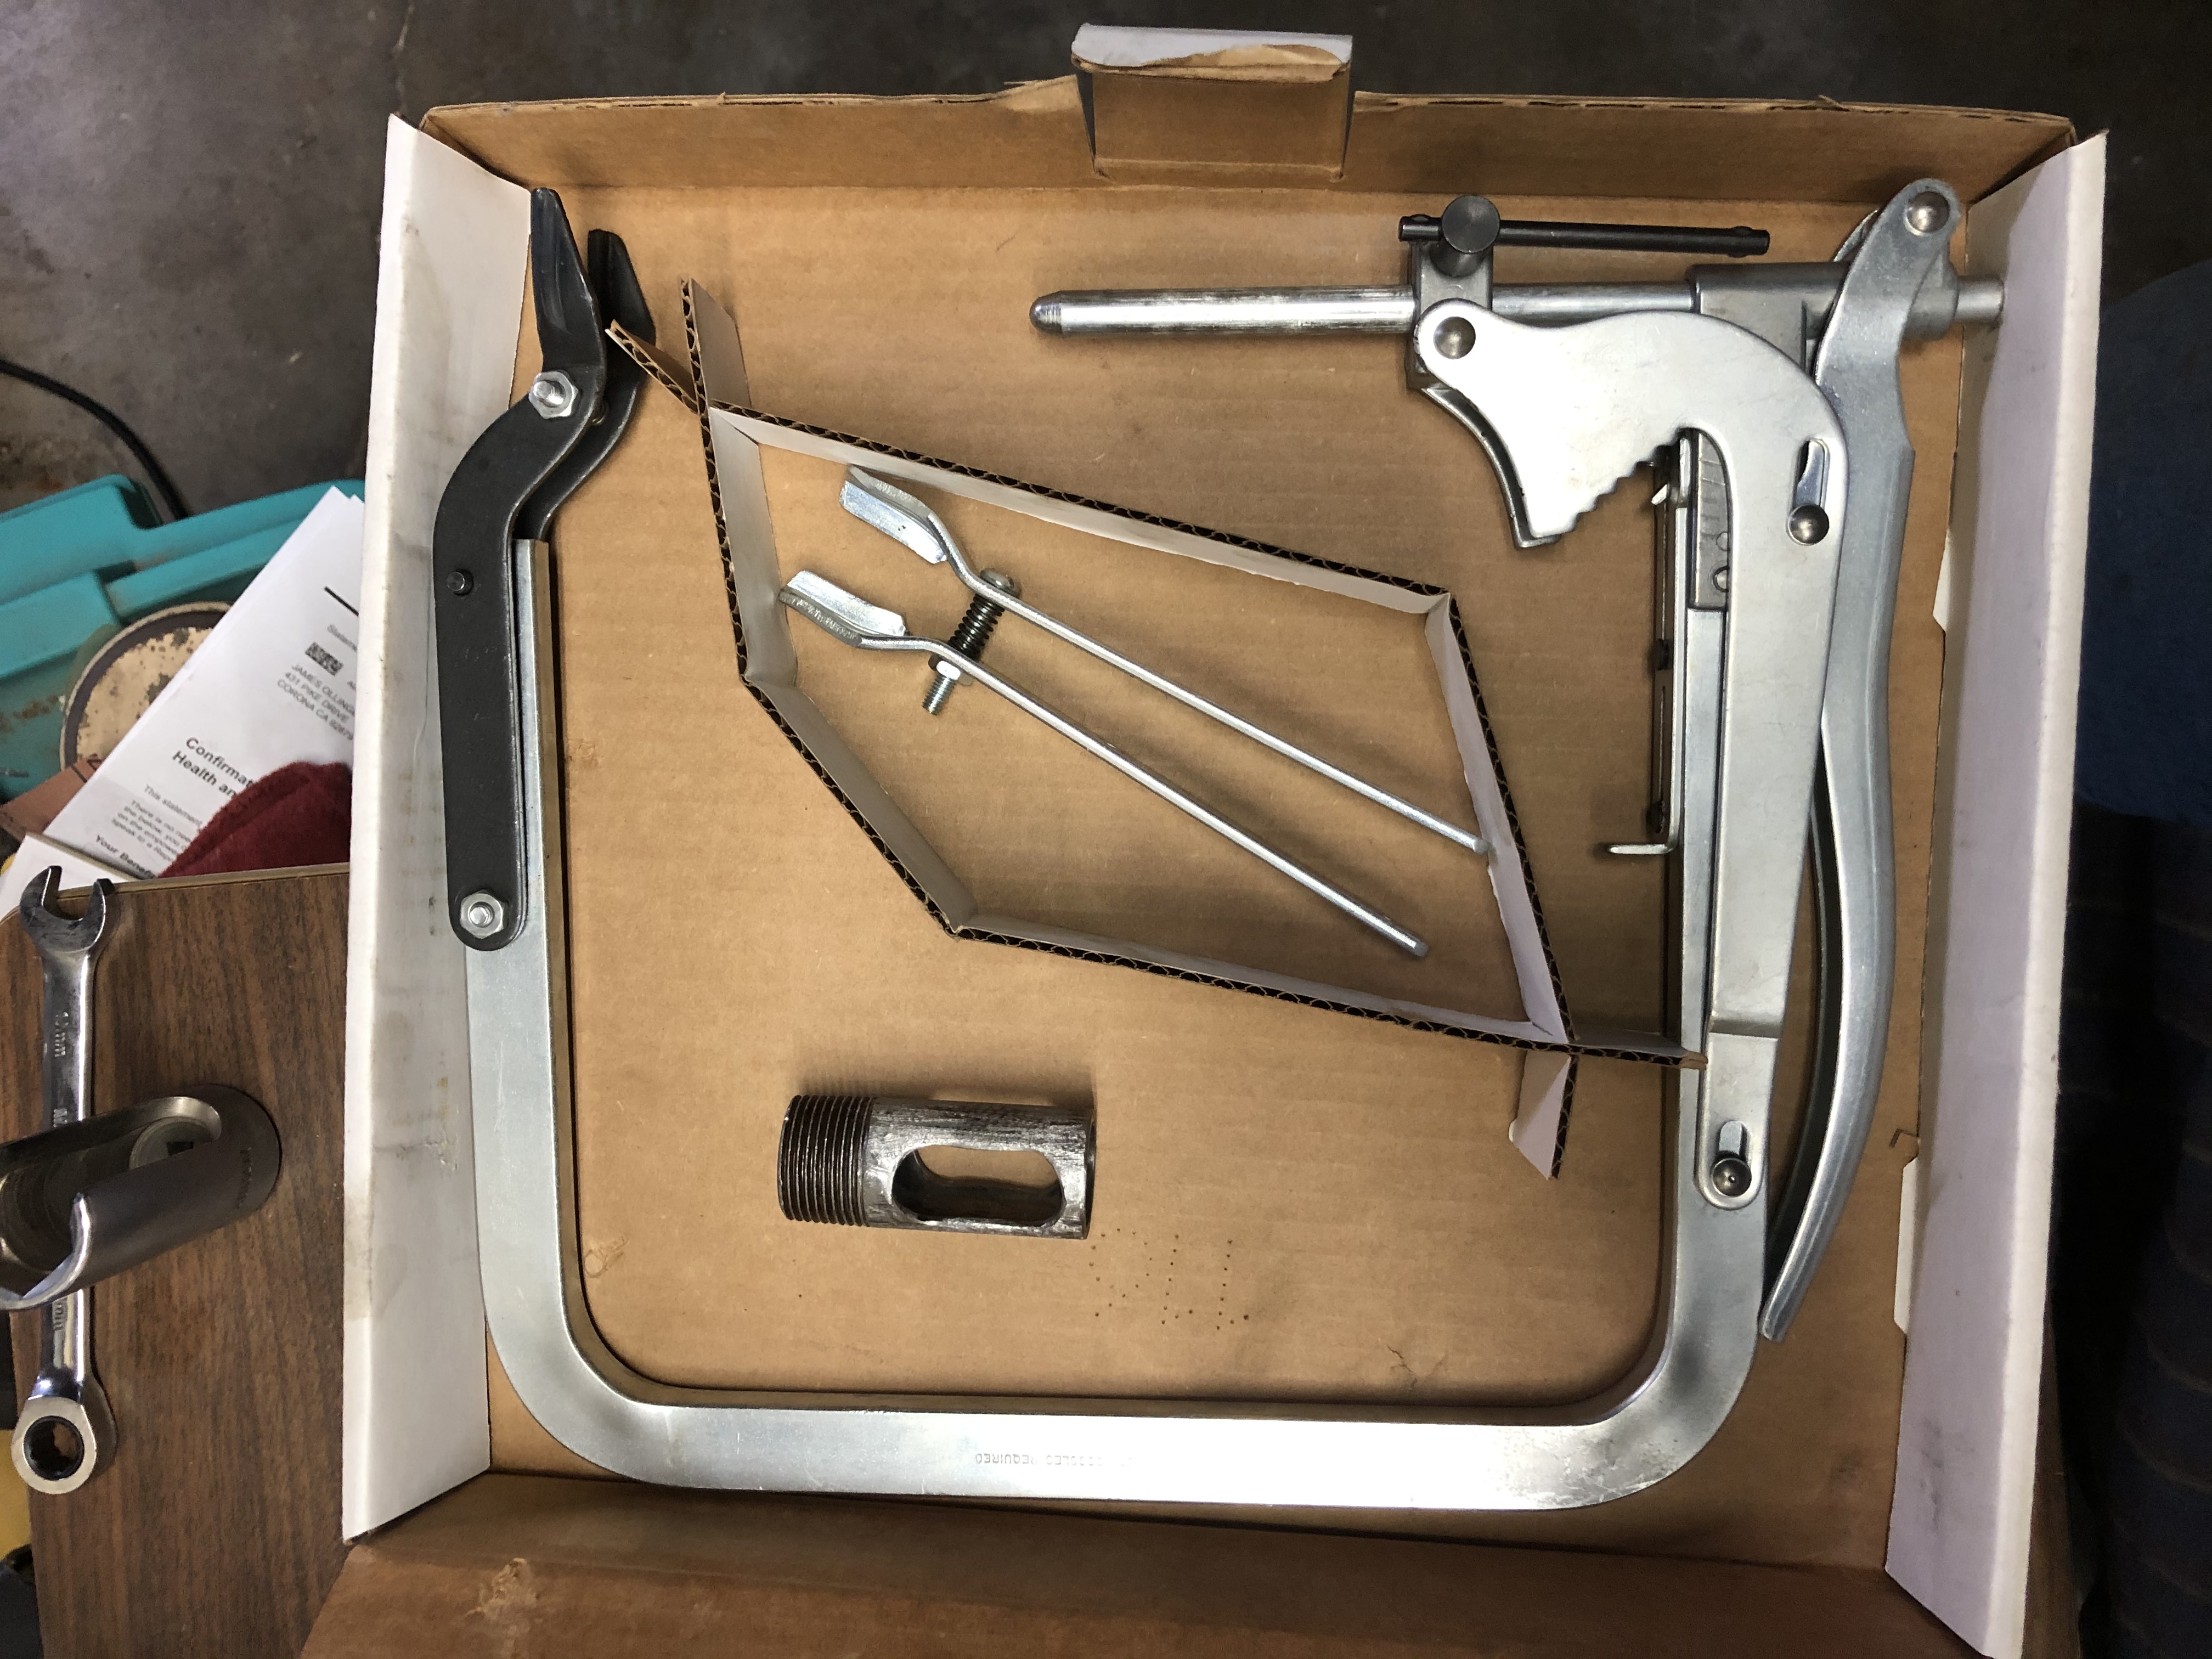
There are two common kinds of spring compressor tools. There's the one that looks like a gear puller and works entirely from the top of the head. I couldn't make it work. Then there's the type that looks like a giant C-clamp and works by holding the valve in place and pushing the spring keeper plate down from the top. I ended up with that.
Once again, I couldn't make it quite work the way it was. I ended up with a modification. It's hard to see in this photo below but it's the only one I've got. The compressor tool is upside down because that's the only way I could make it work. It's pressing on a dark metal disc that happens to be a magnetron magnet out of a microwave. It was the right thickness I needed and being a magnet helped keep things from shifting around (though there was plenty of that). Below the magnet there's a 1-inch diameter length of steel pipe with a window cut out of the sides so you could reach through to fish out the keepers (or reach in to replace the keepers later). The piece of pipe is shown above with the compressor tool. The pipe tool did not come with the compressor. My dad made that for me.
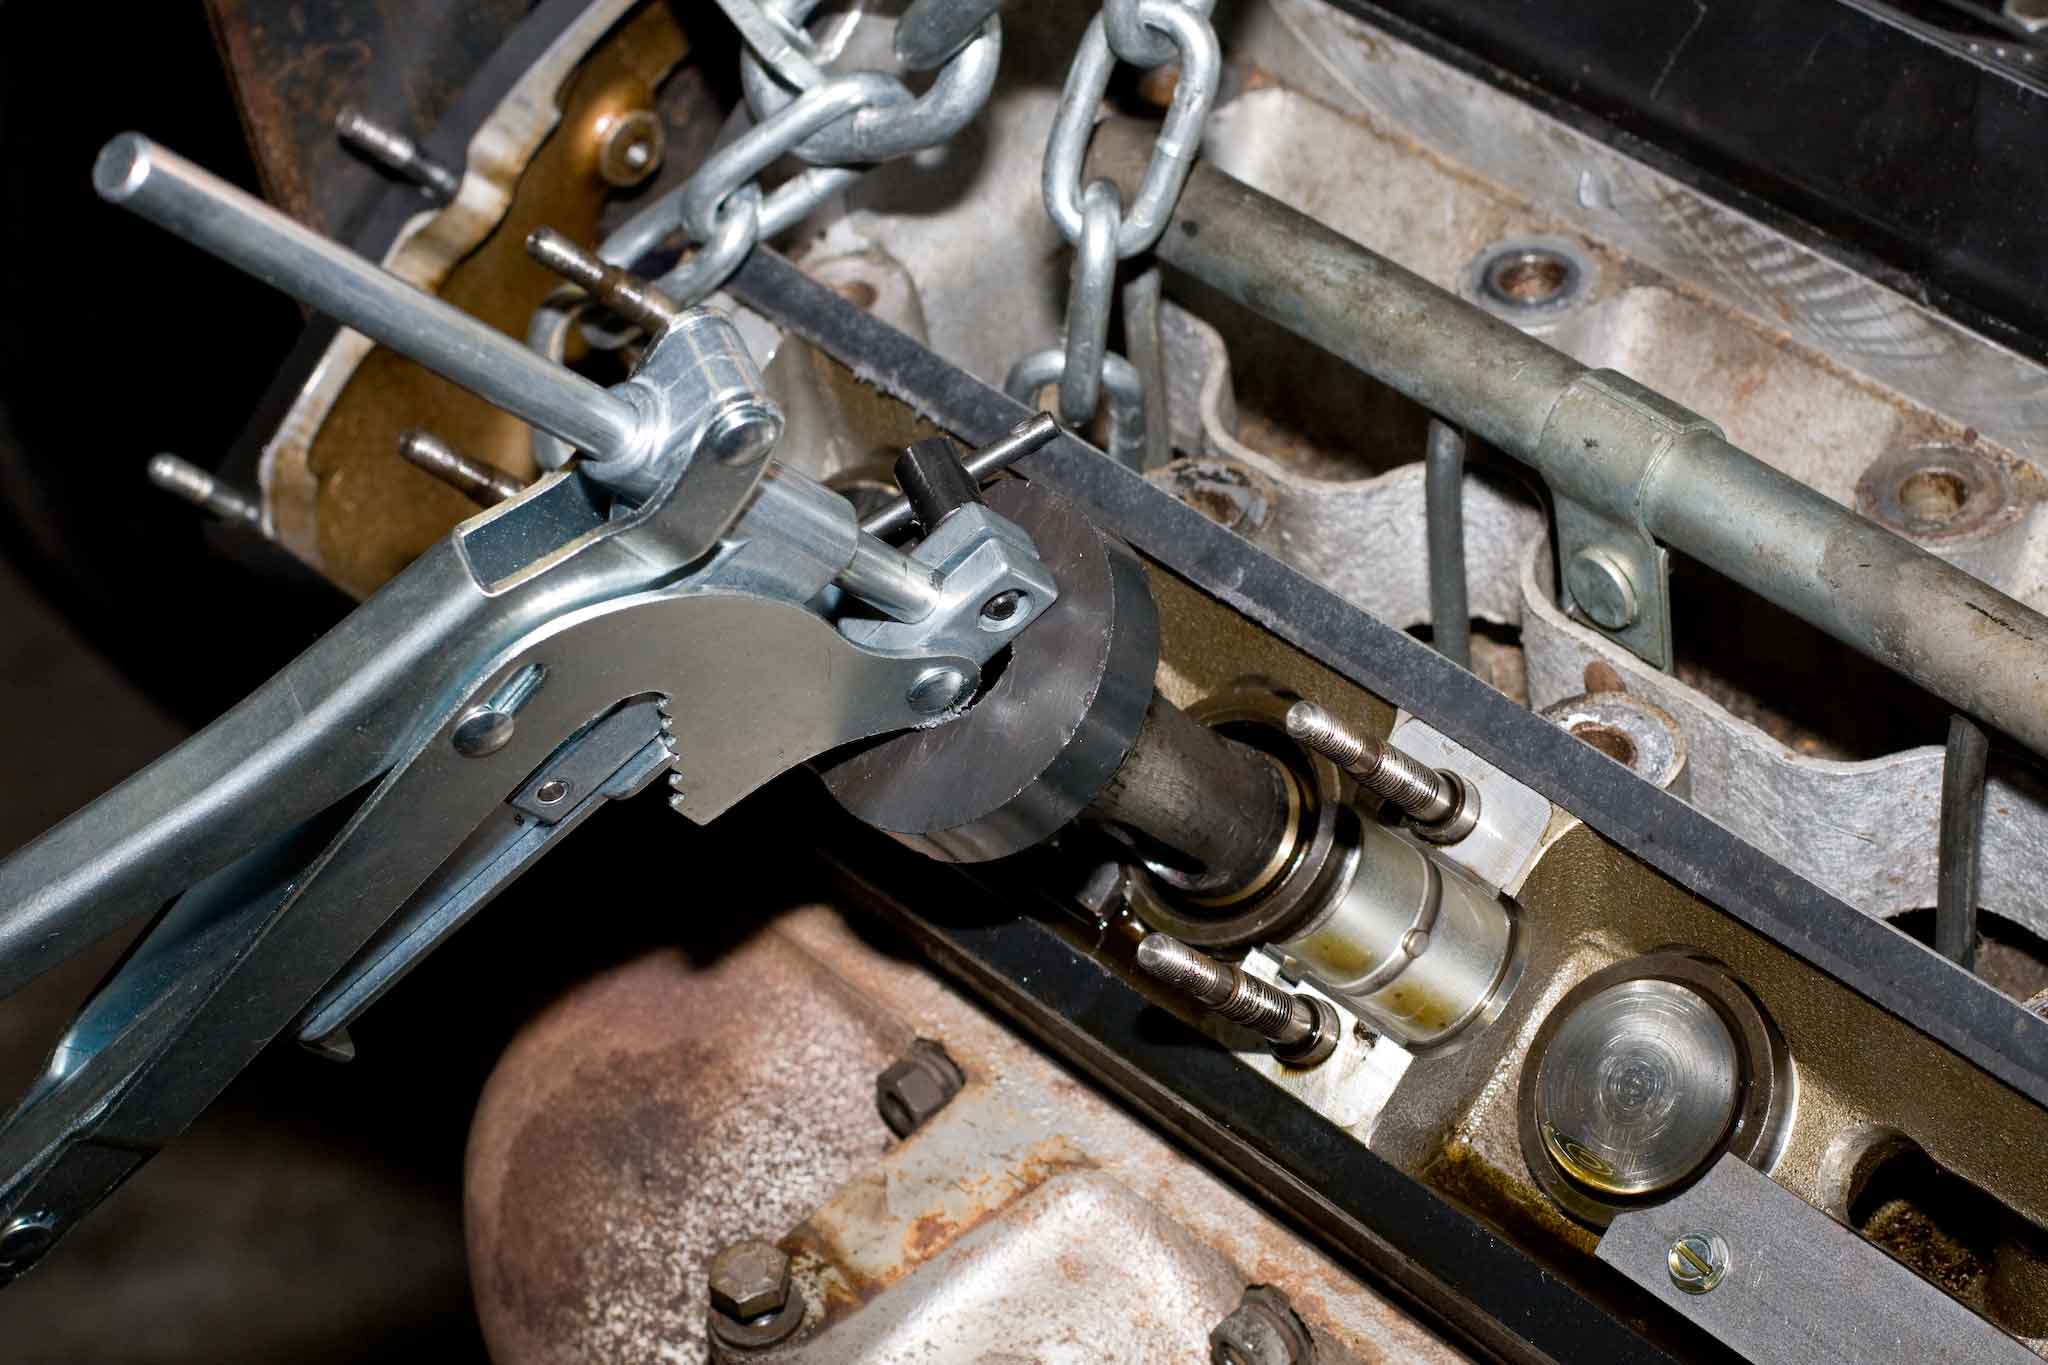
It's a bit of a Rube Goldberg but it worked.
Here we are with the spring keepers removed (below).
 Here's my intake valve, extracted and sitting on my bench. I'll be honest and admit I can't remember which, but I believe it was the intake valve that was bent. You have to look hard (the picture doesn't do it) to see the arc in the shaft. Not enough to keep it completely from going in and out of the sleeve, but enough to impede its movement. I don't know when it was damaged. I may have done it when I had the head out the first time. I may have done it when I was putting it back on the block. Or, because it came from a junkyard engine, it may have been bent when I bought it. The engine had relatively few miles on it. It's possible the valve got bent somehow, the engine lost compression on #5. The owner took it in to find out what was the problem, and then balked at the cost of valve job and decided to junk the car instead.
So that's the end of the this project. I cleaned up the chambers, lapped and seated the new valve, and put the spring and keepers back in, which turned out to be more work than getting them out even though I theoretically knew what I was doing by then. Adjusted the clearances and put the cam shafts back on, buttoned everything up, and somehow managed to get the head back on a second time without bending another valve or causing a new problem.